.png?height=120&name=rockcontent-branco%20(1).png)
For new customers, this 7-step guide will help get administrators ramped up and ready to launch Community Content by Live.
For questions and help managing the Community Content (CC) platform, please email help@rockcontent.com or fill out a support ticket here.
1. Getting Access to the CC Manager Portal
Upon completion of the site setup, administrators will receive an email granting them access to the Manager Portal. If you're not able to login, contact your Customer Success Manager or help@rockcontent.com.
2. Navigating the Manager Portal
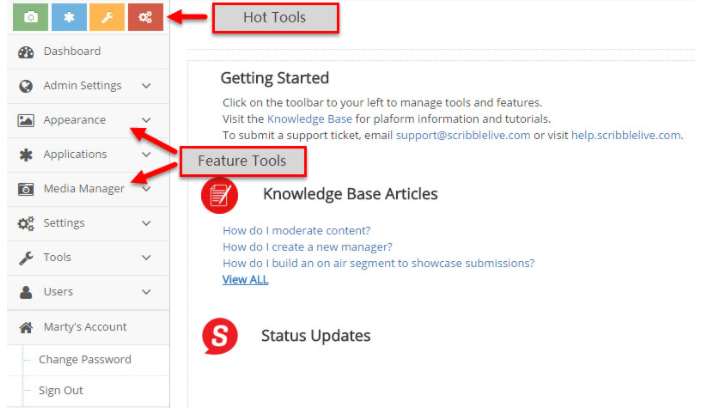
From the Dashboard, you’ll see the 4 most-used features - or Hot Tools - shown as click-able icons at the top of the menu list:
-
Moderation
-
On Air
-
Social Import Mappings
-
Portal
Below the Most Used Tools, the main menu is displayed as a list of function categories and sub-categories. Click on a category or sub-category and the feature screen will be displayed.
**Depending on your Account Permission Levels, administrators may have a different view of the navigation section.
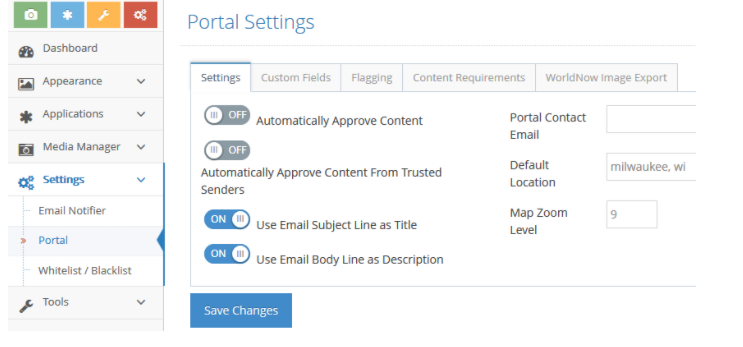
3. Viewing or Editing Portal Settings
The Settings section allows administrators to control global settings for the platform. These settings include Flagging, Content Requirements, and our auto-approval mode, which allows for automatically publishing content.
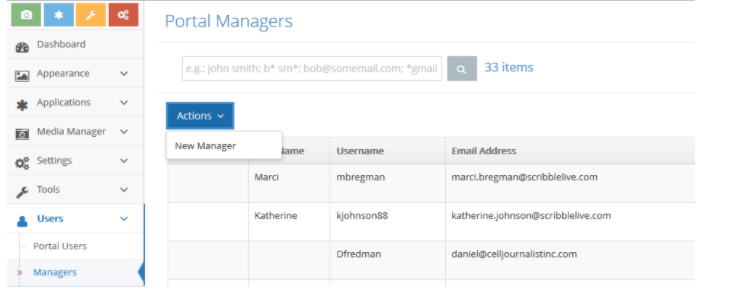
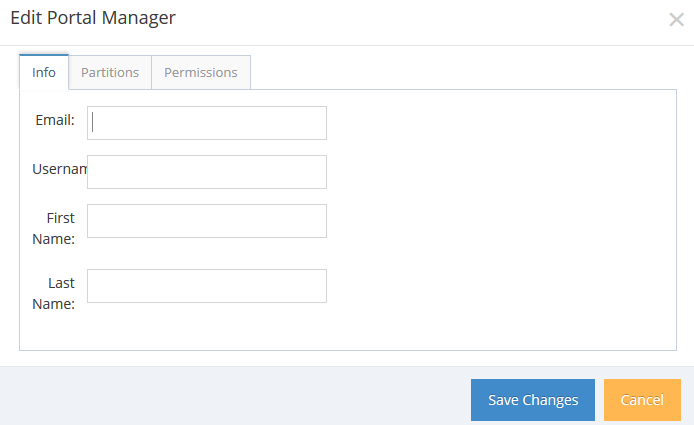
4. Creating Managers
Your CC account must be granted "Manager-level permission" for you to give other team members access to the Manager Portal. To create a new manager, go to Users > Managers. Input the account information and assign permissions levels. Once the new manager account has been created the user will receive an email with instructions on how to login.
5. Customizing the White Label
Upon platform creation, Community Content by Live creates and generates the initial site integration - or what we call your White Label (your site "wrapper").
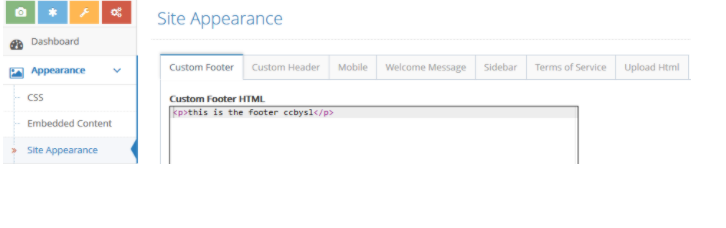
If you wish to alter the "wrapper" for your site you can do so by editing the custom header, custom footer, and site style in the Appearance section of the CC platform.
To customize any of these sections, simply select the desired tab and input the text/HTML code in the text box, and click the "Save" button.
Note: It's very important that all HTML code be validated before it is uploaded to the site. For example, if a div or comment bracket is left open, the site may not load correctly.
- For launch, create a custom Welcome Message, and add your site's TOS language and links.
6. Creating Channels and Islands
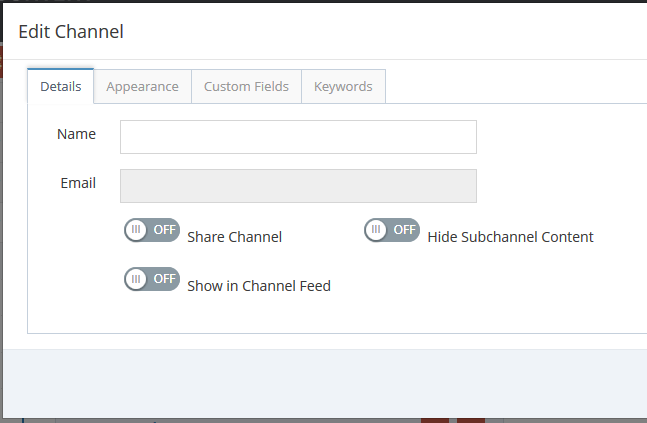
Channels and sub-channels are admin-created and customized, content-specific sections of images and videos. On the hosted webpage, a Channel list appears on the menu bar, and each Channel is displayed as a separate page. When users upload images and video, they have the option to assign it to a specific Channel.
All new sites will be setup with the following default Channels:
- Recently Added
- Featured
- Weather
- Sports
- Breaking News
- Pets
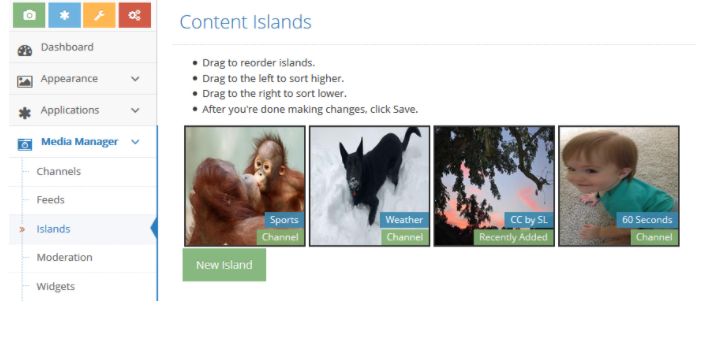
Homepage Content Islands are sections of content that appear on the front page of your website. The purpose is to direct users to the most current, popular, relevant or interesting content on your site.
When you first create your site using CC, in addition to the default Channels, default Content Islands will also be created and will include:
- Recently Added
- Featured
To create additional Channels and Content Islands for your site:
Channels: Go to Media Manager > Channels.
Islands: Go to Media Manager > Islands.
7. Getting Content: Enabling Social Media, Email, Uploads, Moderating Content, and Creating Widgets
For launch, it's important for the Community Content site to have content, so end-users (your audience) can browse and, ultimately, interact with your site.
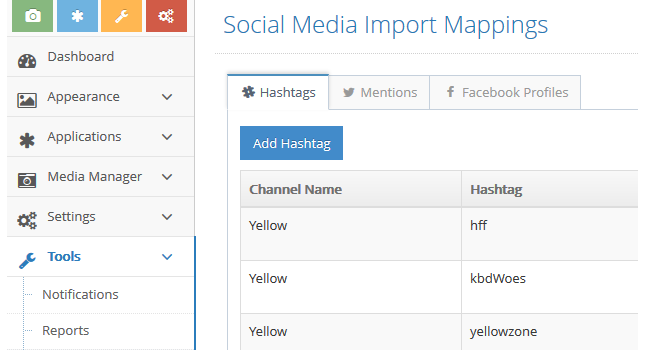
Enabling Social Media Imports from Hashtags, Twitter Mention Names, and Facebook Profile Accounts is a quick way to populate your site - so that it looks and feels engaging when you launch. Administrators can also start promoting the branded email address to fans online and on air.
Once the CC platform starts pulling social content (or 'auto-curating'), platform administrators can view, moderate, and edit this content by accessing the Moderation tool.
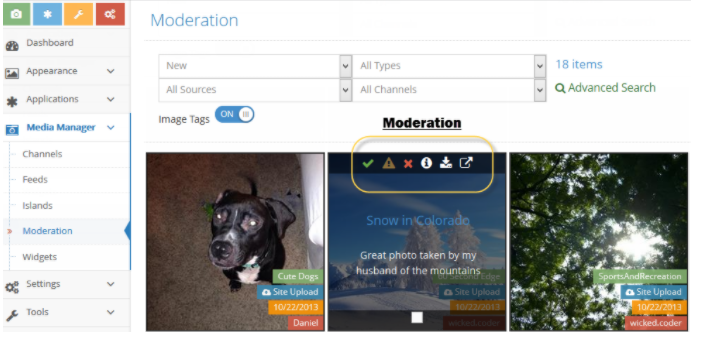
Moderation Overview:
-
Thumbnails show channel/tag, source, submission date & username.
- Each thumbnail displays 2 icons- the 1st icon indicates whether it has already been moderated (approve, on hold, new). The 2nd icon indicates whether it is an image or video.
-
Mouse over individual thumbnails to view options like approving/deleting, viewing metadata and downloading the pic/video.
-
Click the thumbnail to open that item to edit title/description/credit/channel/tag.
-
Click + drag your mouse over a batch of images or ctrl+click to select multiple.
-
Menus at the top of the page allow you to filter by status (New/Approved), types (pics/videos), sources (email/social) & channels.
-
Advanced Search allows you to search by date & by tag by entering it into the Search Criteria box.
- Advanced Search also allows you to moderate content (approve, delete, on hold).
After moderating content and publishing it to the CC web site, create a widget for display on the companies domain/CMS. Widgets allow customers to display content on their main CMS and are meant to be an entry point to the hosted web site.
6 options:
For more information on additional features and tips, feel free to further browse the Community Content by Live Knowledge Base for a complete list of articles and forums.