.png?height=120&name=rockcontent-branco%20(1).png)
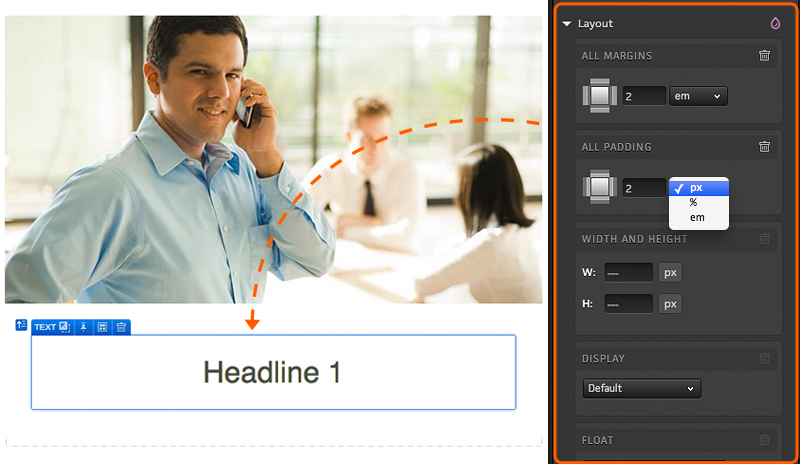
The "Layout" styling options available will allow you to adjust the margin, padding, dimensions and the CSS float property of the element you are editing. To alter the margin or padding of a given element, simply select the side(s) of the element you would like to update and define the number of pixels, ems or percentage you would like to apply to the element's margins and/or padding.
To adjust the dimensions of the element you are editing, simply enter the width and/or height you would like to apply to the element. You also have the option to define the dimensions of your element in pixels, percentage or em.
Changing the display style is done by selecting the desired style from the Display dropdown menu. The dropdown gives you options for common display styles like inline, inline-block, block, table and many more.
Defining the CSS float property is as simple as selecting whether you would like the element to float left, right or not at all. You can also check a box to clear other float commands around the element you are editing.
Positioning
You will also find a Position section that will allow you to move content around on your page. When altering the position of a given element, you will have three options - Offset, Layered and Fixed.
Using the Offset option will allow you to move a given element away from its current location without affecting the position of other elements on the page.
For instance, if you would like to move an element up or down on the page without affecting the position of anything else on the page, you could use the Offset option and then alter the “Top” value.
A positive “Top” value will move your content down and a negative value will move it up from its original position. Enter a positive “Left” value to create space between your content and the left margin which in turn would move content to the right. A negative “Left” value will move your content to the left. If you have offset multiple elements, you can also define what will be in the front by increasing the “Layer” value for the element you would like to have in front.
The Layered option will in essence pop the element out of its current location and pull the other content in the container up above where the original element was published.
When using the Layered option, you will find two toggle buttons for Top/Bottom and Left/Right, respectively. You may alter the position of a “Layered” element by adjusting the values that are applied to either the Top/Bottom and Left/Right options. You can also adjust the “Layer” for your element as well to move it to the front or back of other elements.
As a shortcut to Layered positioning, you can also simply click the pin icon on your element and then use the arrows in the element badge to move your content around your page. For more information on using the pin icon for Layered positioning, click here.
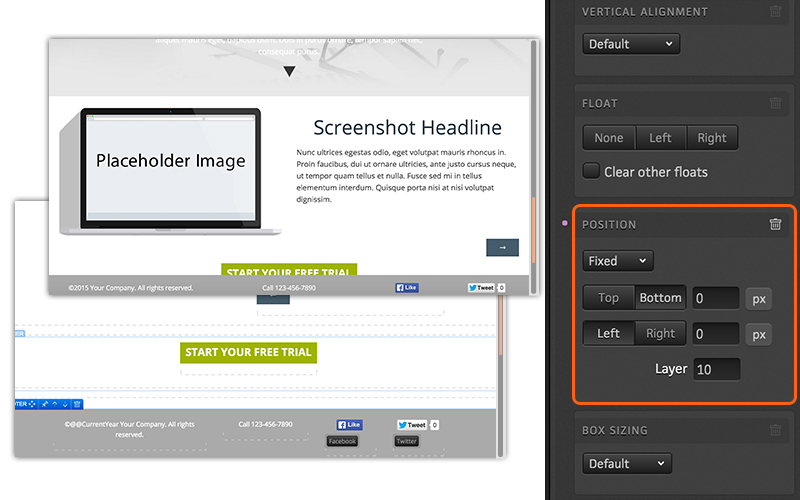
Finally, you will find the Fixed position option. By fixing your content, it will not move from its location on the screen while respondents navigate through the page. For example, you may want to fix the footer in order to keep it visible as respondents scroll through the page.
If you have any questions, please contact us on help@rockcontent.com. 😀