.png?height=120&name=rockcontent-branco%20(1).png)
Building a Sell-Side experience is a great way to see what visitors are interacting with. In the past, reviewing user behavior would typically require someone (or a team of people) to review a complex mix of data in a CRM or database which made interpreting this data and following up with prospects time consuming and inefficient.
You can use Sell-Side experiences to cut through the clutter and allow you and your team to view the user’s digital body language quicker and make following up more efficient by reviewing the user’s interactions within the context of the actual experience.
Instead of looking at data collected into a series of fields in your CRM, you can export a simple link which you and your team can click to view the the user’s interactions within the context of the actual page they viewed. You can even customize your Sell-Side pages to give your team helpful hints and messaging to use when following up with a prospect.
Creative Management
To get started with Sell-Side, you’ll first click the Add link on the right side of your Creative Management screen.
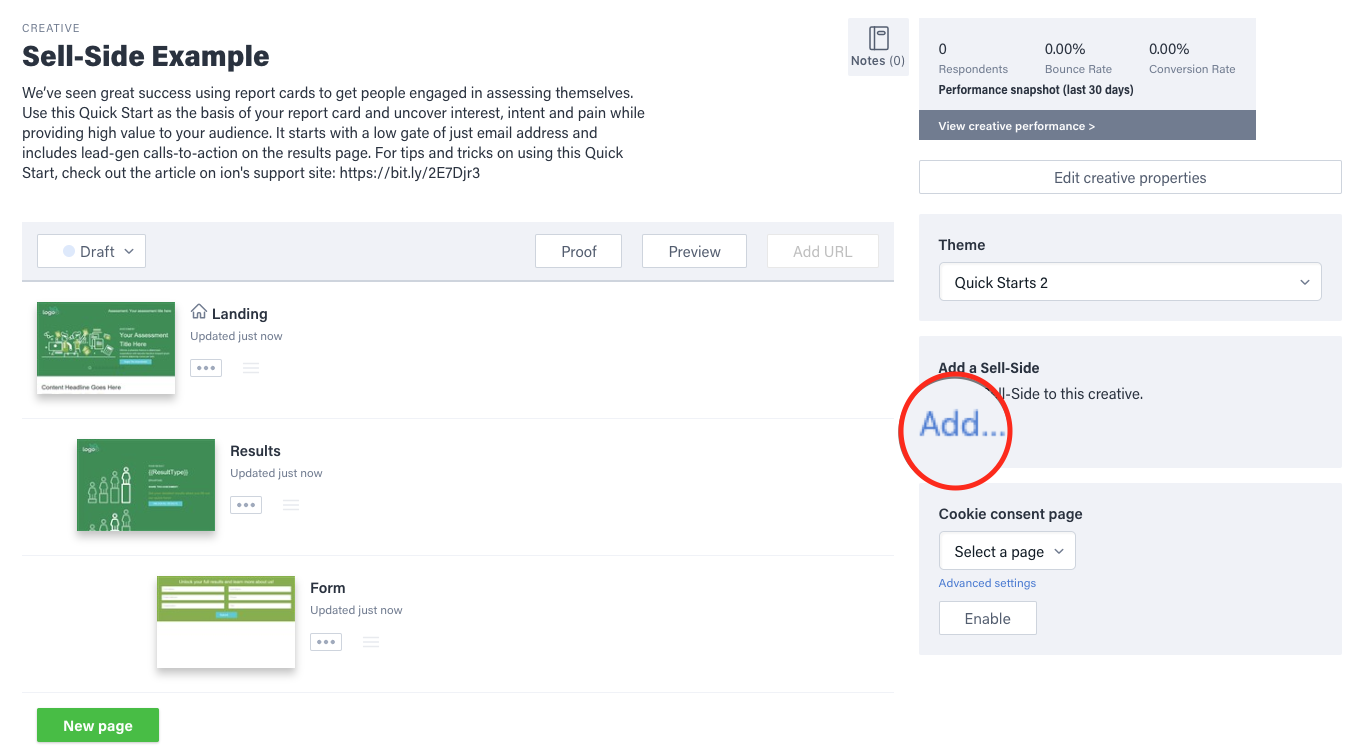
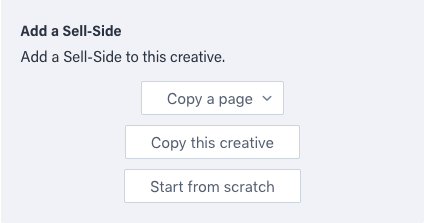
This will give you options to copy an individual page, the entire creative or start from scratch with a blank page.
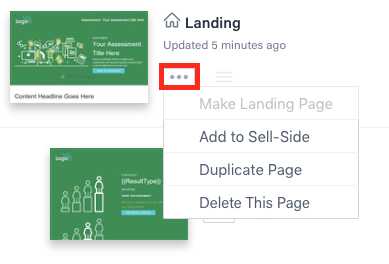
Next to each thumbnail within the Creative Management screen, you will find a button you can click to view actions you can take with each page. After enabling Sell-Side for the creative, you can click this button to open a drop down menu with an option to copy a page from the normal experience into the Sell-Side experience.
Sell-Side
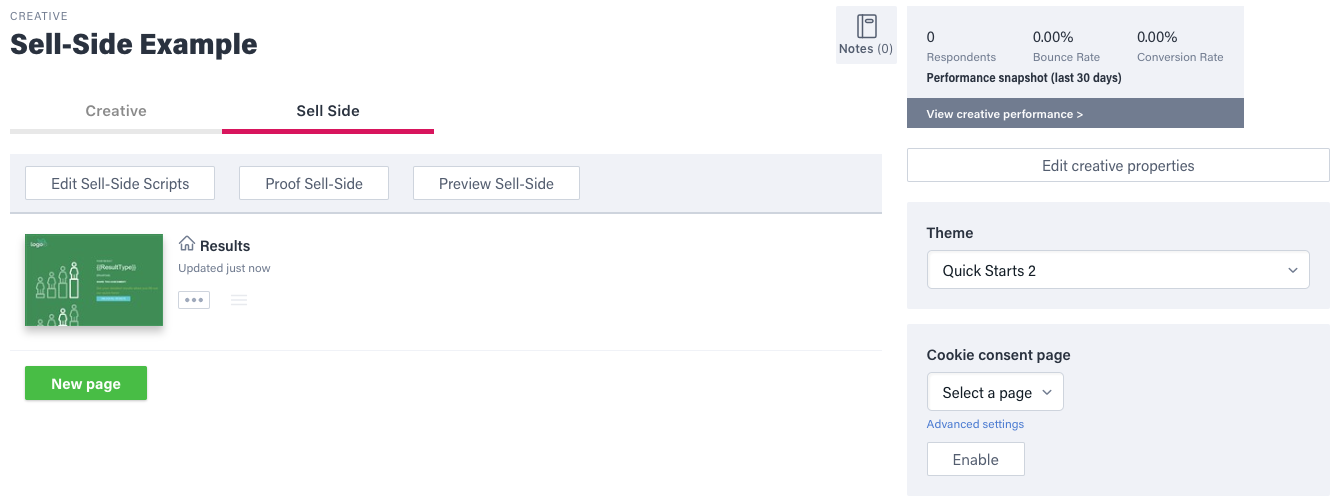
Above the pages within your experience you will find two tabs: Creative and Sell-Side. Simply click the Sell-Side tab to switch over to the Sell-Side page(s) within your creative.
Within the Sell-Side tab, you will have the option to add one or more pages to the Sell-Side experience. This is typically the page that shows results of your interactive experience so you can quickly gather insights on a given user when viewing the Sell-Side.
You can use dynamic content substitution to display responses that were given by visitors within the interactive experience. For more information on dynamic content substitution, click here.
You can click into this page to edit it as you would any other page within your creative. You may want to customize Sell-Side page(s) to show more information that was collected from the user that you may not necessarily want to display to the visitor when they complete the experience.
For example, content can be added to Sell-Side pages to help your sales team quickly interpret the results of the experience and offer quick points they may want to raise to visitors when contacting them.
Sharing Sell-Side
Sell-Side pages are not always going to be viewed by normal platform users. To share this information with your sales team, you can set it up to be exported through your ion integrations.
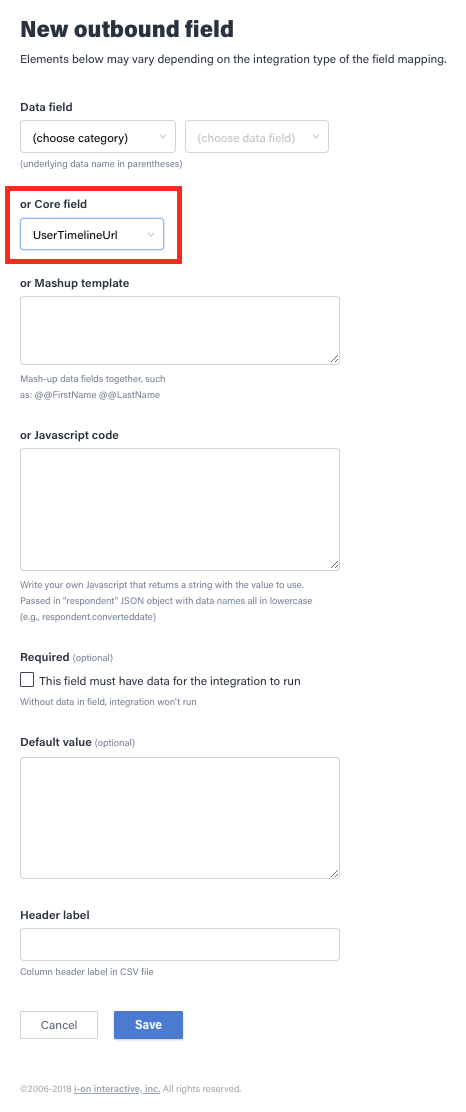
To set this up, add a new outbound field to your integration's field mappings and choose the "UserTimelineURL" option from the core field drop down menu and map it to the desired field.
With this field in place, your sales team will see a link that they can click to view the Sell-Side information that you set up within your ion experience.
Please note that for security purposes, users will need a login for ion in order to view this data. When adding setting up user accounts for your sales team, you can restrict their access so they are only able to view Sell-Side pages within your console.
Sell-Side Timeline
After clicking the link, the sales person will be taken to the timeline. This timeline will show all the experiences that user viewed within ion.
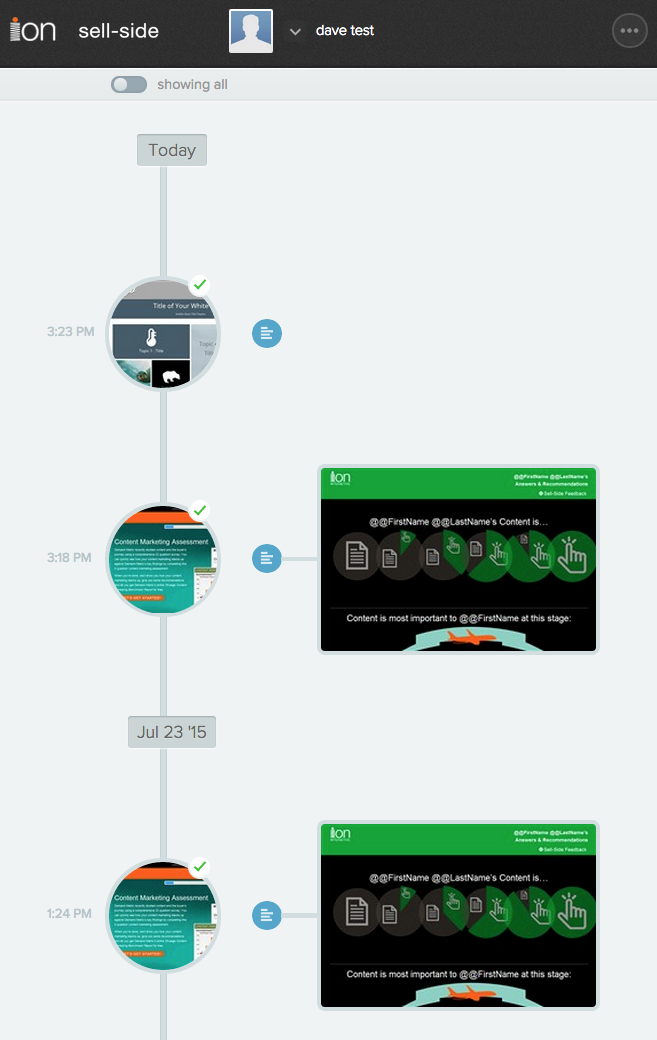
From here, you will see a circular creative thumbnail for each experience which you may click to preview. If the user converted on that experience, you will see a green checkmark next to the creative thumbnail. You may click the blue data icon to view respondent data that was collected in that experience as well.
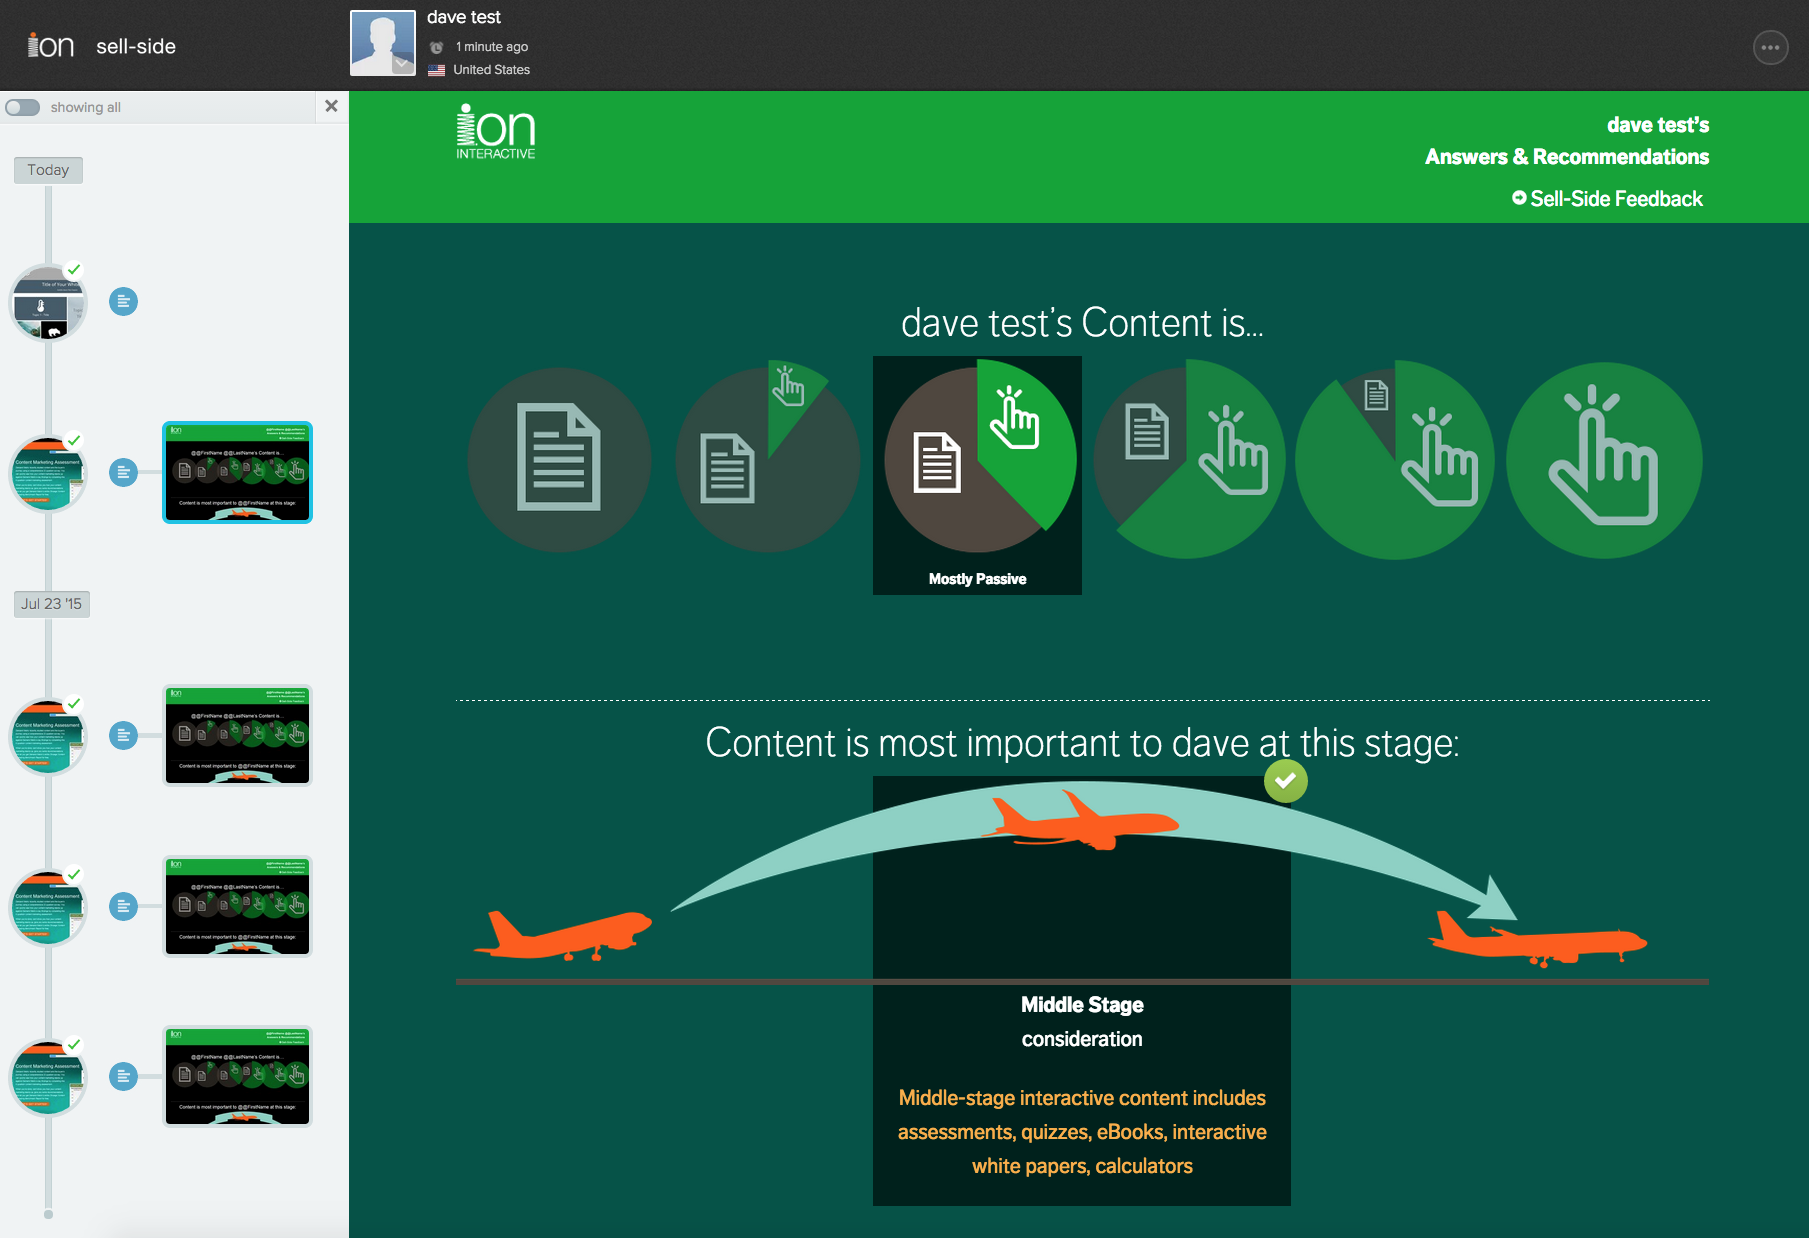
To view insights from a Sell-Side experience, click on the rectangular Sell-Side thumbnail in the timeline. After doing so, you will see all the selections that the user made within the experience as well as any other customizations that were made for your sales team.
If you have any questions, please contact us on help@rockcontent.com. 😀