.png?height=120&name=rockcontent-branco%20(1).png)
Errors 502, 503, and 504 are some of the most common bugs we encounter when browsing the internet. With this tutorial, you will know what to do with it!
How to fix error 502
Reload the page
An information transmission failure between servers and devices causes error 502. Reload the page and see if it fixes.
Clear the cache
In many situations, clearing your browser's cache will do the trick. You can always find this option in the settings section of your browser. If you're using Google Chrome, use the shortcut Ctrl + Shift + R to clear the cache.
Clear local DNS
If the situation persists, the ideal is to clear the DNS cache. Each system has a different way of cleaning the DNS. If you are not sure about how to do it on your system, you may want to check it out on the internet.
Reboot the router
Reboot the router to restart the connection and eliminate network problems that may prevent the site from loading.
Use another device to access the page
Use another device to access the desired page and see if the situation persists. Restart it to see if the situation persists.
Use another website to confirm that the page is down
Using Down for Everyone or Just Me you can identify whether the site is down for everyone or just for you.
How to fix error 503
Theme or plug-in errors
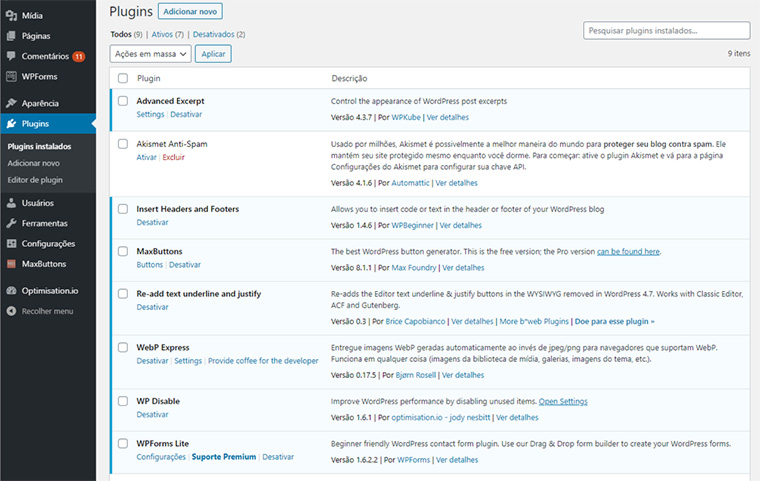
Your themes or plug-ins are not loading correctly, resulting in an error. So, the first thing you need to do is disable your plug-ins. As your blog is offline, you will need to access the folder file to correct it. Download an FTP client like Filezilla and use it to access your server with Rock Stage credentials.
- Once you have accessed your files, select the folder public_html> wp-content.
- Locate the plugins folder and right-click.
- Rename it to plugins_error. That will disable all plugins at once.

Then, create a new folder named plugins. Now you go to the WordPress site to see if the error is still there.
If so, it means that an installed plug-in on your website was causing the error. The steps above have disabled all WordPress plug-ins.
Now, to find out which plug-in was causing the problem, you need to go back to your FTP client. Then go to the wp-content folder and find the plugins_error folder and change its name to plugins. That will bring all plug-ins back to your blog. But it will be all disabled.
You will now log in to your blog's admin panel and go to the plugins tab. You may want to activate your plug-ins one by one and visit different pages on your website after activating each plug-in.
Keep doing this until you find the plugin that is causing the 503 service unavailable error.
If this step solved your problem, you do not need to follow the rest of the instructions on this page. Otherwise, you can proceed to the next step.
Disable your active WordPress theme
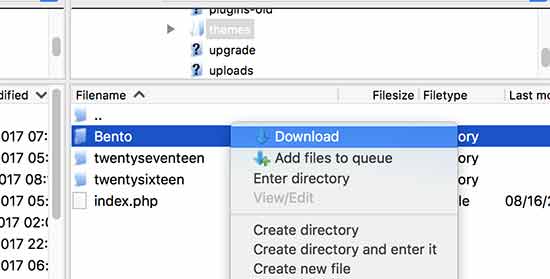
If disabling plug-ins didn't work and you're still having the same problem, then you need to disable your blog's theme. Access your server using the FTP client and check your site's root directory.
Now, go to the wp-content> themes directory and find your blog's theme folder; the file will have the same name as the theme you used. Then, right click on it and choose the option "rename". It will disable the theme. Check if you can access your site.
Be aware that when your site comes back, it may look different because WordPress may install a default theme instead of the disabled one.
Enable Wordpress debugging
Enabling WordPress debugging will help you discover the error cause, as this function displays WordPress processing errors on the screen. That makes it easier to find the component that may have broken your blog.
To activate the function, follow these steps:
- Access your domain's FTP.
- Open the wp-config.php file in your preferred editor.
- Insert the following code into the file:
// Enables debug mode
define('WP_DEBUG', true);
// Saves logs to /wp-content/debug.log
define('WP_DEBUG_LOG', true);
The above code enables debugging and also saves all errors found in a log file. The file is located in wp-content / debug.log.
How to fix error 504?
Reload the page
The first step to check if the error really exists is to reload the page. Press the <F5> key on the keyboard or click on the “Reload page” icon in the browser's address bar. This attempt is crucial because it can be a momentary communication failure. Thus, when reloading the page, the problem may not be there anymore.

Restart devices
One way to ensure that error 504 is not local is to restart the devices. That is because communication failures can occur with equipment such as a router, switches or modem, or any other difficulty communicating with the network. Therefore, restarting these devices can solve the problem.
However, when reconnecting the equipment, follow the right order so that the settings are properly assigned. Thus, the first to connect is the modem. After 60 seconds, turn on the router and, after 2 minutes, the computer, tablet, or smartphone.
Test another browser
Another recommendation is to try to access the page through another browser. This attempt is valid because there may be a problem with the website code that does not work well in a particular browser.
Review proxy settings
It is also necessary to review the proxy configuration for those who do not use this feature automatically. The proxy is a server that acts as an intermediate area between the local computer and the internet. In this way, any unavailability of the proxy can cause the problem of loading a website.
To check or change the settings, you need to access the “Internet Properties” in Windows. To do this, access the menu "Start> Settings> Network and Internet".

Select the "Status" panel and the alternative "Network and Sharing Center".

Then click on the “Internet Options” link.

Choose the "Connections" tab and click "LAN Settings".

Check if the proxy settings are correct or deselect the option “Use a proxy server for the local network” if you want to disable the feature.

How to fix error 504 gateway timeout?
When performing tasks like creating a website or blog, it is common for error 504 to happen. It can happen in new CMS installations, such as WordPress, or when the website traffic is heavy. Therefore, some actions are needed to identify where the problem is.
Repair the database
The error may be the corrupted database. You can use plug-ins to solve this problem, such as WP-DBManager, which you can download for free at WordPress.org.
To repair the database, install the plug-in on WordPress. Then, access the Dashboard and click on the alternative “Database”> “RepairDB”.

Then, click on the “Repair” button to repair the entire database, or select only the desired tables.

The next step is to optimize the database. To do that, select the alternative “Database”> “Optimize DB” and then click on the “Optimize” button.

Check the DNS configuration
Another reason for error 504 is DNS resolution. When we change the provider's website, it is common to take some time before the new address propagates over the internet, up to 24 hours in some cases.
During this period, a user may try to access the site and fails. Therefore, it is necessary to wait until the new address propagates for the problem to be solved.
However, it is possible to verify that the DNS propagated already. There are free tools on the internet that facilitate this verification, such as DNSmap. To check it, type the website address and click on "Check DNS propagation".

Check the CDN settings
Error 504 also occurs due to failures in the CDN - Content Delivery Network. CDN functions as distribution points for websites. In other words, they are distributed all over the world to store copies of the sites.
Its purpose is to make it possible for a user to access a page more quickly according to their location. Thus, when entering the website address, the connection is made at the CDN closest to the user. However, if it is unavailable, the page will not load.
The service can be easily activated and deactivated in WordPress through plugins such as CDN Enabler. When using an external CDN, it is best to disable it temporarily to see if it solves the problem.

However, if the site is unavailable and you cannot access it through the Dashboard, you will need to access the environment through an FTP connection to Filezilla, go to wp-content> plugins, and rename the cdn-enabler folder to cdn-enabler-rename.

Now you can solve the most common errors that arise when browsing the internet.
But if you have any questions or still need help, you can call us on chat or email help@rockcontent.com, and we will help you!