.png?height=120&name=rockcontent-branco%20(1).png)
In this article, we'll teach you how to use and how the Widget library works.
You can add, track and test interactive tools or dynamic design elements on your ion pages by leveraging the global Widget Library. The global widget library provides centralized management and enables you to define variables in your custom, portable code to make it dynamic and track-able!
Have widget code you’re ready to use? Let’s get started!
1. How to Add widget code to your ion console
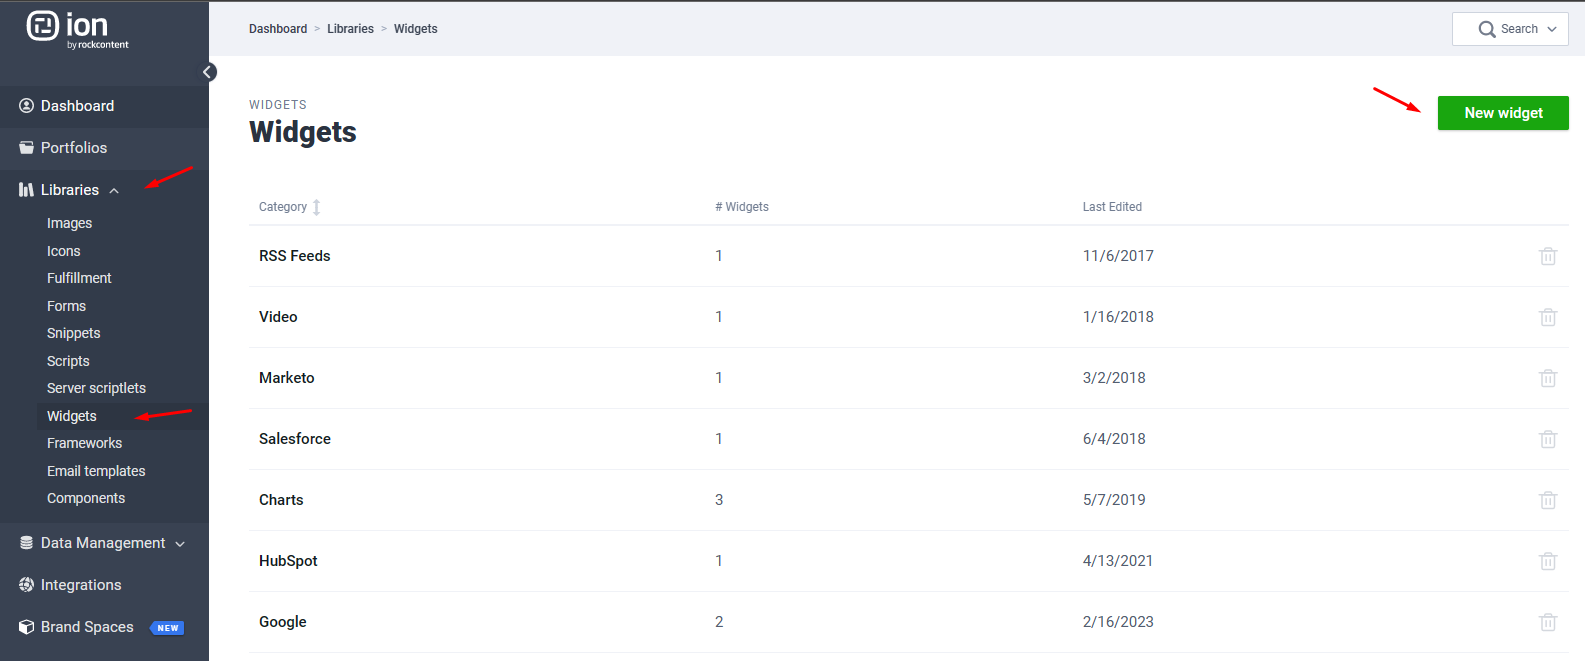
a. Navigate to Libraries and click on Widgets
b. Add a title and a new category
c. Paste widget code in HTML editor
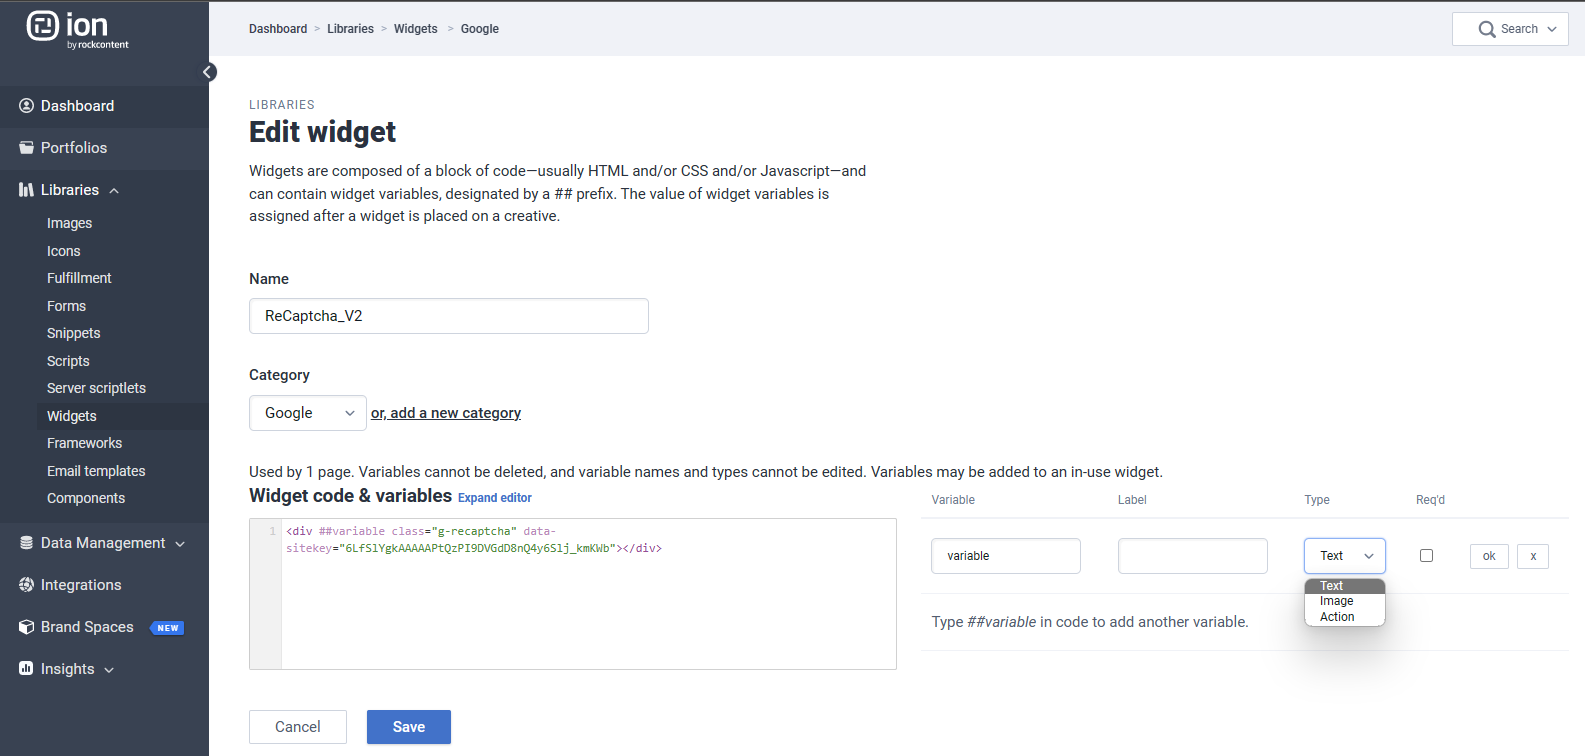
d. Use ## in code where you want ion to identify variables
e. Define variable requirements and type
I. Optionally set variables as required, if applicable, and select text, action or image from the “type” drop-down menu
2. Pull widget into ion page
a. Navigate into page
b. Drag the gear icon from the Basics category in your Palette tab into the location where you would like to place your widget.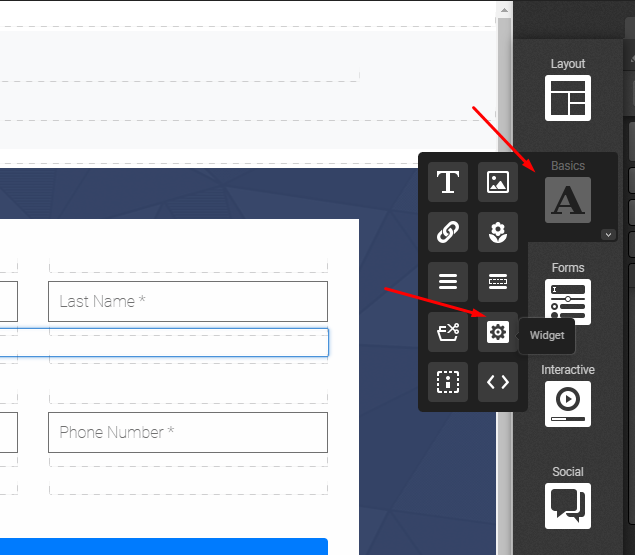
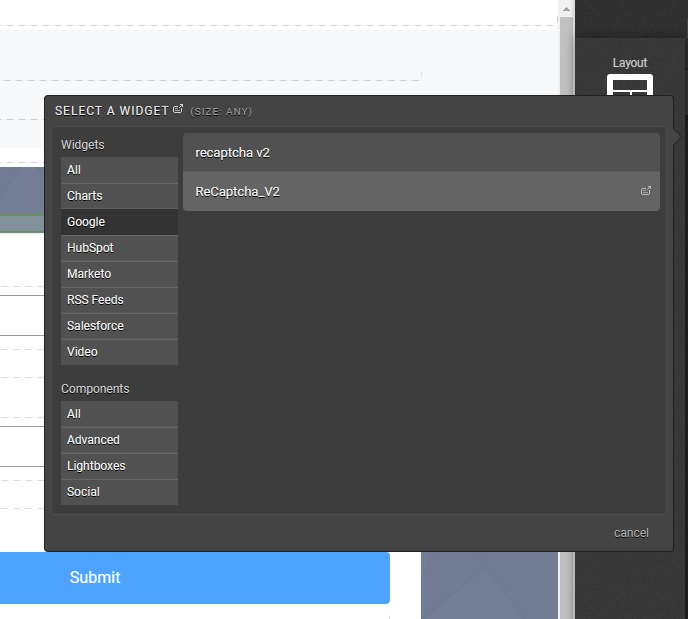
c. Select the category and widget you’d like to add to the page, and you're set!
3. Link, tag and add content to your widget
a. Depending on the variables defined in the widget library, use the dynamic editor to add content, images, links and tags for tracking
b. Click the image element, if applicable, from within the Edit tab of your creative studio and select the category then image you wish to add
c. Click the link element, if applicable, from within the Edit tab in your creative studio and select the next page or external URL you wish to drive traffic to upon click. Tag your link for tracking by selecting a tag label from the drop-down or add a new tag label in the field to the right
d. Double-click a piece of text directly or select a text element from within the Edit tab of your creative studio, if applicable, to add text to your dynamic, page element
If you have any questions, please contact us on help@rockcontent.com. 😀