.png?height=120&name=rockcontent-branco%20(1).png)
The ion platform includes a global icon library pre-filled with commonly used icons that you can drag into your ion pages! In this article, we'll discuss how to upload new icons and how to work with them once they are added to your page.
Upload icons to the global icon library
To access the global icon library, click the Libraries tab in your ion console's side nav and then click the Icons link.
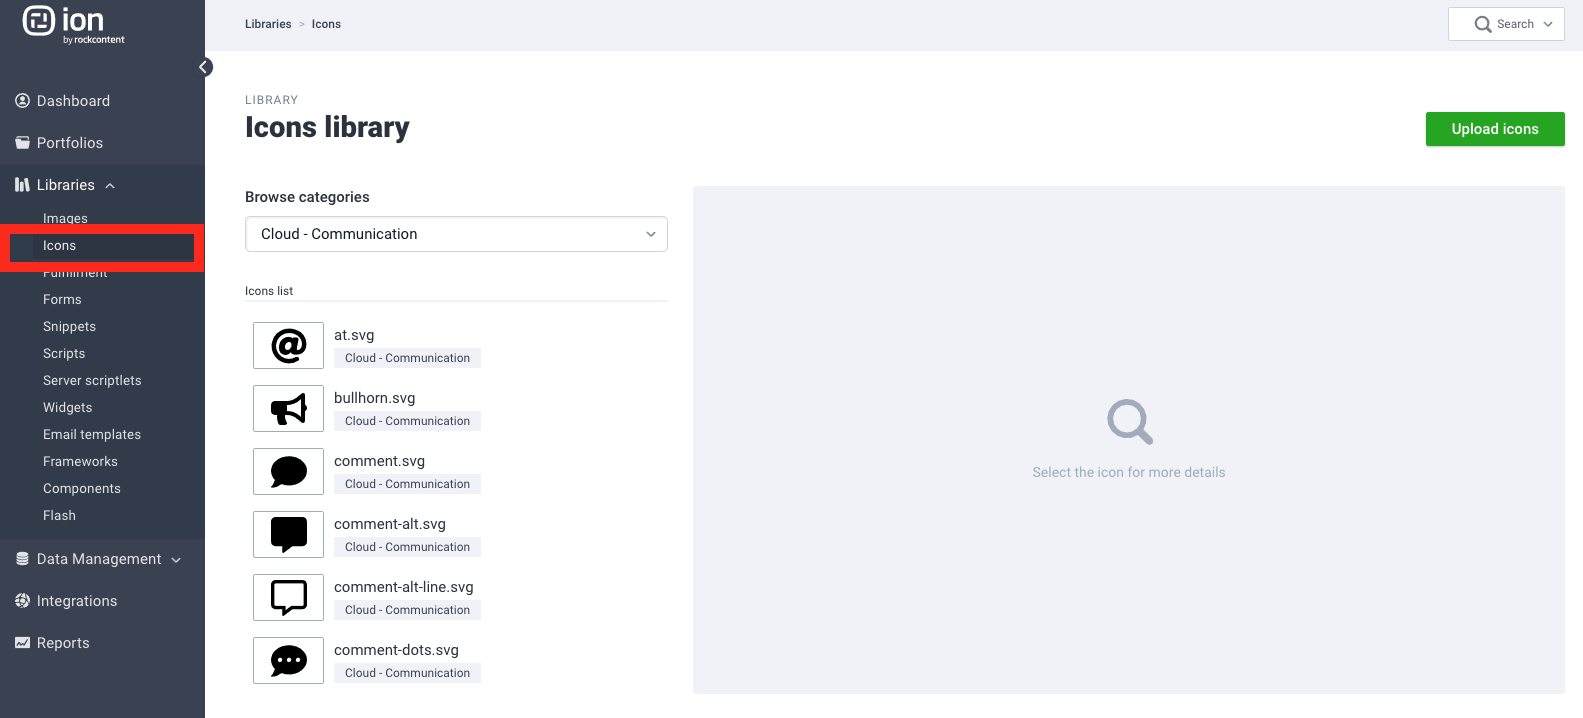
From here, you can upload an icon by clicking the green "Upload icons" button.
*NOTE: Only SVG files can be uploaded to the icon library.
Icons can be uploaded to an existing category, or you can create a new one—categories are just a helpful way to group and organize your icons. Once uploaded and saved, these images will be available when creating/editing your pages.
Adding icons to your creatives
Now you can add icons to your creatives!
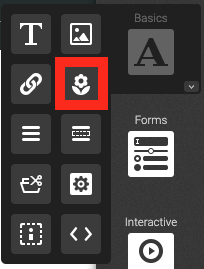
To do so, navigate into your page editor, hover over the Basics category and then drag the flower icon into your page to add a new icon.
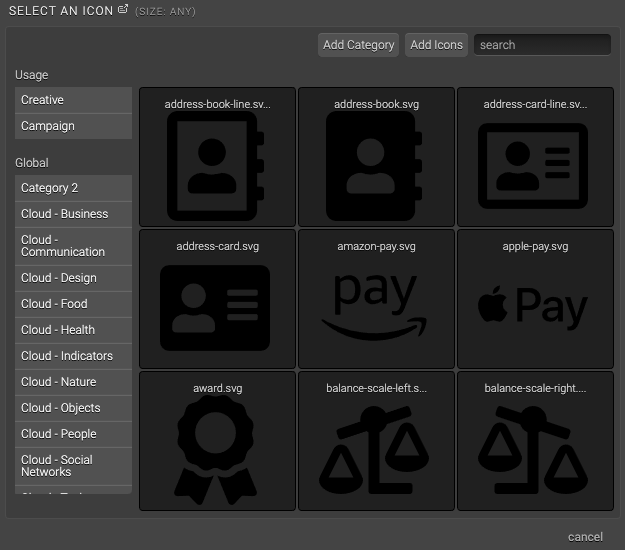
You should now see a flyout where you can view all of your icons. From here, select the category that houses the icon you want to use and then click the thumbnail of the icon on the right.
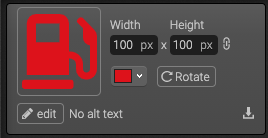
After adding an icon to your page, you will be able to edit the dimensions, use the color picker to change the color and even change the rotation of your icon directly within your creative studio. You can even click the download button to download the SVG file from your console.
If you have any questions, please contact us on help@rockcontent.com. 😀