.png?height=120&name=rockcontent-branco%20(1).png)
Bringing your team to Studio is the first step towards a successful management
One of the first steps in using Studio is the User Registration. Here, you will register all the important information about your employees as well as define access permissions according to each of their departments.
Before we begin, it is important to note that it is necessary to register all company employees, including those who will not actively use Studio. At the time of registration, it is possible to define whether or not a particular employee will have access to the platform, but listing them in the software is essential for launching salaries and commissions in the Financial department, for example.
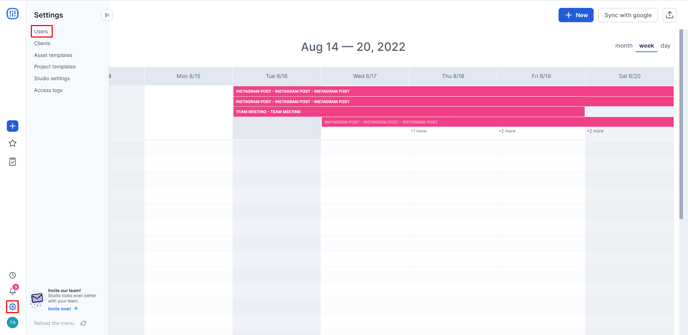
To enter your staff's data, go to Settings > Users on the side menu.
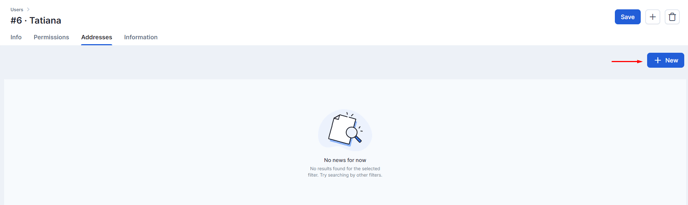
Click on the + New button and you will be taken to the registration page.

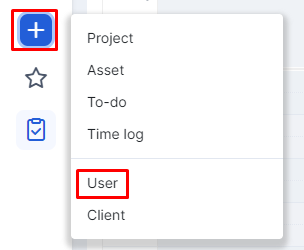
Another way to register employees is through the shortcut button on the left menu. Simply click on "+" and select User. That way, you will be automatically redirected to the user registration page:
Basic information
When you start filling the information, you can see that the mandatory items have a red highlight:
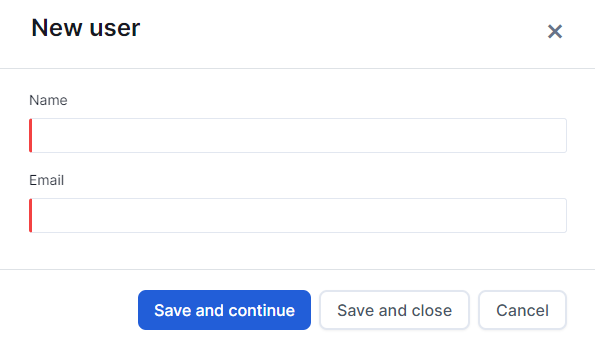
In this first screen, you will add your employee's name and their email. By clicking on 'Save and continue', the employee will receive an email confirming the registration and first access.
In the Info tab, it is also possible to define:
- If the employee will have access to Studio or if they will only be registered for your financial management, by activating or deactivating the "System Access" button;
- Whether they are an active employee or not. If they are no longer an active employee, just toggle the "In Activity" button;
- The "Home Page", which is the first screen they will have access to when logging into Studio.

Permissions
In the second tab, you will define the access permissions within the system. These permissions are divided according to the following modules: Settings; Projects; and Reports. In addition to these, you can also set permissions for Administrator and System Settings.
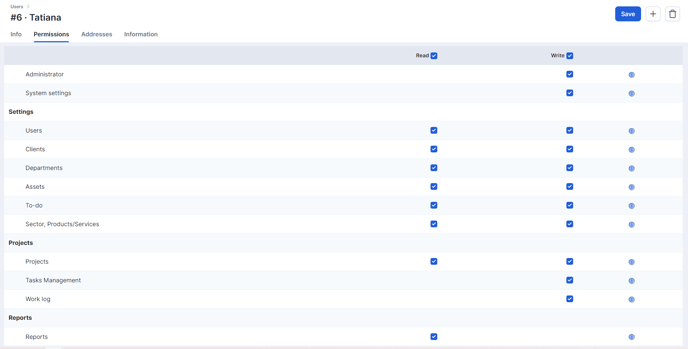
After setting the permissions according to the employee's department, we can proceed with the registration.
Addresses
You can also register the address(es) of your employees. When accessing the Addresses tab, just click on the "+ New" button.
A popup window will open for the information to be entered:
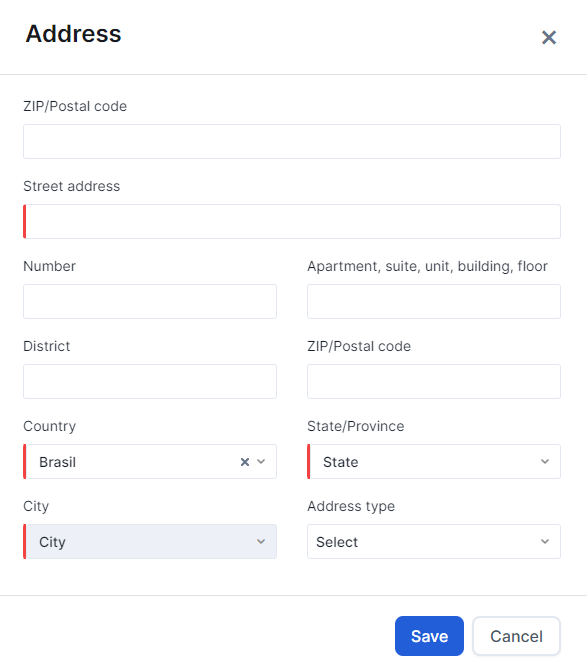
Please note that items with the red bar on the side are mandatory!
Additional information
In the Information tab, you can enter other employee data, such as a profile picture:
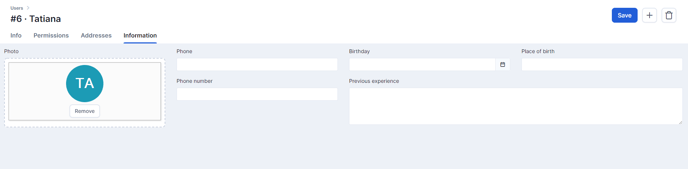
You can add your employee's photo to help identificate them when determining activities, for example. You can also fill in the phone number, date of birth, place of birth and previous experience. This way, the employee's record will be quite complete!
In case the employees themselves want to fill in this information or update it, they can access it directly by login. To do this, just click on the avatar and select My Profile:
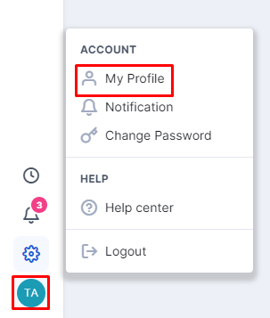
A pop up will open with the same previously mentioned information:
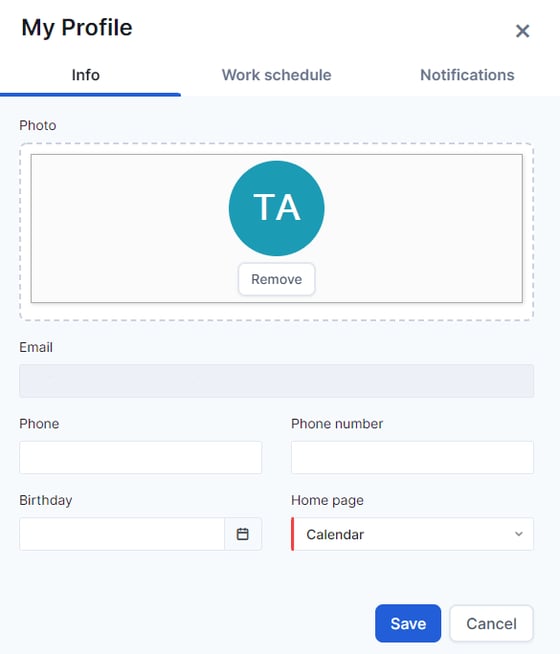
It is important to point out that the more complete the registration, the more you will get know about your employee. Now, you can register all of your company's staff correctly, in a fast and practical way!
Still need help? Simply reach us at help@rockcontent.com or through the platform chat and we will help you!