.png?height=120&name=rockcontent-branco%20(1).png)
Start here! From logging in to publishing your first content, this will teach all you need to know to begin your Ion journey 🤗
Summary
Step 1 - Login
Welcome to Ion!
We're excited to help you get up and running within your Ion console!
You should have an email in your inbox from Ion with a link to create your credentials and log into your console. Simply click this link to set up your User ID and Password to get started.
Your Ion console will have an admin URL like the one below. You can go to your admin URL to log into the console using the User ID and Password you have just created.
https://yourcompany.postclickmarketing.com/admin
We have a new Login page, not only prettier but also more user-friendly! 😍 Now you can login with your existing username, in case you already have an account, or with your email address!
You also get to see your Password as you type it (in case you want to check it) by clicking the eye icon next to it. Then you can either press Enter or click on the Log in button to validate.
By enabling the "Stay Signed In" option, you will be automatically logged into your Ion console on the next visits.

Forgot Your Password?
You will find a "Forgot Your Password" link below on your Ion console's login screen. If you forget your password, simply click this link and enter your User ID (username or email address) on the next screen. The platform will send you an email with a link prompting you to reset your password.
Step 2 - Get to the Cloud
The Quick Start Cloud
Your ion console has the Quick Start Cloud which is an ever-growing collection of flexible Quick Start creative experiences ready to publish and launch! These creatives will give you a big head start when building your marketing experiences by giving you a template which can be branded, modified and quickly taken live.
Get to the Cloud
Quick Starts can be downloaded into any campaign. If you are logging into your ion console for the first time, you'll want to navigate into your console's Sandbox portfolio to play around before taking something live for the first time.
To get to your Sandbox, you'll first navigate into your console's Portfolio tab. From here, click into the Sandbox portfolio and then into your Sample campaign.
Browse the Cloud
Once you're in the Sample campaign, click the green “New creative” button in the top right corner to add a new creative.
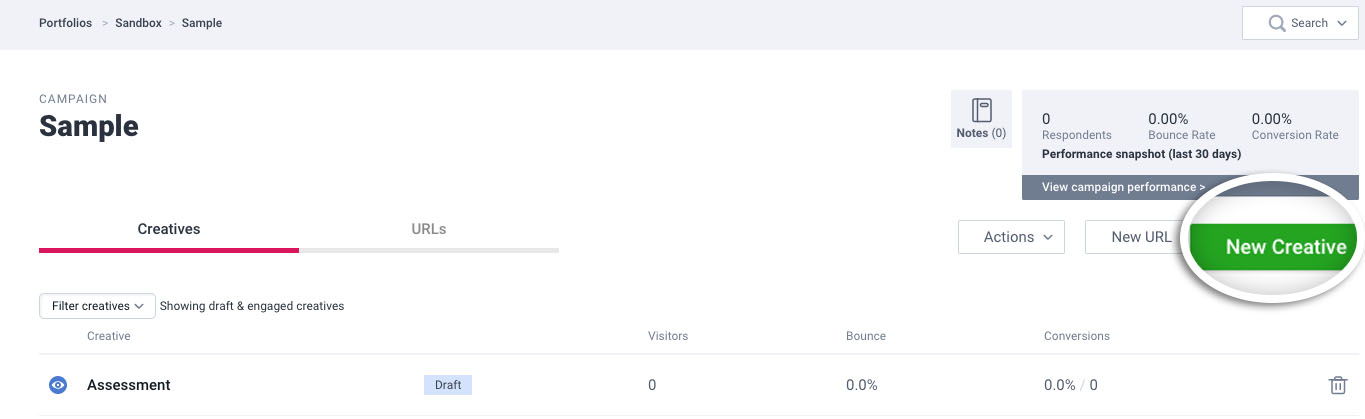
From here, click the Quick Starts Category dropdown menu to browse our collection of high-performance creatives organized by content-type and usage. For example, you have "Landing Pages,” “Quizzes,” and “eBooks and Whitepapers” categories, to name a few.
We encourage you to experiment with Quick Starts! A great way to get started is to use the Quick Start Cloud as a jumping-off point to build your own creatives. With a few updates you should be ready to go live in no time!
Step 3 - Pick a Quick Start
Now you get to pick your Quick Start!
Go to the "Easy Quick Starts" category in the drop-down and pick out one of these two Quick Starts:
- Easy Infographic
- Easy eBook - 2 Chapters
Simply give your creative a title, click the one you want to download and hit the save button to download the Quick Start.
Step 4 - Publish Content
Now you get to make your creative your own, starting with applying your branding and adding your content.
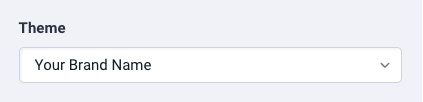
Change Theme
You will find a theme dropdown menu on the right side of your Creative Management screen. Your theme contains your brand styling, and gives your creatives your unique brand look-and-feel.
Creatives come with the Quick Starts theme by default, to change it, simply pick your theme from the dropdown menu.
Edit
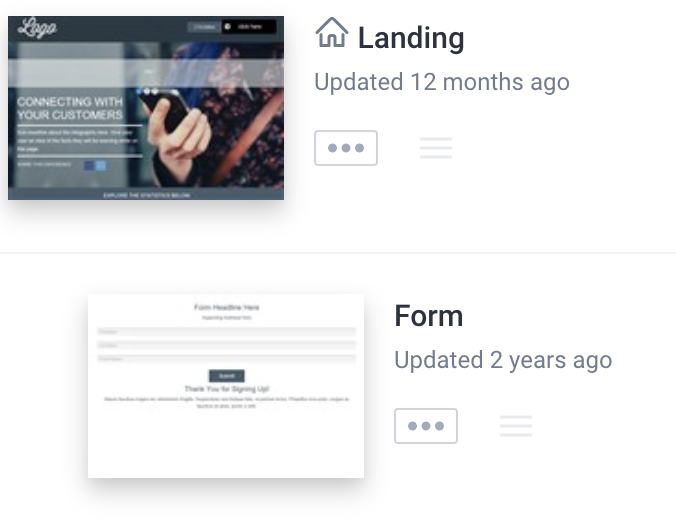
Click the thumbnail for the Landing page to start editing.
Update Content
Text
From here, double click text to change it out for your copy. In the eBook, for example, you can double click "TITLE GOES HERE" to open a text editor to insert the title of your eBook.
Images
Double click an image to open the image editor. Next, click the "reselect image" link to choose a new image from your Image Library.
If you need to add a new image to our Image Library, you can simply drag it into this window and then select it to use it in your ion page.
Links
In the top right corner of the page you will find a CTA button link that is pointed toward a form page within the creative. Double click the button to edit the button text.
If you would like to point the link to another page or to an external site, you can click into the actions editor within your creative studio. This will open a flyout that allows you to choose another page to go to, an external site or to trigger a download from your Fulfillment Library.
Ready for next steps?
Want to learn to create in ion? We'll get you trained, just reach out to your ion account manager or email help@rockcontent.com.