.png?height=120&name=rockcontent-branco%20(1).png)
How to manage each employee’s permissions
Understand how Studio access permissions management works
Studio allows each employee to have access only to the menus related to their department. This tool is very important to restrict access to information that needs to be shared only with managers, for example.
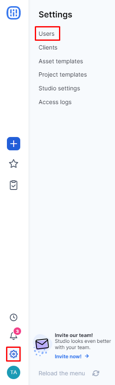
To set up permissions, go to settings > users.
Register a new employee or edit an existing one, then go to the Permissions tab:
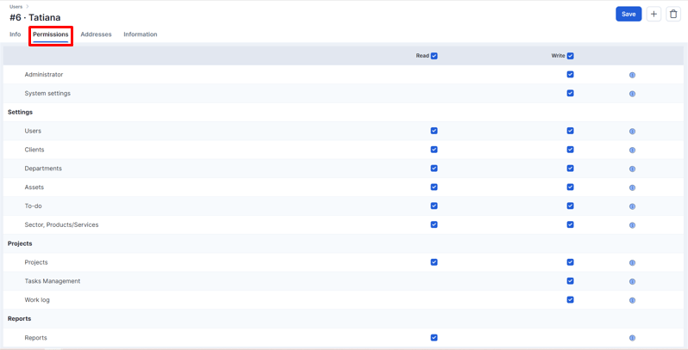
You can allow reading and writing information from the menus, but you can also allow read-only when the employee needs to consult information but should not change it.
Just select the checkbox corresponding to writing/reading in each item.
If in doubt about what that permission refers to, you can use the information icon on the right.

Note that the selected icon displays the details of the permission that will be activated on that item, specifying what it will be possible to do in the system in terms of reading and writing.
Now that you know how to manage your employees' permissions, be sure to check if they have the access they need to perform their activities in Studio!
Still need help? Simply reach us at help@rockcontent.com or through the platform chat and we will help you!