.png?height=120&name=rockcontent-branco%20(1).png)
- Rock Content Knowledge Base
- Studio
- Financial management
How to cancel an NFS-e (electronic invoice) on iClips?
See how to cancel an invoice on iClips.
When issuing an invoice, you may need to cancel it for some reason. Sometimes due to wrong issuing or even for a job that was not closed. See the step-by-step below.
Note: some municipalities do not allow the cancellation of notes via third party systems. In such cases, the cancellation will need to be made directly on their web services.
1. Go to Invoices
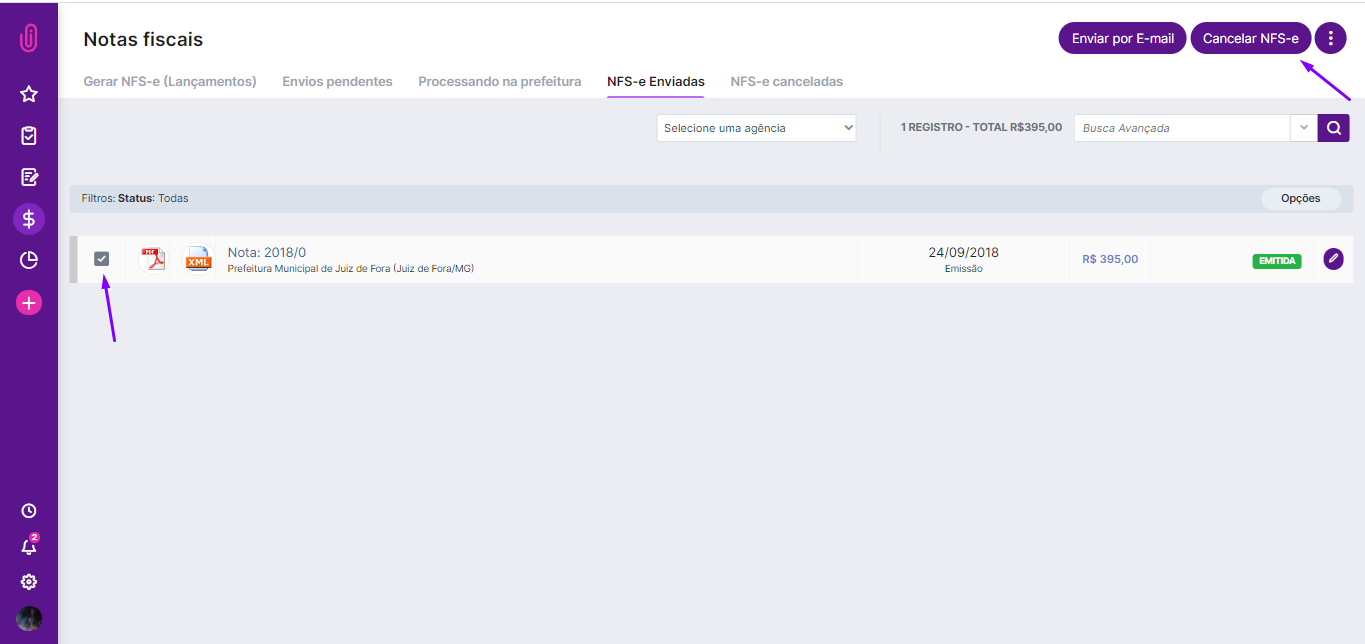
The first step is to locate the window where the invoices are. Go to Financial > Invoices. In this area, it is possible to filter the invoices through the submenus on the left side of the screen, which are Invoice Entries (Generate Invoice), Pending Invoices, and Sent Invoices. You will select the third option: Sent Invoices.
2. Locate
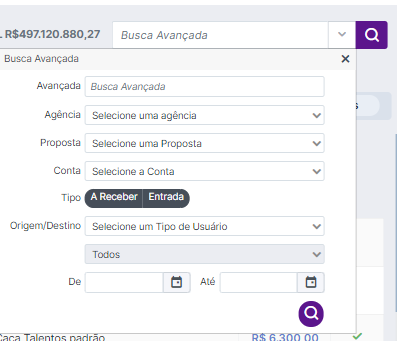
For the next step, you can use the advanced search to find the invoice you want to cancel.
3. Cancel the Invoice
Once you locate the invoice you want to cancel, select the checkbox for that invoice and select the blue Cancel Invoice button.
A pop-up will open where you will select the reason why you are cancelling this invoice.
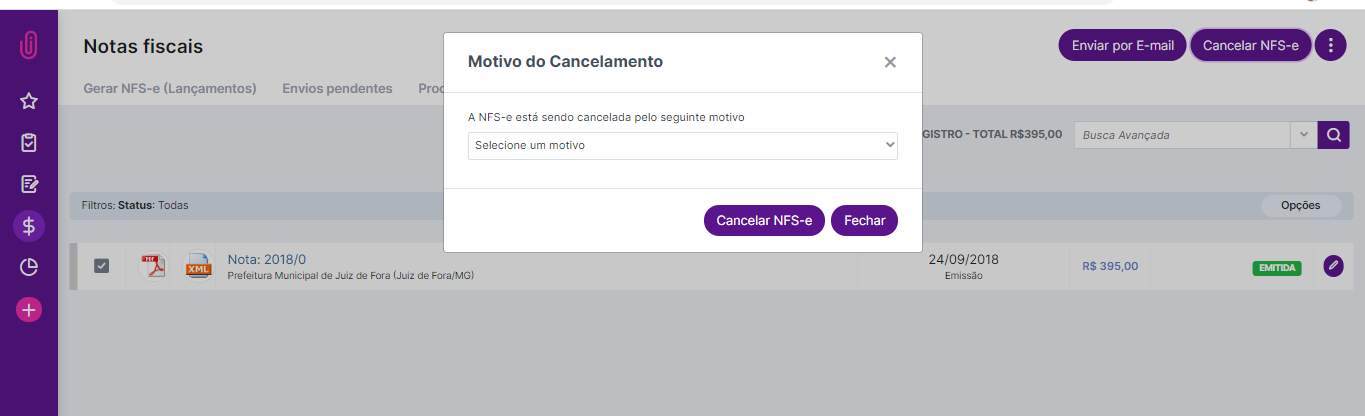
As soon as you select the correct option for cancelling, confirm in Cancel Invoice.
And that is it. Your invoice was cancelled successfully!
Still need help? Just call us at help@rockcontent.com or on the platform chat, and we will help you!