.png?height=120&name=rockcontent-branco%20(1).png)
Do you need a new plugin for your website and don't know how to find it? This tutorial can help you!
According to a study by W3Techs, 30% of all internet sites are developed using WordPress, and one of the reasons why this tool is so common is the practicality it provides us with its plugins. However, with thousands of plugins tested and implemented in Wordpress, it is difficult to know which are the best and most reliable.
Check out a step by step below that will help you find the best plugin for your website:
First step:
Keep in mind which features you want the plugin to cover, or write them down somewhere if you prefer. You probably won't find everything you need within a single plugin, so it is valuable to separate this search into topics to make it easier to go over the features that have already been covered.
Second step:
The best place you can look for a plugin is on the WordPress site itself. Clicking on this link will take you to the official page where you can search to find all existing plugins with the desired features.

Third step:
Within this page, you must type which main functionality you want in the plugin in the search field and press Enter.
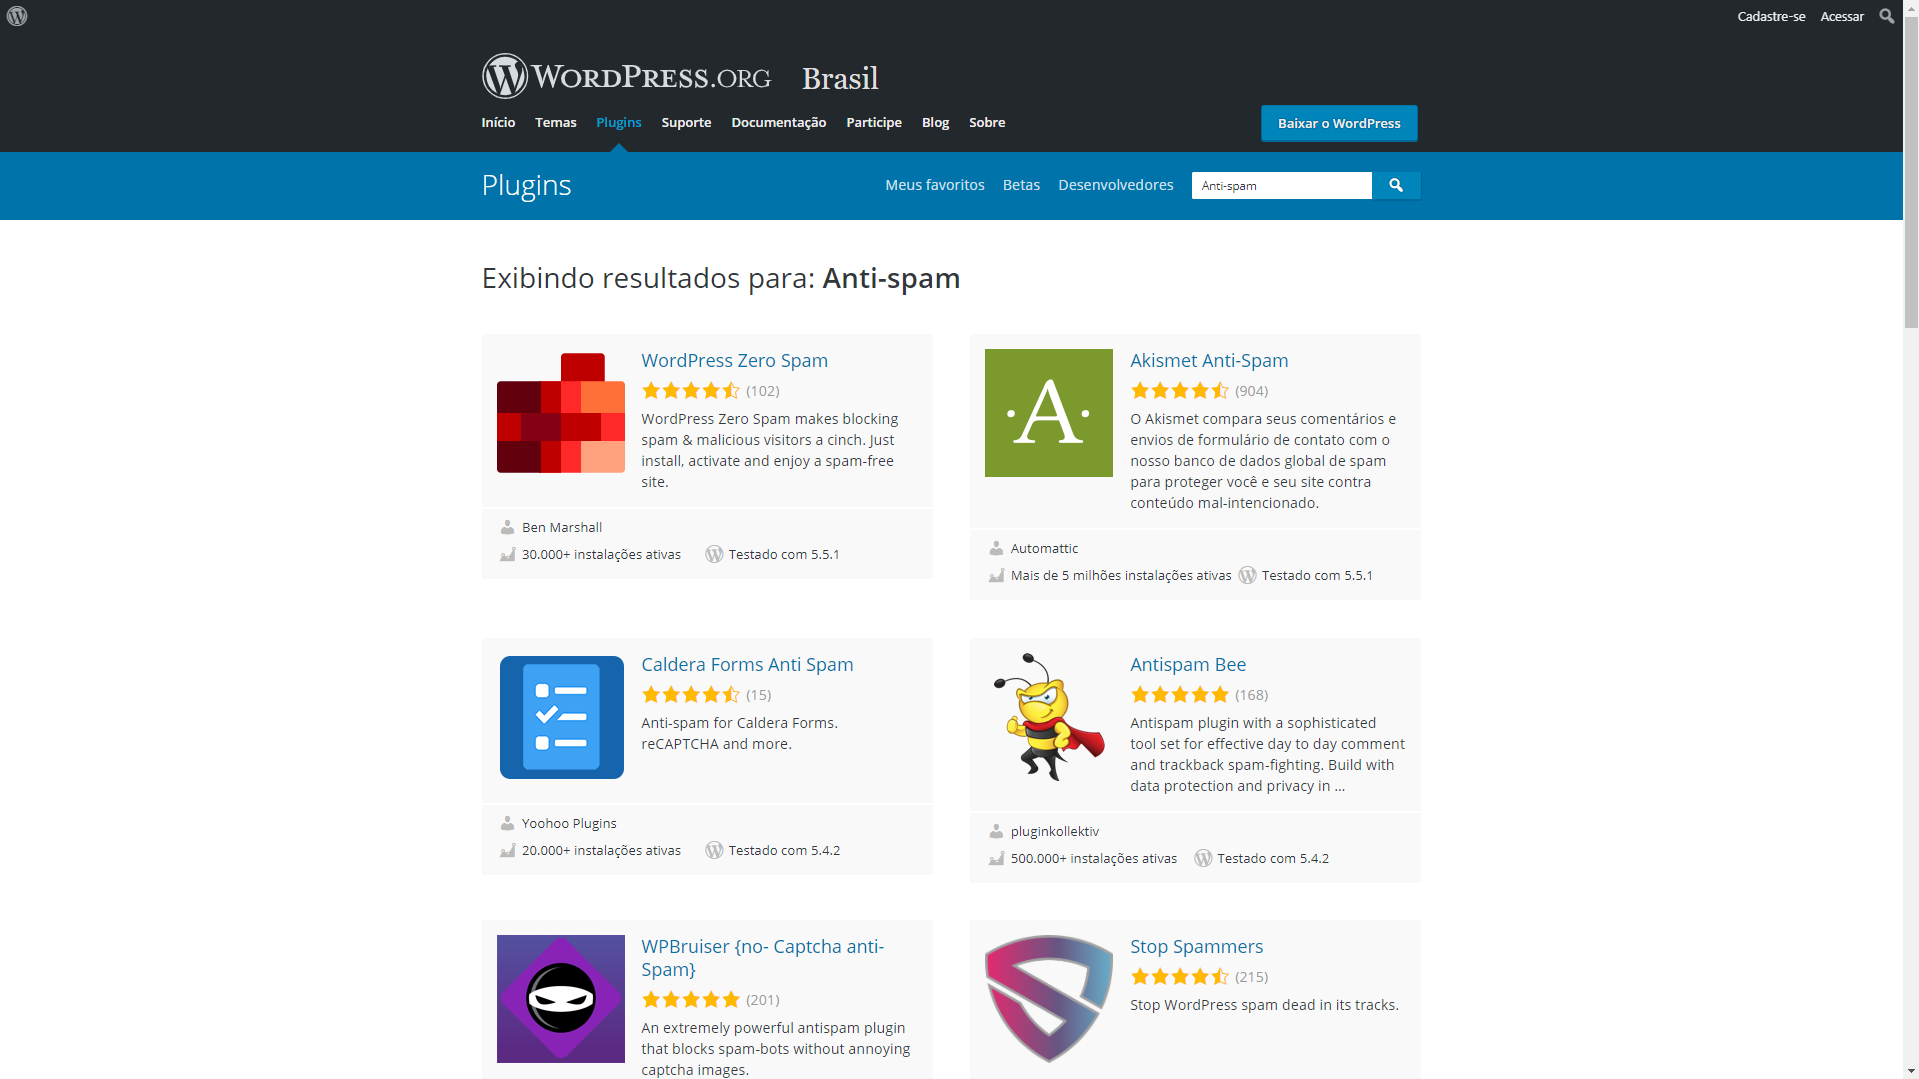
A large list will be displayed, and this is where you should pay more attention to the following details displayed with each plugin:
1. Description: When you click on the name of each plugin, you will be directed to a page with the product's description. At that moment, you must compare it with our list of desired features and see if it fits what you need;
2. Number of active installations: Good plugins are usually installed and active on a very large number of sites, but this number varies according to the functionality that was searched. Anti-spam plugins, for example, are usually active on many sites, so a good tip is to compare the number to the other plugins displayed in the same category;
3. Reviews: Another great indicator of a good plugin is the reviews written by users. In this list, you can only see the stars of each one. However, if you click on their names, you can see comments made by those who reviewed it;
4. Wordpress version: A very important piece of information to be checked, is if the plugin was tested in the version of your WordPress installation, so you can guarantee that it will work correctly;
Fourth step:
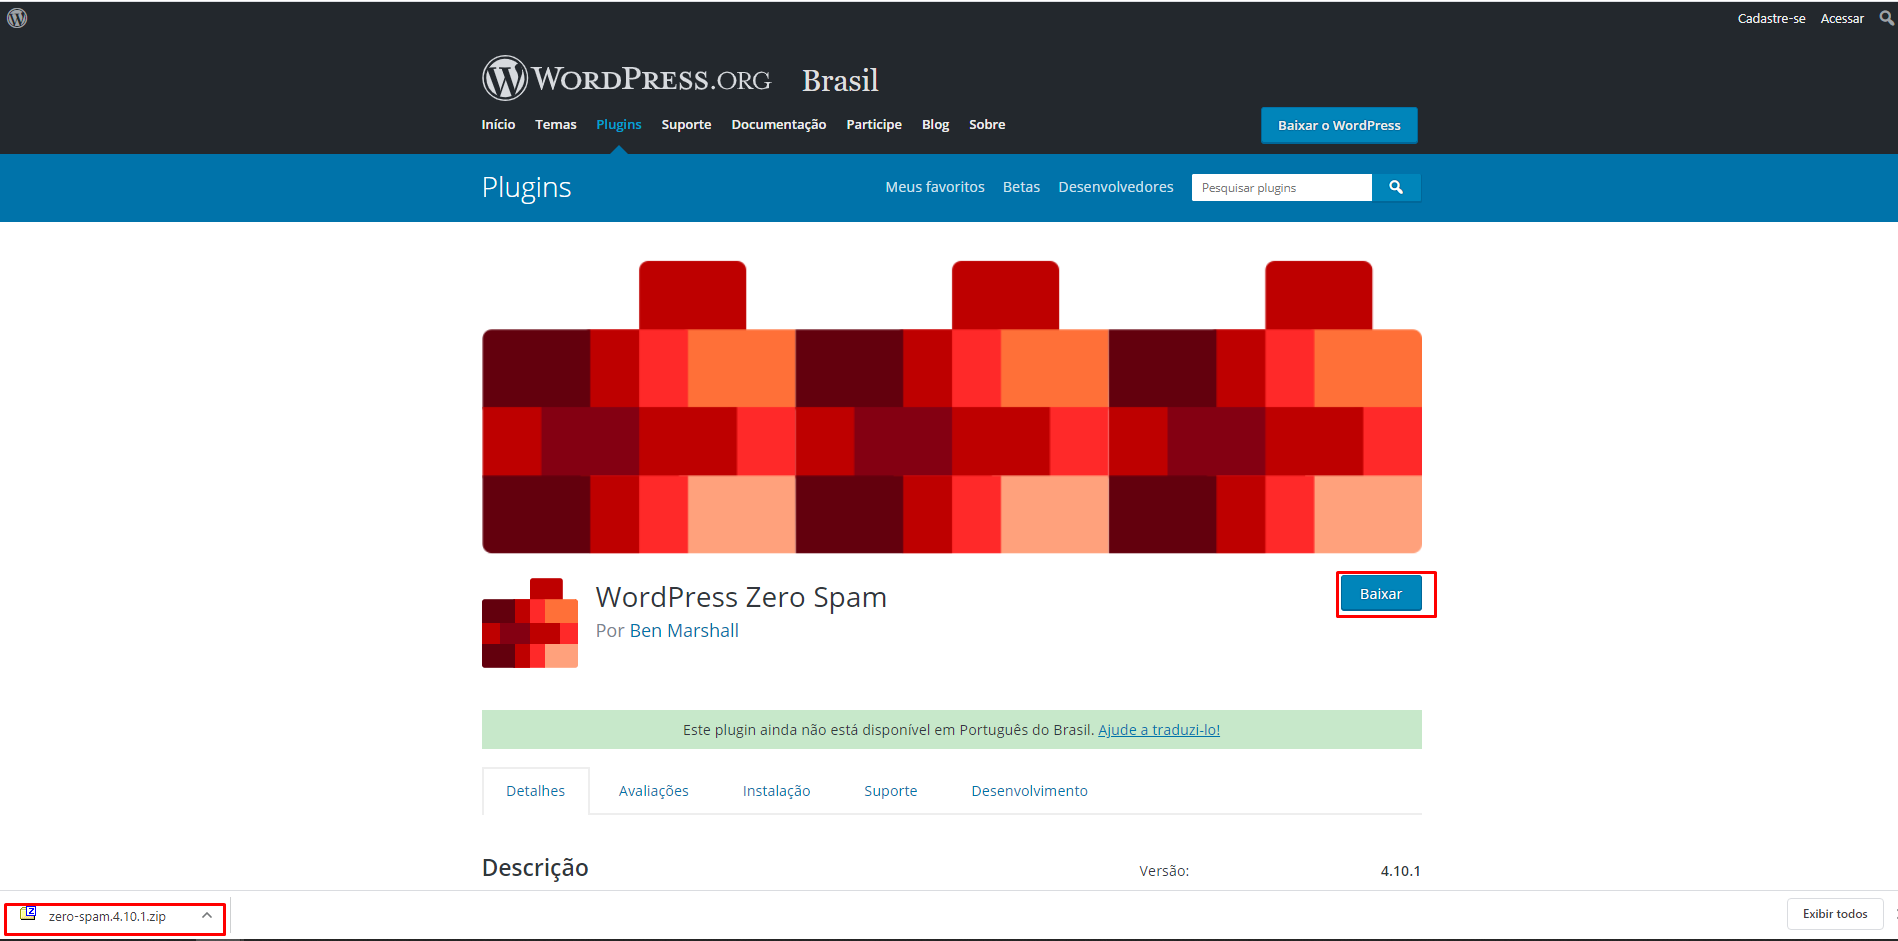
After choosing which plugin or plugins will be added to your site, you must go to each of their pages and click on "Download", then the download will start in your browser.
Final step:
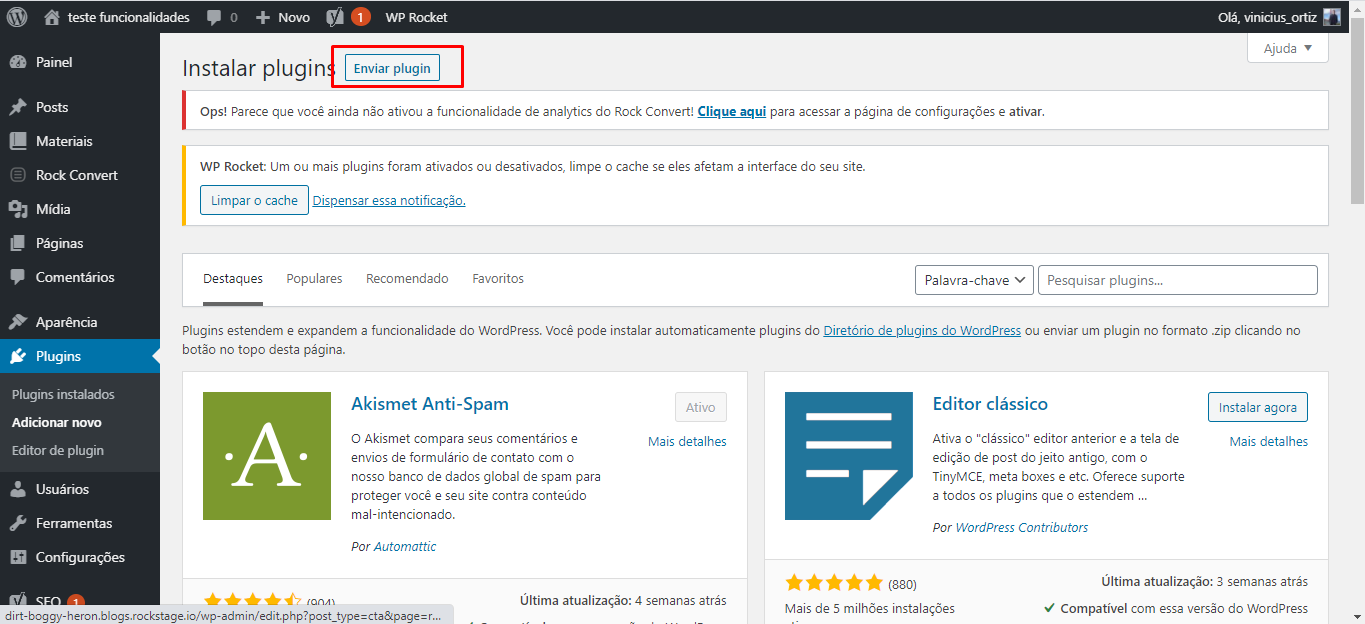
With the plugins already downloaded on your computer, you should now go to your WordPress admin panel. There, go to "Plugins → Add new". On this page, click on "Send plugin".
After that, click on "Choose file". A pop-up window will open where you need to choose the files downloaded in the previous step, one at a time. When clicking the file, WordPress will load it. Then, click on "Install now" and then on "Activate".
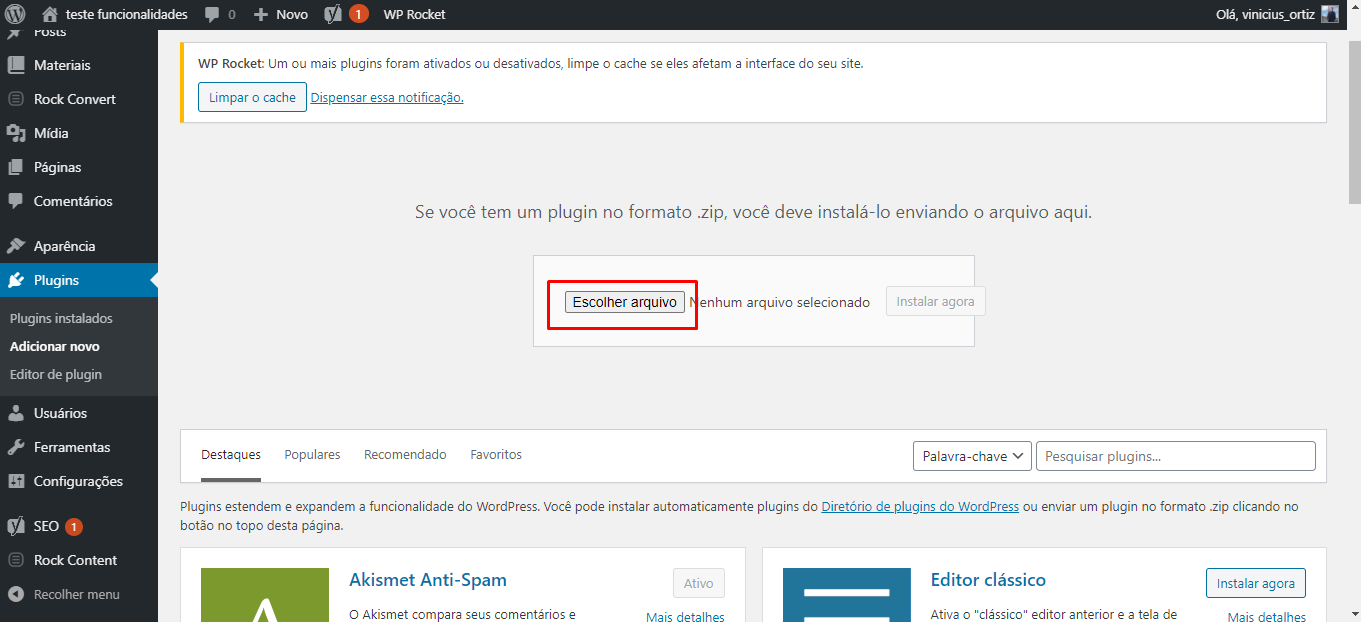
All done! You already have the plugin installed and active on your WordPress.
Do you have any further questions? Contact us sending an email to help@rockcontent.com!