.png?height=120&name=rockcontent-branco%20(1).png)
In this article, you'll learn how to upload images to your library and the formats accepted.
Uploading images to the ion global library
The first step to add images to your creatives is to save them to your global image library. Your ion console has a centralized library for image files (.gif, .jpg and .png).
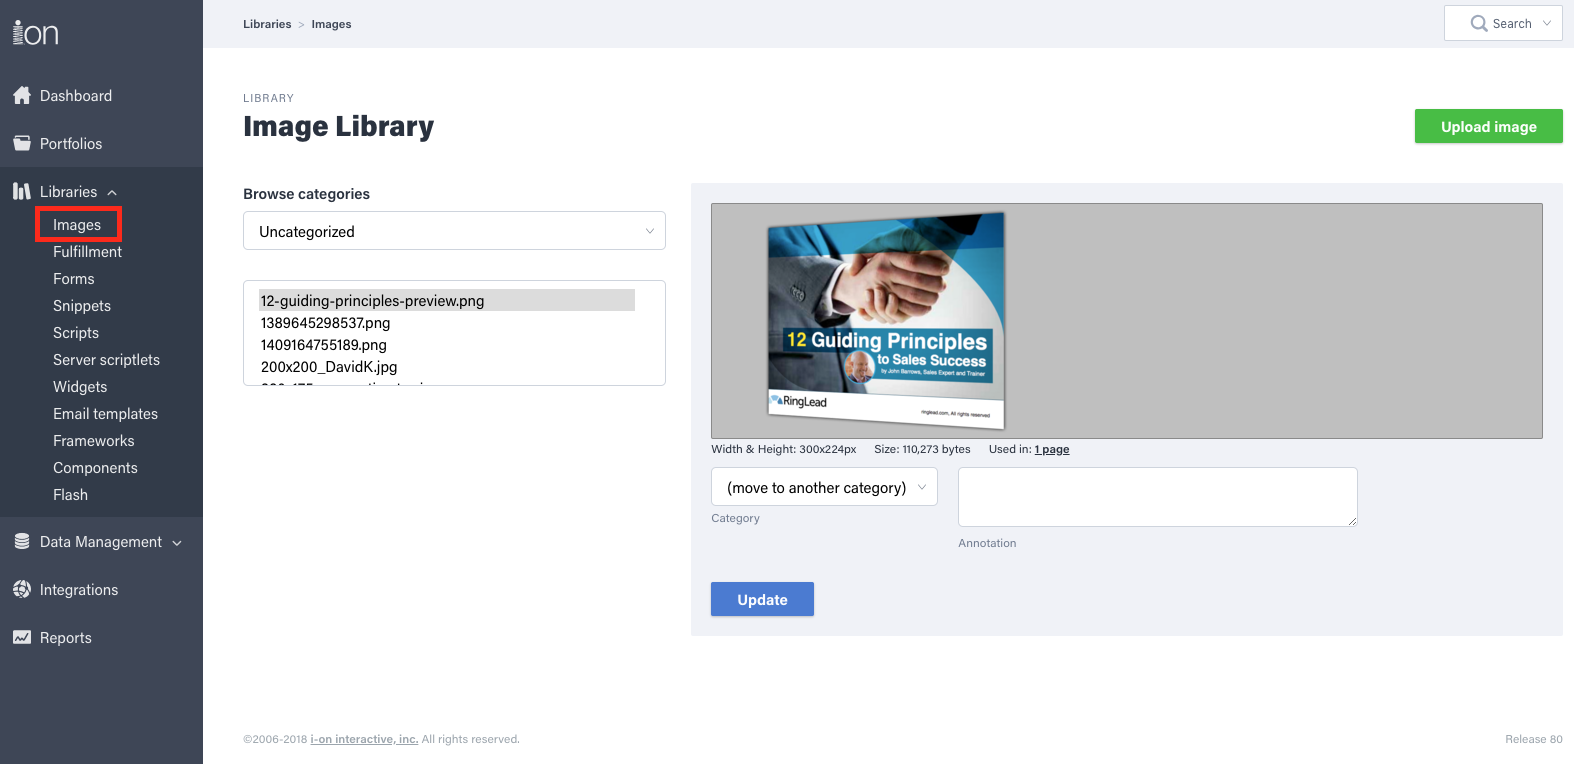
To access the global image library, click the Libraries tab in your side nav and then click “Images.”
From here, you can upload an image by clicking the green “Upload Image” button.
Images can be uploaded to an existing category, or you can create a new one—categories are just a helpful way to group and organize your images. Once uploaded and saved, these images will be available when creating/editing your pages.
Ion allows upload more than one image per time, you only have to select all in your gallery and upload them. You are able to optimize all the images in the same way.
Now you can add images to your creatives! To do so, navigate into your page editor and either drag the image icon into your page from your creative studio or double click any image to open an image editor. From here, simply select your image category on the left side of the image editor fly-out and the thumbnail of your image on the right. After selecting your image, you will also be able to crop, resize and/or add transparency to your image. You can even make that image actionable from within the same editor to take respondents to another page, trigger a fulfillment download or go to an external URL! Want to track clicks to your actionable image? Just add a tag and click save.
Note: Be aware that when creating a folder or uploading an image to it, you can't add special characters to your title, otherwise it will show an error message and the upload will not succeed.
If you have any questions, please contact us on help@rockcontent.com. 😀