.png?height=120&name=rockcontent-branco%20(1).png)
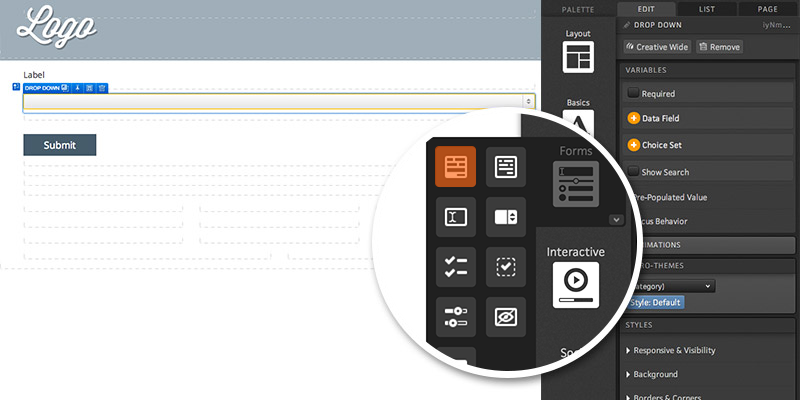
Within the Palette tab, you will find a Forms category containing form elements you can drag into your page.
Freestyle Forms
The first icon allows you to drag a new freestyle form into your page. After you add a freestyle form to your page, you can drag textboxes, dropdown menus, choice groups, sliders and hidden inputs into your freestyle form.
Learn more about Freestyle forms:
Library Forms
If your page does not already have a Library Form on it, you can drag and drop the second form icon into any container on your page to add a form from your Form Library.
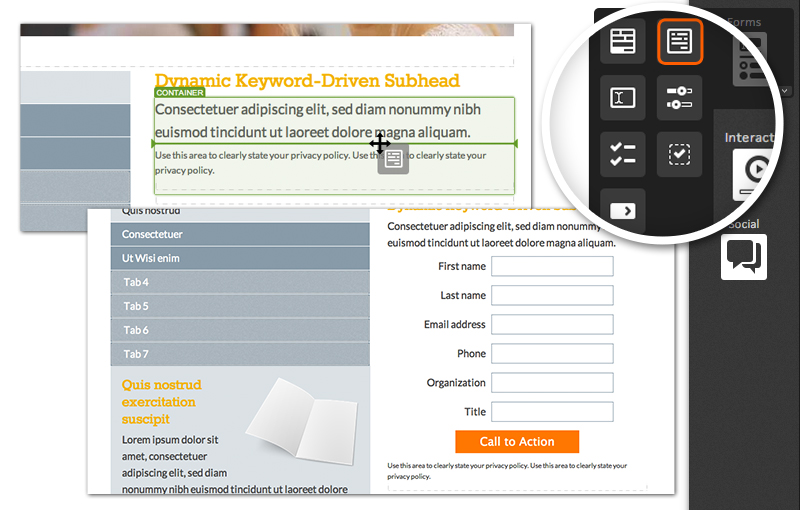
After dragging the library form icon into your page (or after double-clicking a form if one is already on the page), you will be able to choose a form from your library.
Select a form category from the left side of the form editor fly-out, and then select your form title on the right side. Your form will immediately render on your page.
You also have the option of changing the button text, replacing the default button with an image, and changing the button alignment from within the Content tab in your creative studio.
Next, define the form actions within the Edit tab of your creative studio. Options include:
- Take user to another page in the creative
- Download a file from your fulfillment library
- Take user to an external link (be sure to start with 'http://')
- Tag the respondent
- Mark the respondent as converted
After one or more actions are selected, click OK. If you'd like to add advanced rules for the form, click the '+ RULES' button in the Content tab of your creative studio.
If you have any questions, please contact us on help@rockcontent.com. 😀