.png?height=120&name=rockcontent-branco%20(1).png)
Configuring DNS
With this article, you will learn how to configure the DNS of your subdomain using Locaweb with your Stage blog or website.
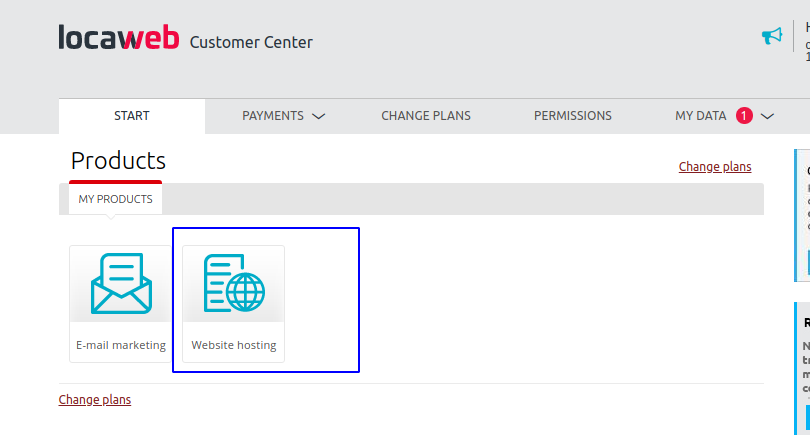
1. Log in to your Locaweb account and click "Site hosting".
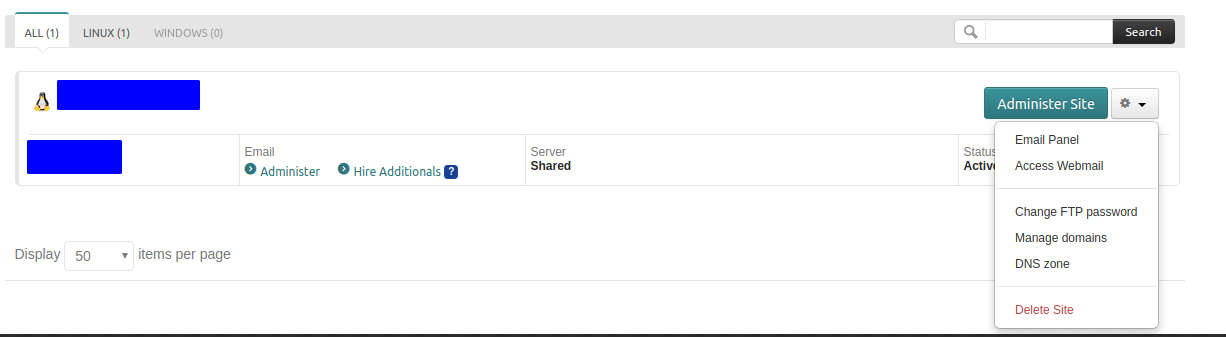
2. Click beside "Manage site" to open extra options and select "Manage domain".
At the following screen, click the arrow beside "Change domain" and select "DNS Zone":
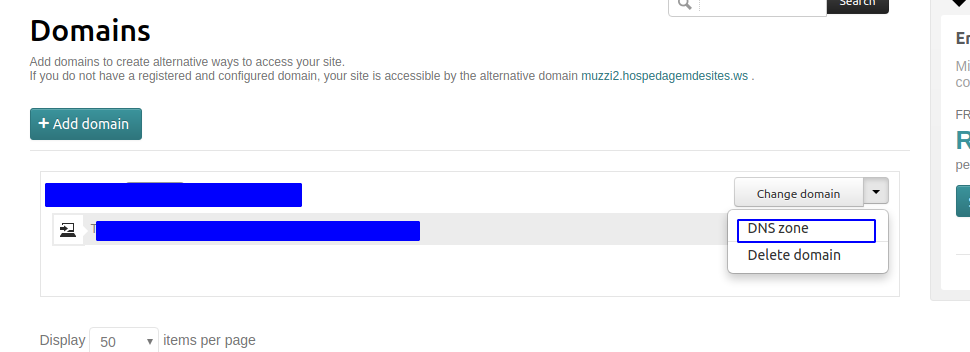
Important! In “Domains”, select the domain or subdomain you wish to use. We will explain the difference when configuring both throughout this tutorial.
Unable to find your subdomain? See this Locaweb tutorial to add it.
3. Click "Add record".

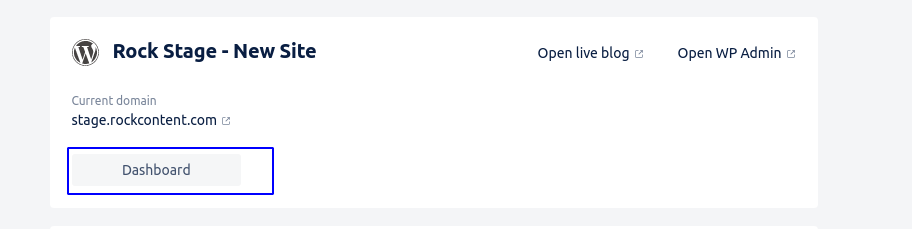
4. Now, you need to access your Stage panel to obtain the necessary information for your DNS configuration. Access Stage on a separate tab and click on “Dashboard”:
5. With your Dashboard open, choose the Domain submenu:

6. The DNS configuration will be presented like this:

Name field: shows the domain or subdomain you wish to configure.
Example:
If you are configuring the DNS of your domain, it will probably look like yoursitedomain.com.
If you are configuring the DNS of a subdomain, it will probably look like blog.yoursitedomain.com or www.yoursitedomain.com, among others.
Target field: shows a value generated by our service that you will use while configuring the DNS for your domain or subdomain.
Please note: There is a difference between configuring the DNS of a domain and a subdomain. The subdomain uses the main domain and sets itself apart by having an extra name in its address beside the domain name.
For example, blog.yoursitedomain.com.br is a subdomain, and yoursitedomain.com.br is the main domain you registered.
If you wish to configure the DNS of a domain, check here. If it is a subdomain, click here.
Domain DNS configuration
LocaWeb does not allow DNS configuration through CNAME at your main domain. If that is your case, you must do it like the following:
7. After clicking "Add record", select type "A" under "Select the record type". Under "Record", leave it blank. Under "Content", add the IP 151.139.128.10
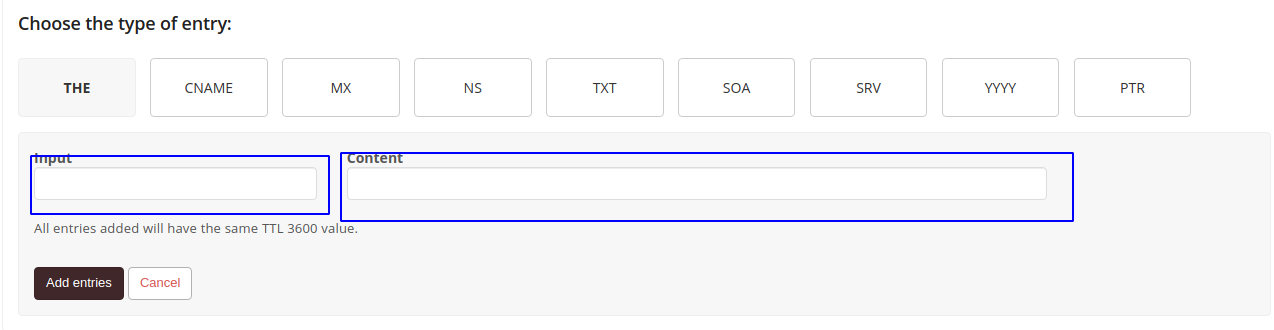
At the end, it should look like this:

All done! 😉 Your domain's DNS is now configured. It might take up to 48 hours for the URL to start working correctly.
Subdomain DNS configuration
8. After clicking "Add record", choose type "CNAME" under "Select the record type". Under "Record", type the value. Under "Content", type the Name value registered at Rock Stage.
At the end, it should look like this:
All done! 😉 Your subdomain's DNS is now configured. It might take up to 48 hours for the URL to start working correctly.
Security certificate validation, or SSL (secure site or blog)
For our paid clients, we offer a feature that allows your website or blog to load in secure mode in browsers like in the image below:
Follow the next steps to enable this feature:
1. Access the SSL section in the Rock Stage panel:
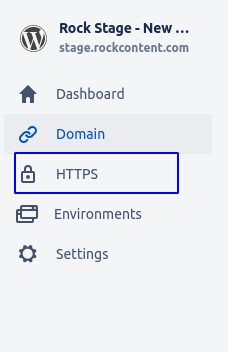
Please note: the SSL section is only shown to our paid clients.
2. Only after the DNS configuration is recognized by our service, your SSL panel should look like this:
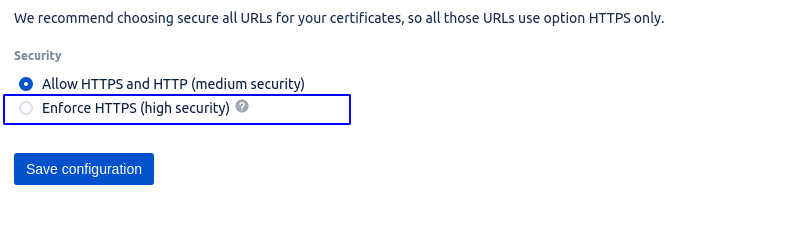
You must choose the "Force HTTPS (High security)" option and click “Save configuration” so your website loads in secure mode.
Important!
If you are a client and had your project migrated by Rock Stage staff, the Name and Target data are already available at your Rock Stage panel and were also sent by e-mail at the end of the migration process.