.png?height=120&name=rockcontent-branco%20(1).png)
In this article, you will learn what a WordPress Multisite is and how it works, as well as its benefits and how to perform basic edits, such as user creation and plugin installation and activations.
What is a Multisite?
A WordPress Multisite is a tweak we can perform on our WordPress website so that it becomes possible to create a website network with only one WordPress installation, while using the same domain. It is the equivalent of having a main site with several additional sites. For instance: site.com/service1, site.com/service2 and so on.
However, you must be wondering why you would use a multisite. Here is a list of the most probable reasons to use this powerful WordPress tool:
⦁ You can manage your websites through one control panel. It can be frustrating and exhausting to use multiple passwords for various sites and having to alternate between them. With WordPress Multisite, you will only need to use a single set of credentials to deal with it all.
⦁ It allows you to manage your themes and plugins throughout your entire website network. As the Multisite super admin, you can check what themes and plugins are available on your network and, if you are not working on your main site, you are able to see what plugins and themes are installed on the other sites.
⦁ Easier user management for the entire network. Multisite allows you to add users to your network and set their roles. That way, you do not have to go into each individual control panel to manage your users.
⦁ WordPress updates are simple and quick. As a network admin, you can update your WordPress website to the latest version whenever it is available. The process is similar to when you have various sites – you will be notified, and can update them all whenever you wish.
Now that you already know what a multisite is and its main benefits, let's find out how to use this tool:
Multisite Editing
1. How to add sites to your network.
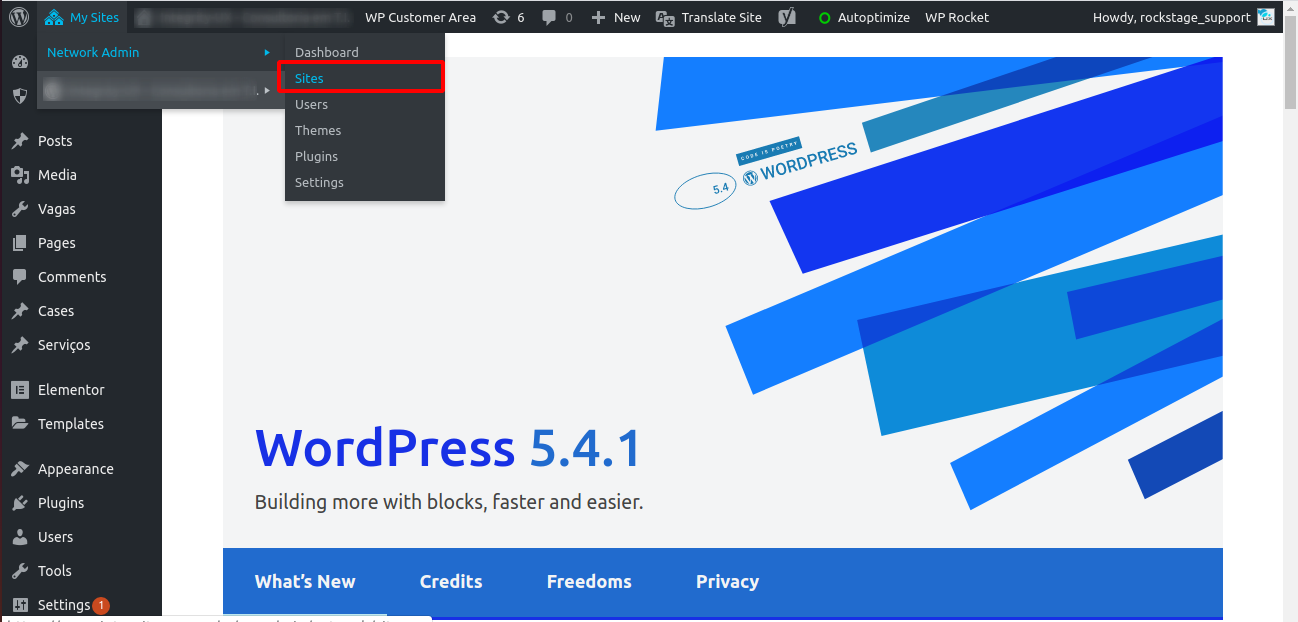
At first, if you just installed a multisite, you will probably only have a single site. To add new sites to your network, first you need to go to My Sites > Network Admin > Sites. There, you will see all the configuration options for your site's address.
After you click Add New, fill all the required information and click Add site. When you are done, your recently added site will be on the Sites > All sites tab:
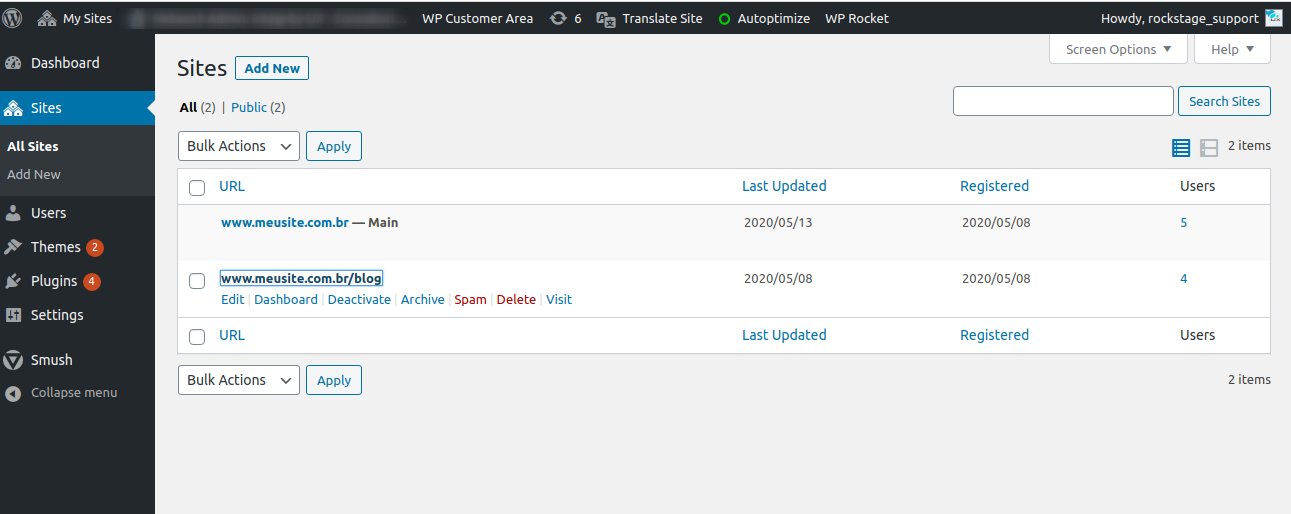
In order to access the recently created site and its settings, just browse to the above panel and click on the site you wish to manage:
2. Installing plugins and themes on your network
You can install plugins and themes on your network the same way as in a regular WordPress installation. However, you need to access your network settings to follow the same steps.
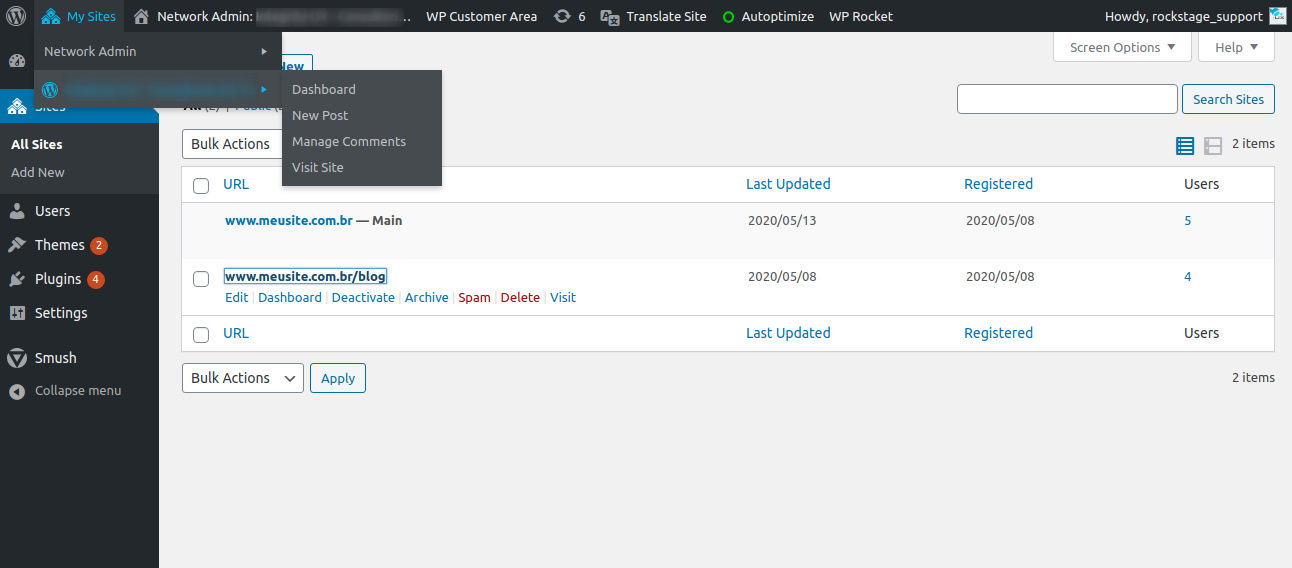
You can do that by going to Network Admin on the WordPress Panel:
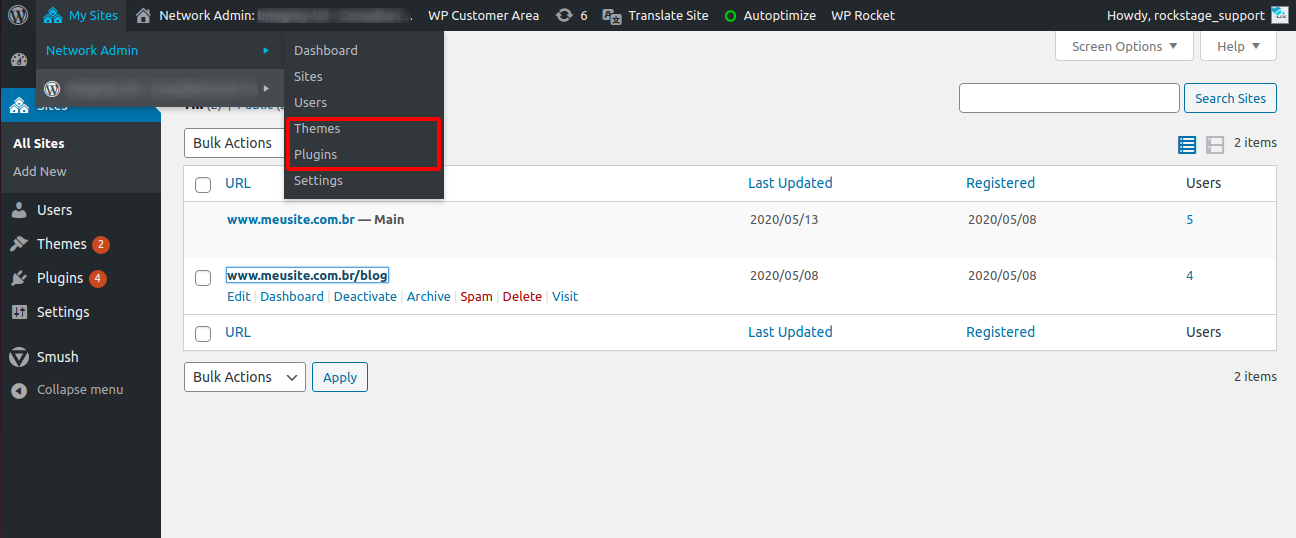
After doing that, you will be able to access Themes and Plugins. When you complete an installation, you can choose to activate it network-wide, so that it becomes available to all your sites:

If you do not wish for the plugin to be installed on all your sites, only activate it on the specific panel that is mentioned on the previous step.
Note: Activating a theme or a plugin on your network will not automatically activate it throughout all your sites. It only gives you the ability to do so. Also, as network admin, you will need to update your plugins and themes as you normally would with any WordPress website so that they remain secure and virus-free.
3. Adding new users to your network.
By default, Multisite disables user registrations on all your network sites. You can either disable this feature (we will cover this in a moment) or add new users to each site manually. Personally, we prefer the latter, as it provides more control over the userbase.
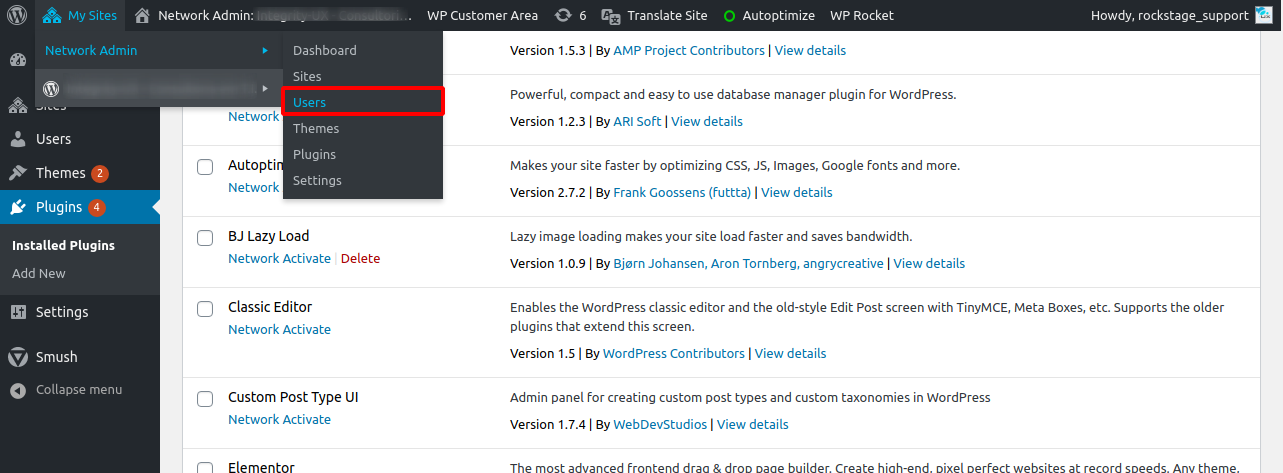
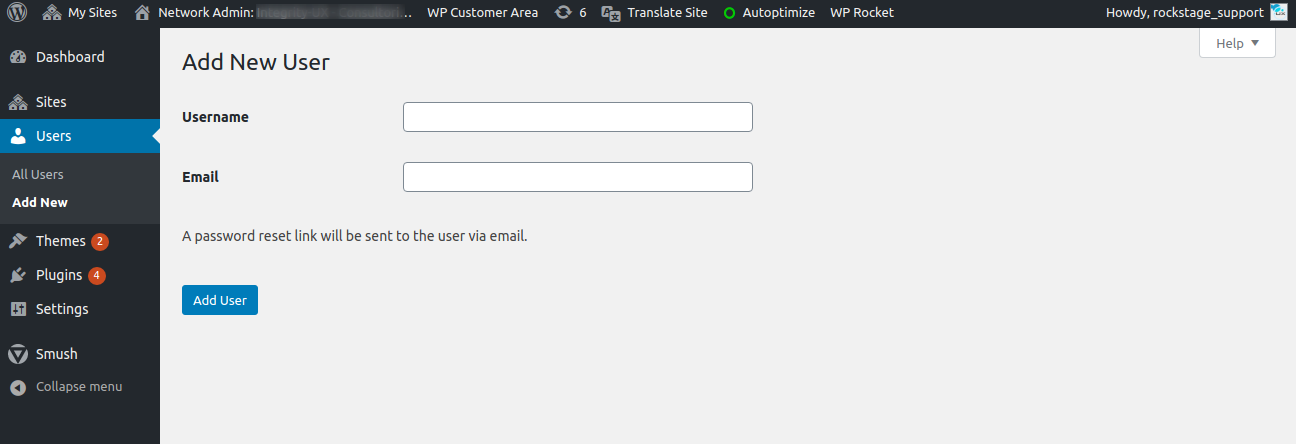
To add new users to your network, go to Network Admin > Users > Add new on your control panel. On the next screen, all that you need to do is fill in the Username and Email fields, then click Add User.
Now, your new user will be able to access your Multisite network. If you wish to grant this user more privileges, you can set them as super admin. That will give them the same privileges you have. In order to do that, go to Network Admin > Users > All Users and click Edit on the account you want to update.

On the next screen, look for the option that says Super Admin and check the box next to it.
Note: Keep in mind that grating Super Admin privileges to all your users is advised against, unless you truly trust each one of them. After all, they will be able to make any changes they wish to your entire network. If you are not absolutely sure they should have that role, set them up with a basic account.
4. Configure your network
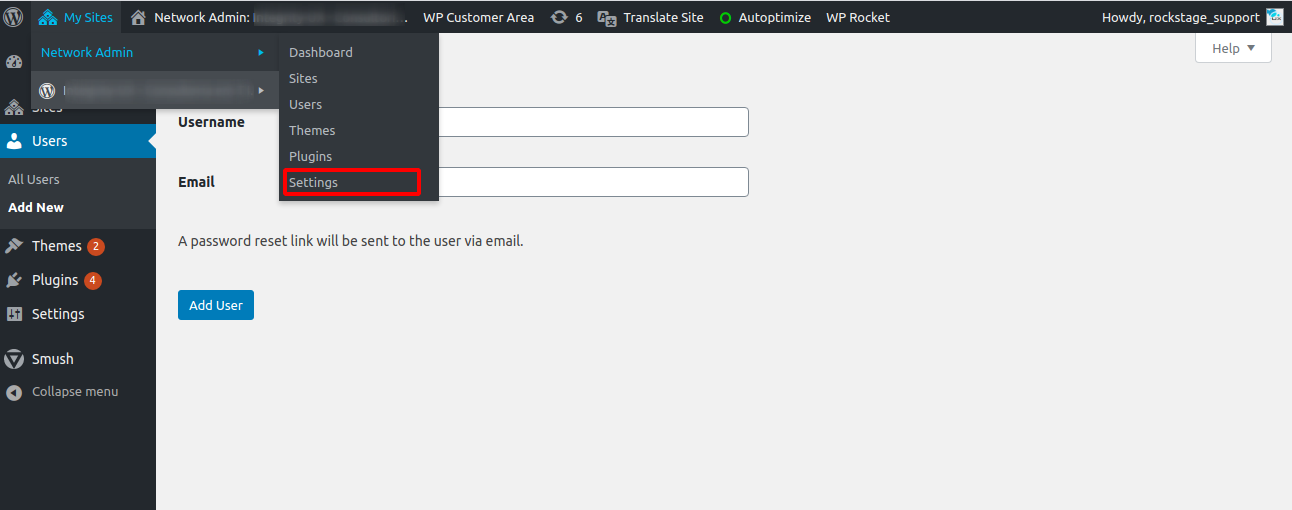
When you install Multisite, it comes ready to be used out of the box, so tweaking its settings is optional. However, it is always a good idea to get the hang of its general settings. Go the Network Admin > Settings > Network Settings tab on your network control panel.
Here you can find several settings that you can enable on your sites, like limiting the size of attachments people can upload to your network as well as the types of files that are allowed.

5. Updating your network, plugins and themes
Multisite allows you to update your WordPress panel network-wide simultaneously. If there is a new version of WordPress available, you will see a notification at the top of your main screen, just like with regular individual WordPress sites.
Besides, you can force an update by going to Network Panel > Update Network. Once you do that, click Update Network only once and wait.

This will automatically update WordPress on all your sites. For plugins and themes, simply access the network panel to apply the required updates. That way, all updates will be replicated throughout all your WordPress websites.