.png?height=120&name=rockcontent-branco%20(1).png)
To customize your blog's appearance, you need to access your WordPress admin panel. If you do not know how to do that, click here.
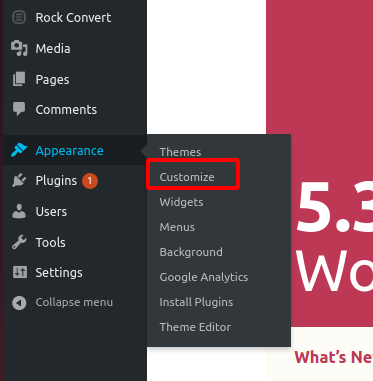
After doing that, go to "Appearance > Customize" on the left sidebar:
How to customize depends on your template. If you are using one of Rock Stage's templates, the options will look like this:

Each one of these tabs — Site appearance, Colors, Background, among others — allows a specific aspect of your website to be customized.
At “Site appearance” tab, you can change the logo and the favicon of your WordPress website. Favicon is that tiny image that shows up at the tab label, like this:

This section usually is the same regardless of your template.
With Rock Stage's templates, right next to the appearance tab is the “Colors” tab. With it, you can customize the colors of your website. Your template might already have a color tab, but the options inside might vary a little.
In any case, it will look similar to this:
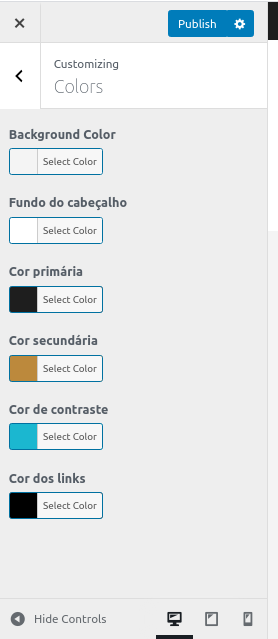
So, pick the colors you wish to use and click “Publish” at the upper right corner.
Within “Backgrounds”, you can choose an image as your template's background, a sort of wallpaper.
At “Menu” and “Widgets” tabs, you can similarly customize your menu and widgets as in the WordPress' options on the left sidebar.
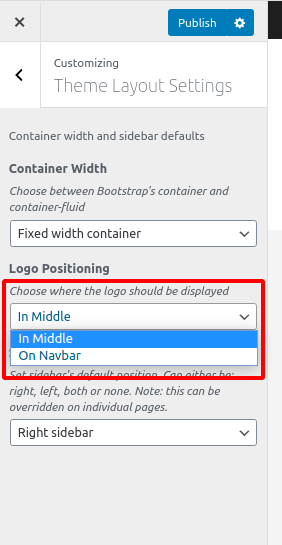
In our example, we have the “Theme Options” tab. But, as the name implies, this is a theme-specific tab and might not exist depending on the chosen template.
With Rock Stage's templates, this tab allows you to choose if the logo will sit in the middle of the screen or in the menu bar.
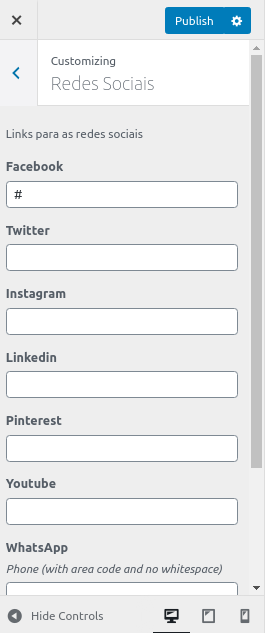
“Social networks” is also a specific tab within Rock Stage's options. It allows you to add and edit links to your social media profiles, so they will appear at your blog's menu and footer.
Lastly, the additional “CSS” tab is an open text field you can use to write CSS code to further customize your blog. Just write your CSS inside and click “Publish” to activate it.
Well done! Now you know how to customize your blog's appearance! 🙂