.png?height=120&name=rockcontent-branco%20(1).png)
See below how to input information related to your customers in Studio.
Every detail matters when it comes to Customer Registration! The ideal is to keep their record complete so that you always have all the information related to your client at hand.
How to import a spreadsheet with my customers' contact details?
If you already have a spreadsheet with all your registered customers, Studio has a feature that you will surely love: you can import your customer spreadsheet into our software!
And it's pretty easy, check it out!
1. On the page that shows the list of customers, click on the import button.

2. Then, download the import spreadsheet by clicking on the link shown in the image below:
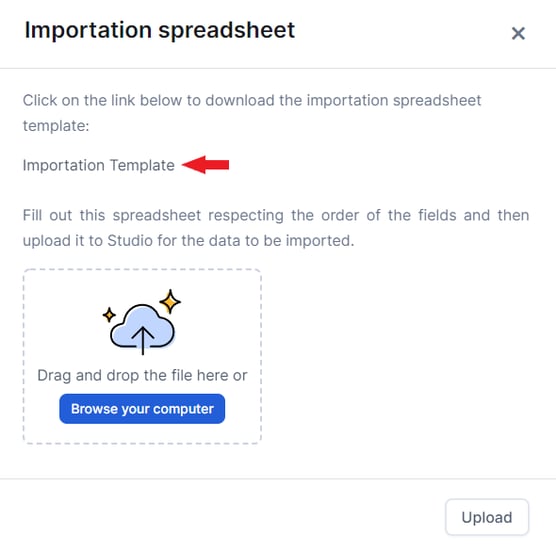
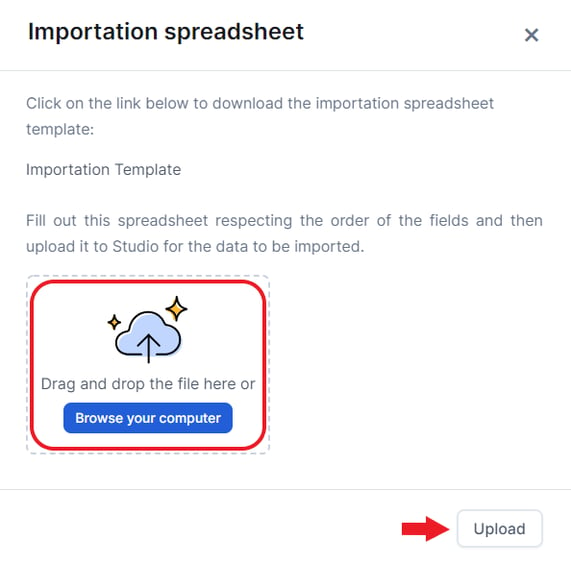
3. In this spreadsheet, you can transfer the customer information. Then, just upload it back to Studio, as instructed below:
IMPORTANT: You must download the template for import, as the spreadsheet format accepted by Studio is different from the standard Microsoft Excel format!
How to manually register my customers in Studio?
Now, if this is not your case, and you intend to start registering from scratch within Studio, it goes this way:
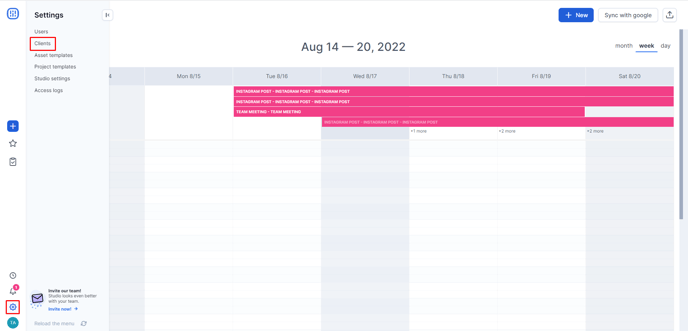
Go to Settings > Clients on the side menu:
Click on the + New button and you will be taken to the registration page:
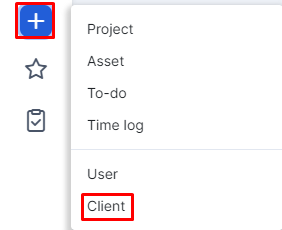
Another way to register customers is through the shortcut button on the left menu. Simply click on "+" and select Client. That way, you will be automatically redirected to the user registration page:
Basic information
On the Info tab you will put the main information about your customer. Among all of them, however, the Name and Company Name are mandatory elements to complete the registration.
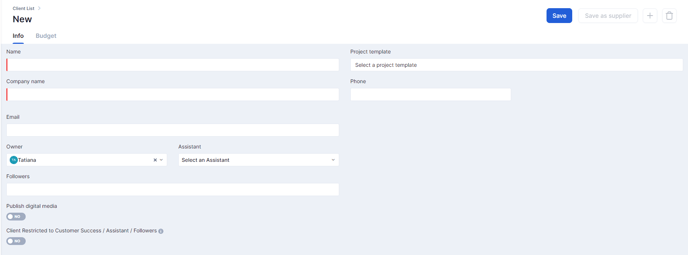
In addition to those, there are some other items that, if filled in, will help you a lot in future actions in our software, such as:
- Project template: this simplifies the opening of a "Project" for your customer. Its benefit is to standardize pertinent customer information, such as brief questions, assets input, and tasks. For example: if for a particular customer I always create and manage social posts on social networks, I can create a Project Template and leave it selected in the register.
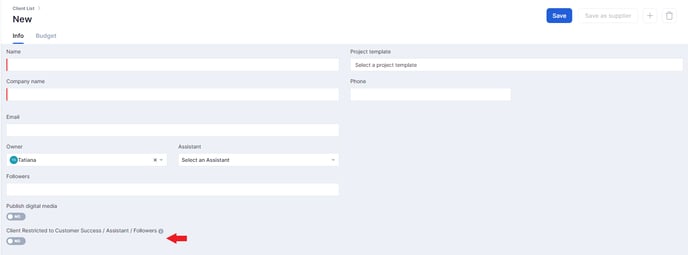
- Client restricted to Customer Success / Assistant / Followers: when this item is checked, only the customer success, assistant, followers (if any), and people tagged in the tasks and assets will have access to that customer's information. The only people who don't lose sight of this customer are the Finance department and whoever has the Studio Administrator permission.
You can select this option as the image below indicates:
After filling all the information, save to proceed to the other items in the register.
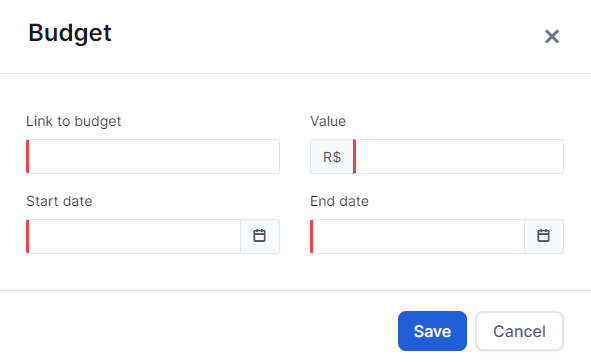
Budget
The Budget is the amount your customer allocates for a specific campaign. Its value is filled in on this screen, and will appear when opening projects. The budget can also be monitored on customer registration screen.
Still need help? Simply reach us at help@rockcontent.com or through the platform chat and we will help you!