.png?height=120&name=rockcontent-branco%20(1).png)
This is an expert concept
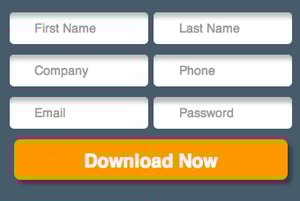
With an HTML form, you provide the complete HTML for the form — the ‹form›‹/form› tags and everything in between. (You may also include non-editable content outside the ‹form›‹/form› tags.)
By default, ‹input› and ‹select› tags will be saved with the names of their IDs, although you can override those and assign them to Data Collection fields if you prefer when editing fields from the next page.
The choices for checkboxes, radio buttons, drop-downs and list boxes should be included in your HTML. However, you can optionally substitute the choices in ‹select› drop-downs and list boxes by assigning them a choice set when editing fields from the next page. Note that currently all ‹option› tags in your HTML must have closing ‹/option› tags.
The data collected on your custom HTML form will be saved into the ion database upon form submission. You can also export the data collected on a custom HTML form using any export format supported by the ion platform. Form-level advanced rules will be available to leverage, as well!
You must provide your own button to submit the form.
You may also include ‹style› and ‹script› blocks, usually in front of the ‹form› tag, to impact the look-and-feel and behavior of the form. (Be careful to avoid CSS and Javascript conflicts with your master page templates and themes.)
Get started with these steps:
1. Navigate to the 'Forms' library and select the category you would like to add your custom form to (or create a new category). Add a new form by selecting the green 'New form' button.

2. Give it a unique 'label', optional 'description' and select 'HTML' from the 'Form type' drop-down menu. Put your form code (be sure to include the ‹form›‹/form› tags) within the 'Custom HTML' field.
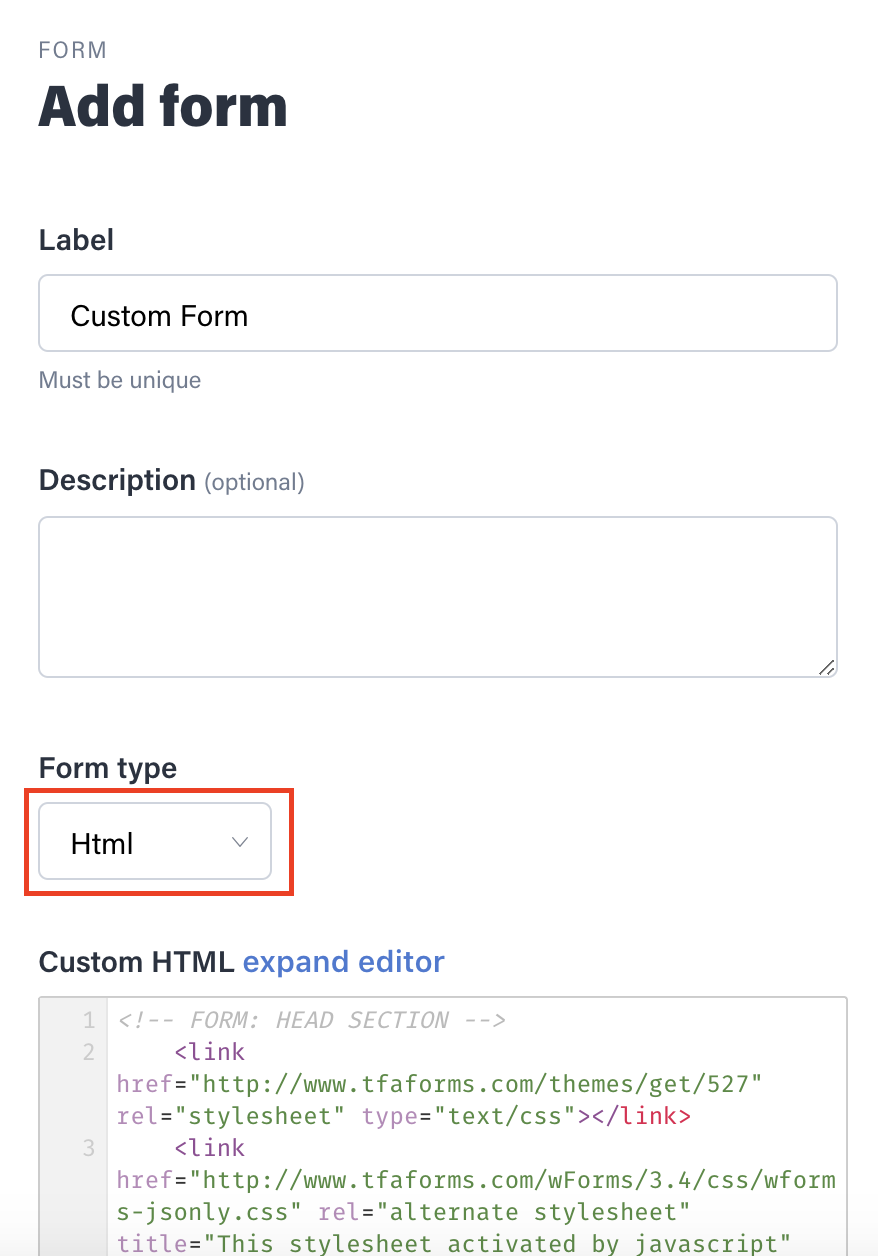
NOTE: if you have a script and it is using the name of the form as a reference, it will not work because the platform removes the name attribute of the form. Instead you can use the ID of the form as a reference.
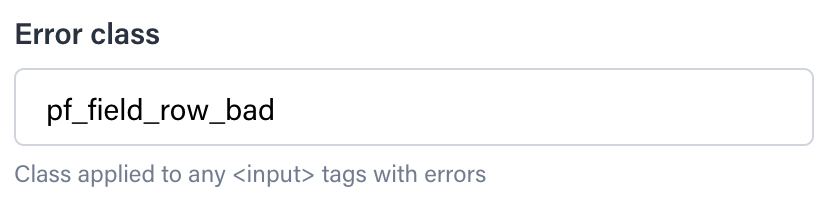
3. Assign a custom class (by default the class is: pf_field_row_bad) to handle any ‹input› tags with errors (i.e. used for validation).
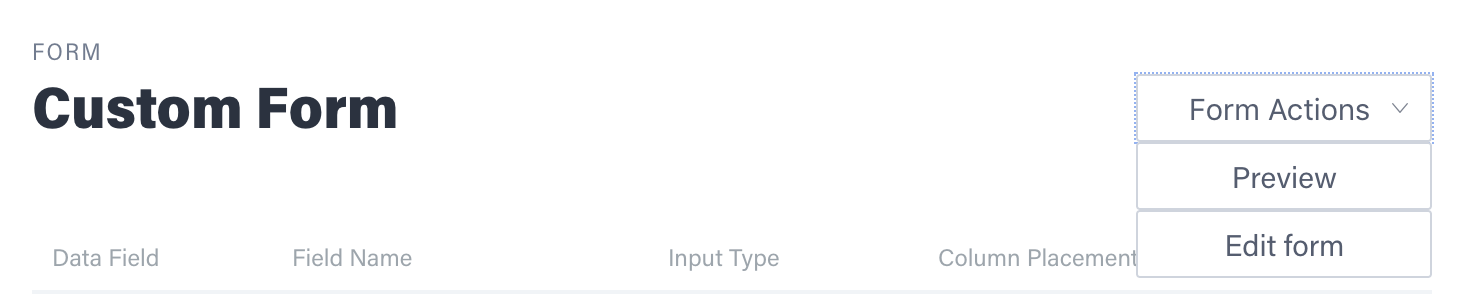
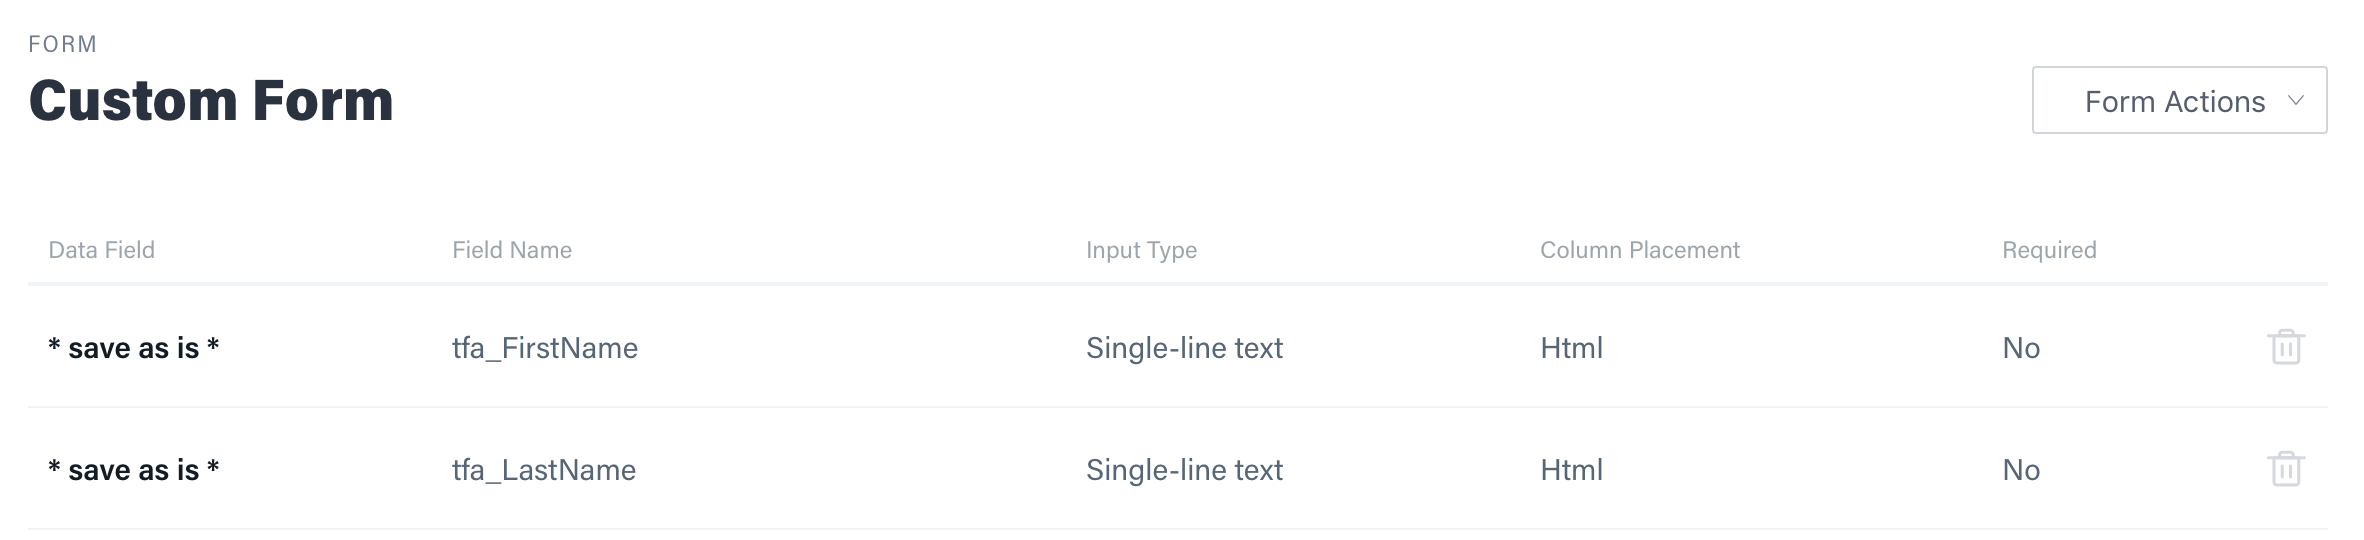
4. Click on Save, and you will be brought to the Form Setting Page. You can preview the form by clicking the “Preview” button within the Form Actions dropdown menu. To edit the custom form, click “Edit form” within the Form Actions dropdown menu.
NOTE: If you do not see the fields of your HTML form, you need to check your input fields. They should have a name or an ID attribute. If you specify both attribute name and ID, ID will appear under "Field Name". It is a good practice to make your ID or name to be descriptive so it will be mapped easily to your fields.
Mapping Custom HTML Form Fields
Mapping your HTML fields to ion fields will let you direct the data collected from your custom HTML form to the ion field that you would like the data to be exported to. This will then be included in your exported data.
You will need to map your custom HTML form to make sure the data collected makes it into the right place within your ion database. If you have a field that you don't need to keep track of, it is ok not to map it to ion field.
Follow these steps to map your form to a ion data field:
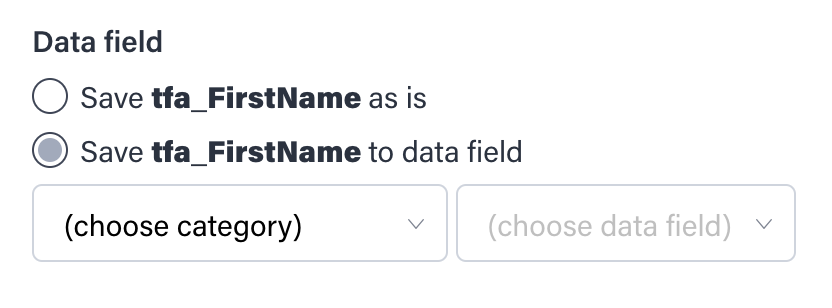
1. Click the * save as is * link associated with the field you would like to map.
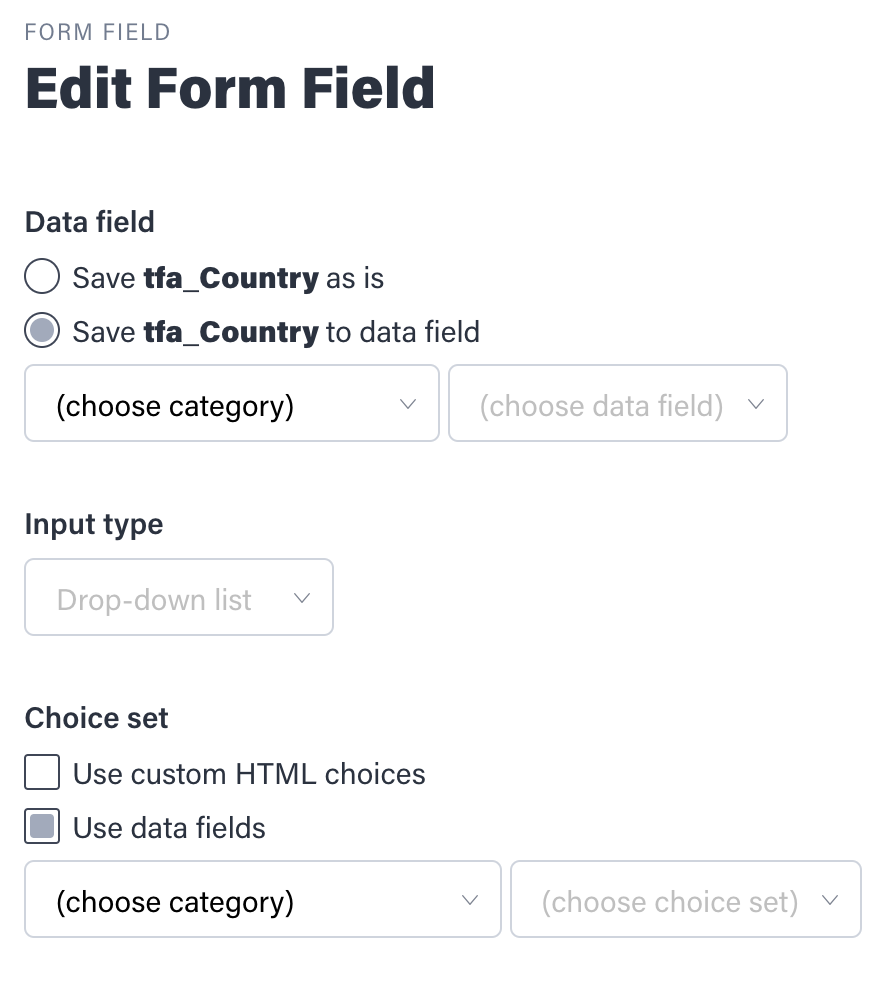
2. Inside the edit form fields select the "choose category" option, then choose the data field you want your field name to be mapped.
3. If you are mapping a dropdown field (‹select›) you have the choice to use what is in your custom HTML form or an ion choice set. Click "save" and you are done!
Additional Guidelines:
If you have ‹H1›, ‹DIV› and other HTML elements within the custom HTML form code, it’s recommended you add classes to them. This will prevent overriding element styles within the framework theme.
If you have any questions, please contact us at help@rockcontent.com. 😀