.png?height=120&name=rockcontent-branco%20(1).png)
See how to publish on your client's social media profiles from within iClips.
Did you know that it is possible to publish on your customer's social media channels directly from iClips? Through our integration, it is possible to schedule and publish Facebook posts and make publications directly on Twitter and LinkedIn.
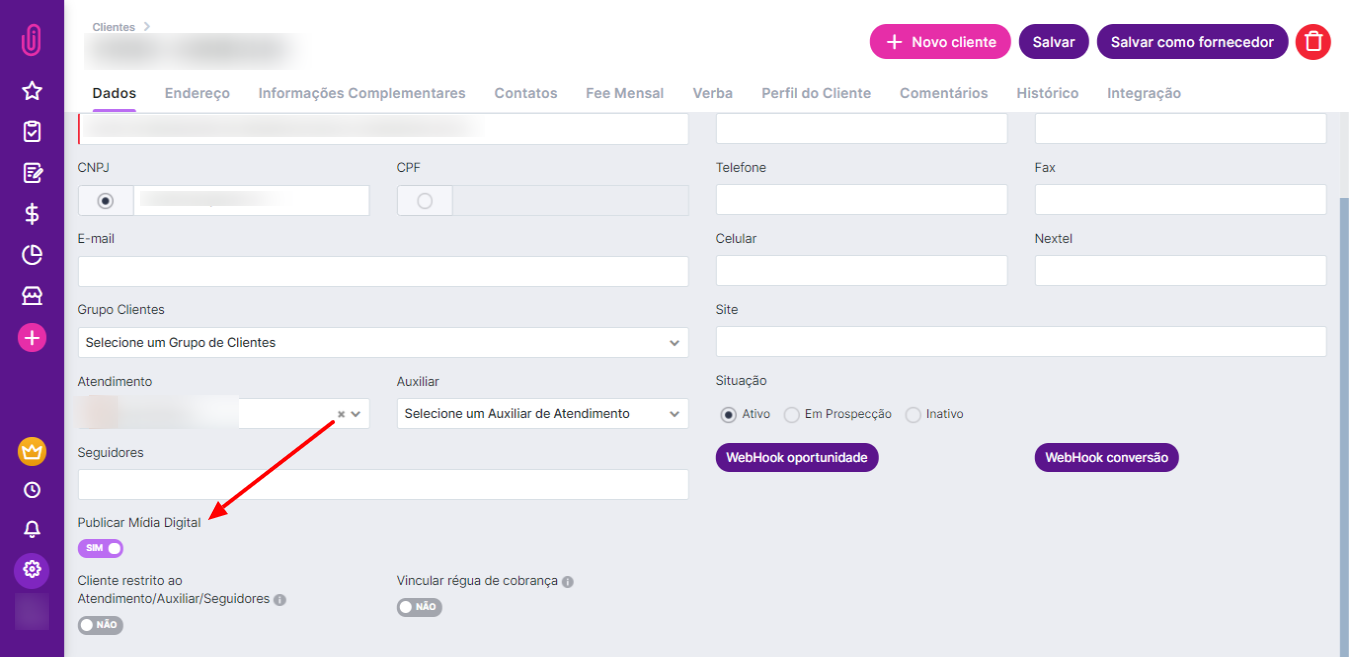
Integrations with your customer's accounts can be done in Settings > Customer.
1) Edit the desired customer, click "Yes" in the data tab to publish digital media and save.
2) The next step is to go to the "Integrations" tab and click on "New integration". Choose the social network you want to integrate with and authorize iClips to publish.

3) Then, while creating a project, in the pieces tab, mark the desired social media channels and the piece's date of publication/linking.

From there, you have two options for publishing:
1- Publishing through the editorial calendar
The editorial calendar shows the posts according to the planned publication date on the piece. With it, the social media analyst can plan posts by month or week.
Clicking on a piece, you have access to the text and image. There, you'll be able to schedule the post.
-2.gif?width=688&name=chrome-capture%20(1)-2.gif)
Select the integrated account and the date and time of publishing. If it's a Facebook post, you'll have 4 options:
- Schedule post: iClips will publish at the chosen time and date
- Publish now: Publish at that time
- Publish manually: Creates a new step in the part flow for someone else to publish. It is possible to mark the responsible person directly on this screen or else the activity goes to the traffic as "Unplanned" for it to be sent to the responsible person.
- Published: In case the piece has already been published directly on the social network, you can check this item so that it has the status of published in the calendar.
On Twitter, you'll have 3 options:
- Publish now
- Publish manually
- Published
Pieces not yet scheduled will have a colored card. Pieces already scheduled or published will have a white background. It is also possible to see the status of each post according to the color of the clock:

Using the filter feature, you'll be able to search for customer, social network, publication status and others.
2- Publishing through the "My Activities" dashboard
Through the "My Activities" dashboard, the publication should work in the same way. Click on the activity, press "Play" on the timesheet, check the text and image and choose any of the publishing options.

All done. Now it's easier to manage your customers' social media posts! And remember that the monitoring of publications can be done through the calendar.
Do you still need help? Please reach out to us at help@rockcontent.com or the platform chat!