.png?height=120&name=rockcontent-branco%20(1).png)
In this article, you will learn how to migrate a WordPress website or blog that is currently hosted on another server into Rock Stage.
Making a copy of your site
First, you need to make a copy of your website's files. For that, we will use a WordPress cloning plugin called All-in-One Wp Migration. This plugin will create a backup of your entire website that can be easily restored to your new host. Let's get started!
Installing All-in-One
First, you need to log into your website's admin panel. Then, look for and install the All-in-One plugin:
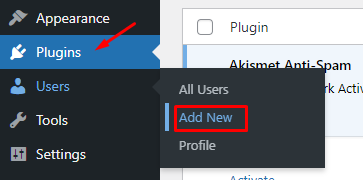
- Find the Plugins menu on the left sidebar menu. By hovering your mouse cursor over it, a submenu will appear. Now click Add new:
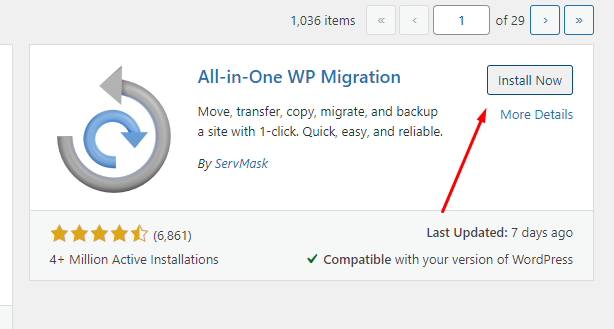
- A new screen will come up. Type All-in-One on the search bar:

- The plugin will appear on the list of results. Now, you just have to click Install now:
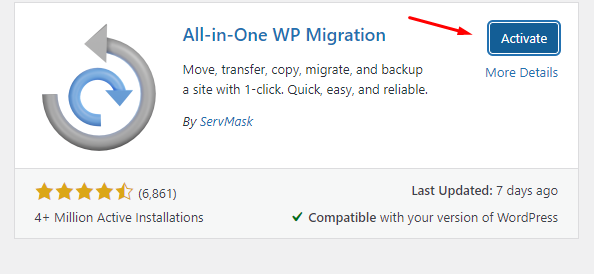
- After it is installed, on the same spot where the Install now button was, you will see the Activate option. Click on it:
- All done! All-in-One has been successfully installed and activated on your WordPress site.
Copying your files
Now that All-in-One is installed, you can start copying your website's files.
- On the side menu, look for All-in-One, hover over it and click Export:
- On the screen that shows up, select the green option, Export to. A drop-down menu will open.
- Select the File option
- After that, the plugin will compile all your the files for exporting. It will take some time and, when the process is completed, a new screen will come up.
- Click the green button to download your files.
- All done! With your files properly copied, now you can close your website's admin panel.
Configuring your website on Rock Stage
Now that you have a copy of your website, let's set it up in our host!
Preparing WordPress
Before you transfer your files, first we need to prepare your WordPress installation on our server. This usually takes less than 3 minutes!
- Log into the Stage platform;
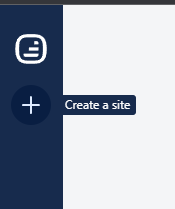
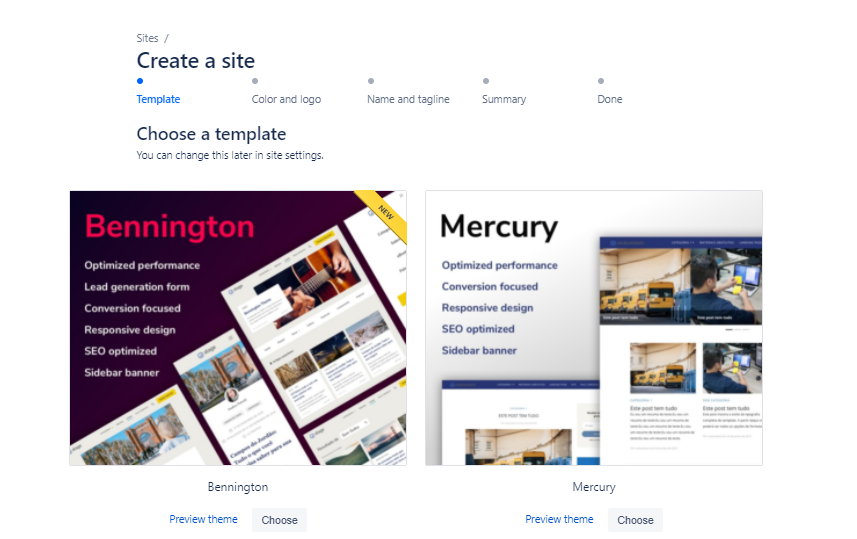
- After logging in, click the "+" button on the left sidebar menu. The option will say Create a site, but do not worry, it can also be used for regular websites.
- A screen asking you to choose all the settings for a new blog will open. You don't need to worry about this since your final settings will come from your old blog. The only required fields are the Blog title and Blog internal name:
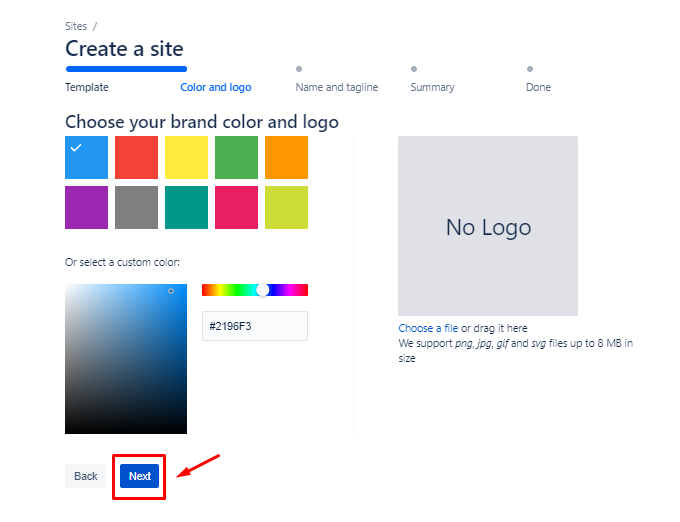
- Click Next and, on the following screen, click Create a blog:
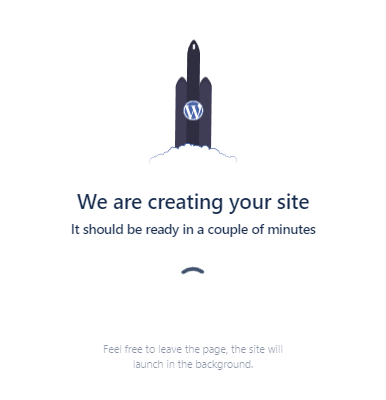
- All done! A new WordPress environment will be created for you.
Setting up your website
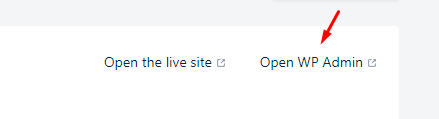
- After creating your new blog, you will need to go to its admin panel. In order to do that, just click Open WP-Admin:
- After doing that, you will need to install the All-in-One plugin on this new admin environment. The process is exactly the same as the one we covered above, on the Installing All-in-One section.
- Then, select the Import option on theleft sidebar menu.
- Click Import from On All-in-One's menu. Then select the File option.
- You must select the file that contains your website's data. It's the file you downloaded from All-in-One at the beggining of this tutorial.
- All done! Now, just wait until your website is fully imported.
Pointing your domain and obtaining a Security Certificate
The next step after transfering your website to Rock Stage is pointing your domain to it. We have a tutorial that will help you with that.
If you have questions about any stage of this process, get in touch with our support team! We are available to help you via chat and e-mail within the platform.