.png?height=120&name=rockcontent-branco%20(1).png)
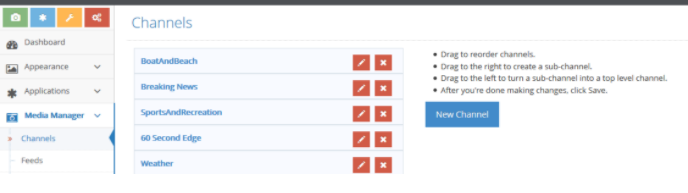
Channels and sub-channels are admin-created, customized, content-specific sections of images and videos. Commonly used channels include Weather, Sports, Travel and Pets. On your CC White Label, a channel list appears on the menu bar, and each channel is displayed as a separate page. When users upload images and video, they have the option to assign them to specific channels.
Where
Media Manager > Channels
How To
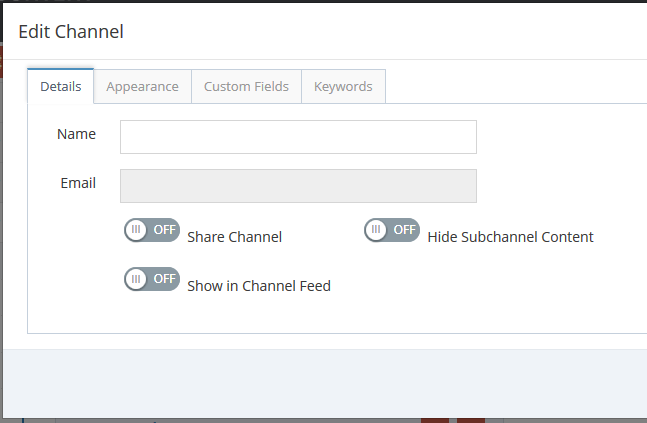
Step 1: New Channel and Details
- Click the "New Channel" button.
- From the Details section, fill in the following information:
- Name: The display name for the channel (Note: This field must be filled in.)
- Email: A channel-specific email address will be generated for this channel. A vanity email can be linked this email address - for example WeatherPix@kxxm.com.
- Share Channel:
- Show in Channel Feed: Check box to show the channel in the drop down Channels tab.
- Administrators Only: Check box to prevent regular users from uploading content to the channel
- Hide Sub Channel Content. Check box to only show parent content when viewing the parent level channel
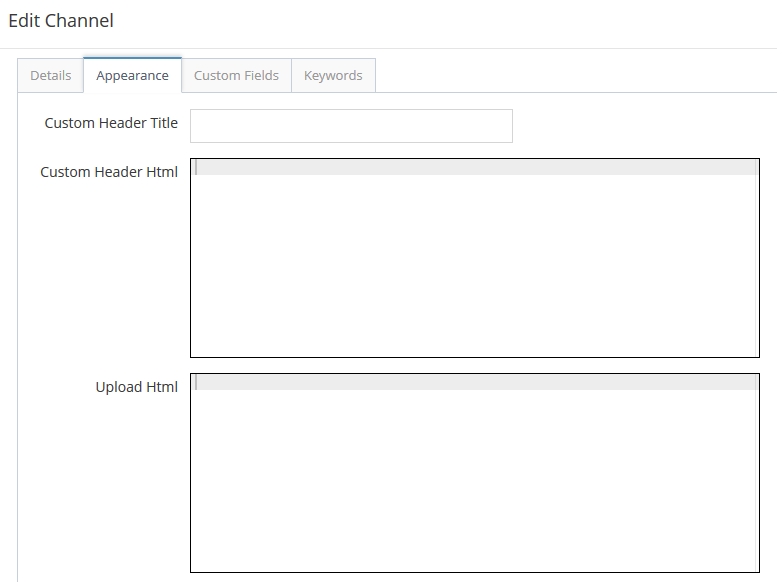
Step 2: Appearance
The Appearance tab, allows managers to customize the look and feel of the channel gallery.
- From the Appearance section, fill in the following information:
- Custom Header Title:
- Custom Header HTML: This is a customizable HTML section that appears on the channel page above the listing of images and videos. This section can function as an expanded channel description or be used to highlight recent user submissions, promote an event or advertiser, input a call-to-action, etc.
- Upload HTML: Each channel has a dedicated upload page where users can directly upload images and video. This section can be used to ask your audience for specific content or for promotional purposes.
Step 3: Custom Fields
The Custom Fields tab allows managers to add specific fields to the upload page which displays on the media item pages and gives users the opportunity to share further information related to the channel topic. For example, a travel channel might have a "travel tips" custom field. When users upload media to a channel that has a custom field, they will be prompted to add text to that field in addition to the title, description, tags, and location information.
- To add a custom field, enter the word or phrase in the box and click the “Add Field” button. The new custom-field word or phrase will then appear in the text box below.
- To delete a custom field, click on the Remove button in the Actions column.
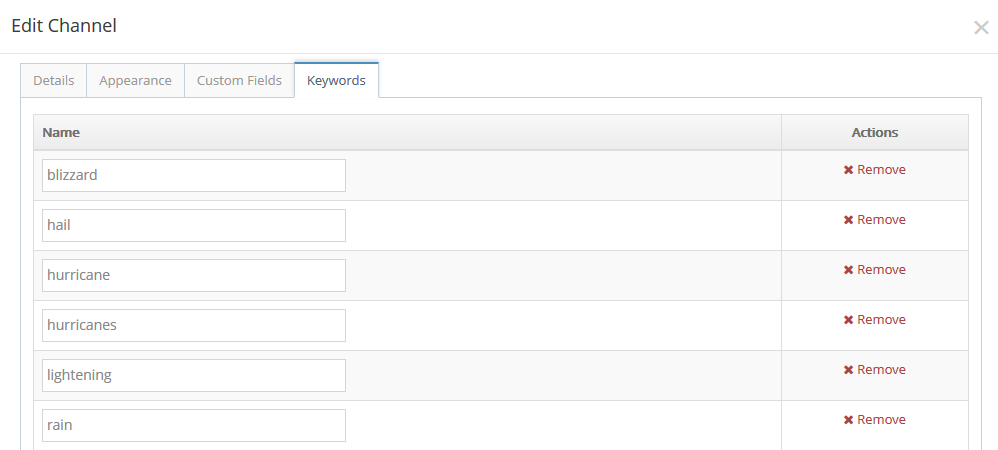
Step 4: Keywords
The Keywords list directs mobile and e-mail image/video submissions to the appropriate channel by matching specified keywords against the words in the subject line of the submission. For example, a weather channel might contain keywords such as "weather," "snow," "rain," "thunder," and "flooding." When a user submits images or videos from an e-mail account or mobile phone, our system will parse out the subject line and attempt to match those words against the keyword list for each channel. If a match is found, those media items will be automatically placed into that channel.
- Add a keyword by entering the word in the box and clicking the “Add Keyword” button. The new keyword will then appear.
- To delete a keyword, click on the Remove icon in the Actions column.
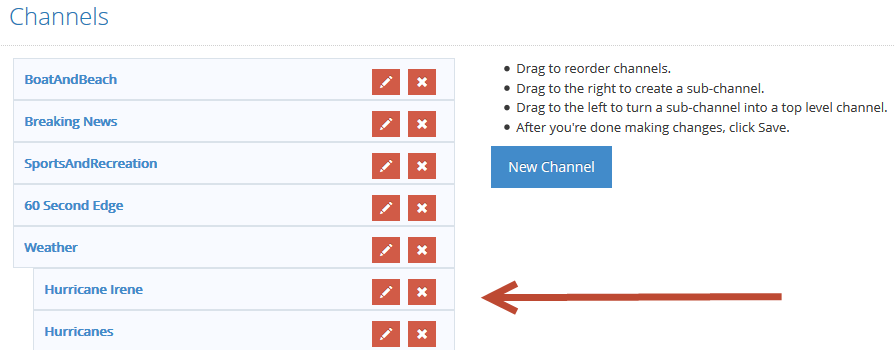
Subchannels
Sub-channels allow you to intelligently organize related channels. For example, a Sports channel might have Baseball, Football, and Basketball as sub-channels. When users view the main channel, they will see all the images and videos related to the sub-channels. Users can then zero in on media items associated with the desired sub-channel by selecting it from the "Related Channels" list at the top of the page.
How to
- First, you must create a new channel by following the steps above.
- Once the new channel is created, locate the name in the channel list.
- Drag the desired sub-channel to the right below the parent level.
- The new sub-channel will now appear as an associated branch of the parent channel.
- After you're done making changes, click Save.
Notes:
- If you accidentally drop the sub-channel into the wrong channel, simply repeat the above steps to move it into the correct channel.
- To make a sub-channel a top level channel, drag the channel to the left.