Your brand guidelines and assets are vital for any design project. They help ensure your designer is appropriately representing your brand. Visually knows this and we're excited to provide you with a more robust tool to manage your assets across projects.
Your Asset Library is the place to store your brand’s guidelines, logos, and fonts. Once uploaded to the library, you can easily import assets into your projects.
In this article:
- Accessing your Asset Library
- Uploading and Managing your Asset Library
- What belongs in your Asset Library?
- Adding Brand Asstes from your Project Center
- Exporting files to your Project
Accessing your Asset Library
You can access the Assets folder by clicking the Folder Icon from the left-hand navigation. This left-hand navigation is consistent across both Workspace as well as the project pages so it's only a click away whenever you need it.

Uploading and Managing your Asset Library
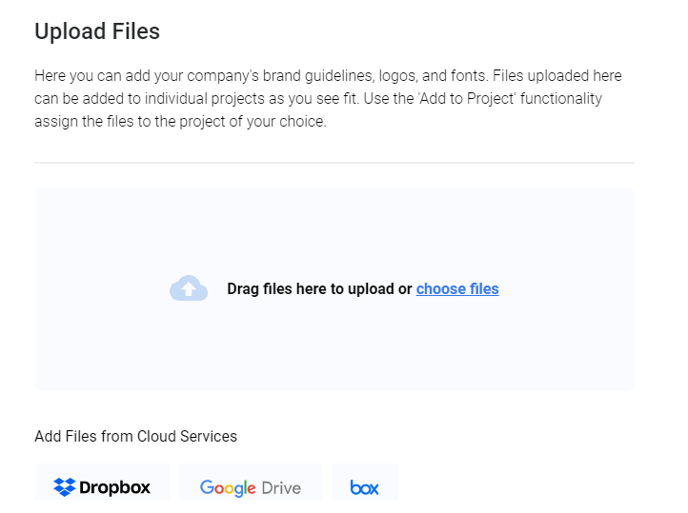
To upload files select Add File from the library. A window will open which allows you to either drag and drop a file or browse and select a file from your computer.
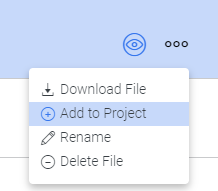
Once a file a file has been added to the library, you able to download, edit, delete it - or send it to a project. Simply select the file’s 3-dot menu at the far right of the file name, and a drop down outlining these options will appear.
- Brand fonts
- High resolution icons
- Overarching brand guidelines
- Design examples
- Any brand icons or images that you use
Once you have uploaded your assets to the Library, you can make them available to your Creative Team by adding them to your Project Center.

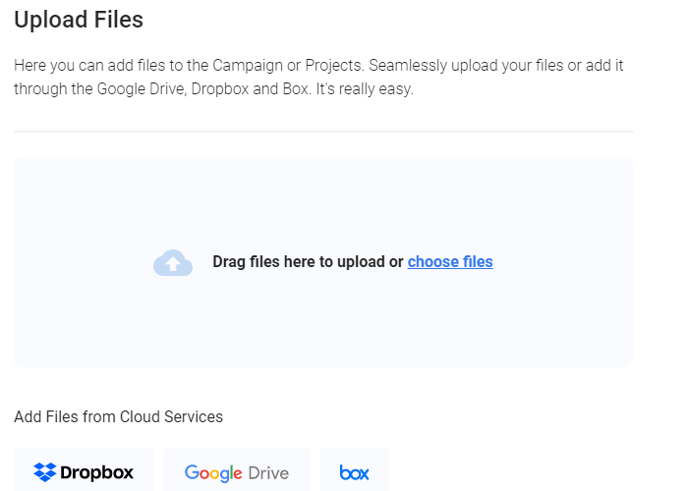
From within your Project, navigate to the Assets tab. Then select Upload Files. From there you’ll have the option to Import From Assets. This option will allow you to select only the assets that are applicable to this particular project.
Exporting files to your Project
We've made it easy to send files from the Brand Assets Library directly to your project.
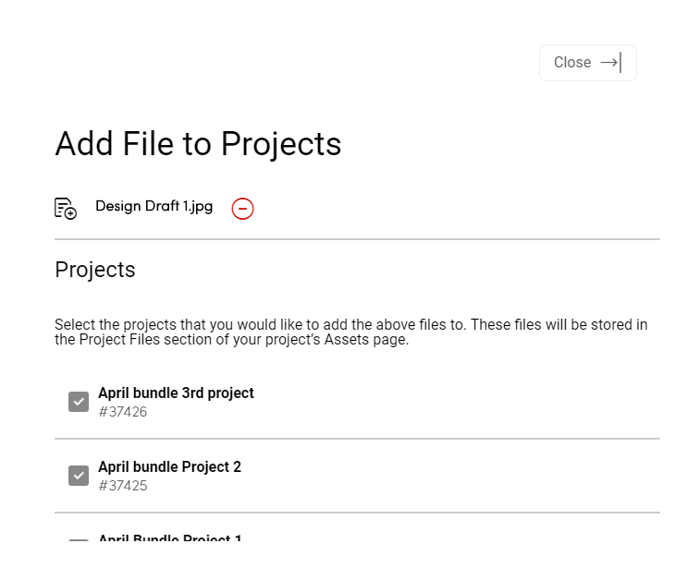
Simply click the icon  at the far right of the file name and select Add to Project from the drop-down options.
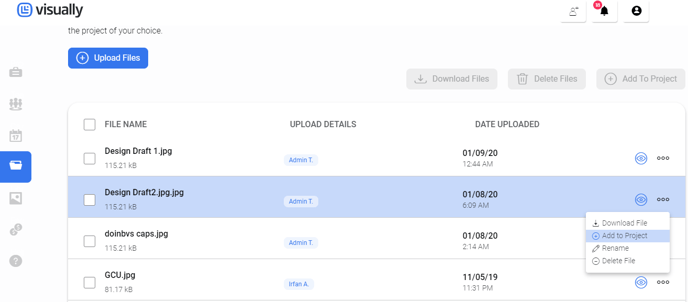
A list of your current projects will appear. Select the project(s) you'd like to export the file to and click Add to Project. From within your project, you'll find the exported file under the Files tab.
.png?height=120&name=rockcontent-branco%20(1).png)