.png?height=120&name=rockcontent-branco%20(1).png)
Adding Project Milestones to your calendar helps you to keep track of your project's progress. We've made it easy to add your Visually Project Milestones to the calendar you use the most.

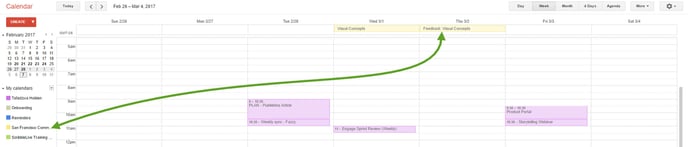
You'll find your Project Milestones at the bottom right of the Activity Feed. To integrate these Milestones into your Calendar, click the Add to Calendar button.
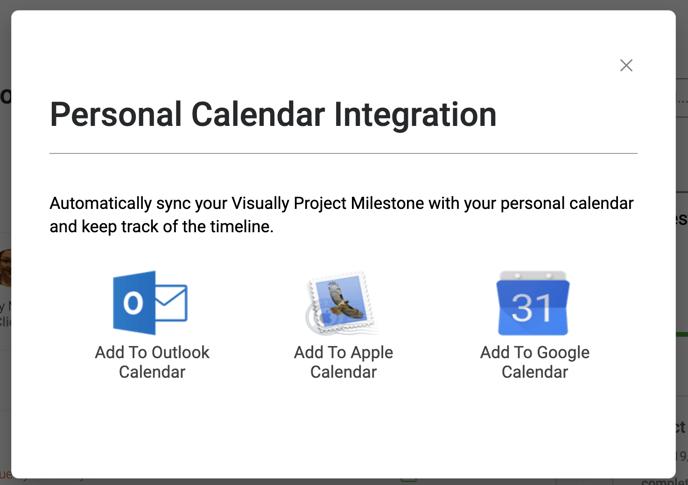
The next step will be to select the calendar you want to integrate.
Outlook or Google Calendar
After selecting Add to Outlook Calendar or Add to Google Calendar, you'll need to grant the Project Centre permission to View and Manage your calendar. Don't worry! This is only so we can add the Project Milestones and we will not have access to adjust any other appointments or settings.
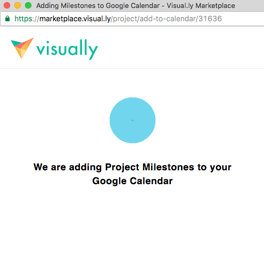
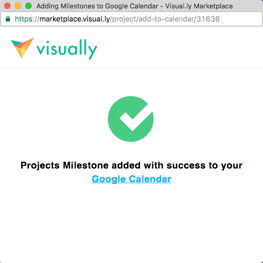
Your Project Milestones will then show up in your Google or Outlook Calendar as events on the day they are due. Specific times will not be indicated, and your default calendar settings will be applied.
Apple or Desktop Calendar
You can integrate with your Desktop or Apple calendar within minutes! When you select 'Get Calendar link for Desktop Client & Apple Calendar', a calendar link will be generated.
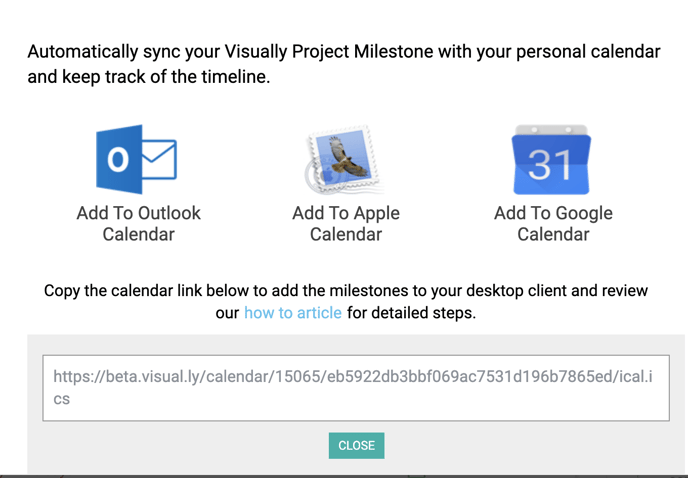
Copy this calendar link and open your Apple or Outlook calendar.
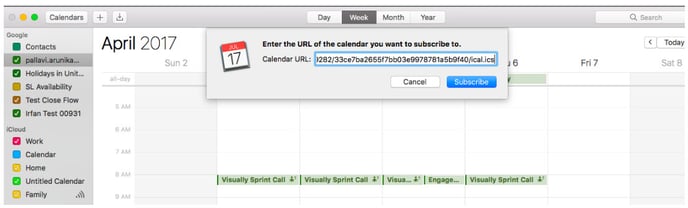
APPLE CALENDAR
Within your calendar, go to File > New Calendar Subscription. Paste the calendar link in the Calendar URL field and click Subscribe.
For a seamless experience, we recommend updating the following subscription properties:
- Change the calendar Name to reflect the Visually Project.
- Update the Location to On My Mac.
- Set Auto Refresh to Every hour. This will help you to stay up-to-date with the most recent timeline changes.
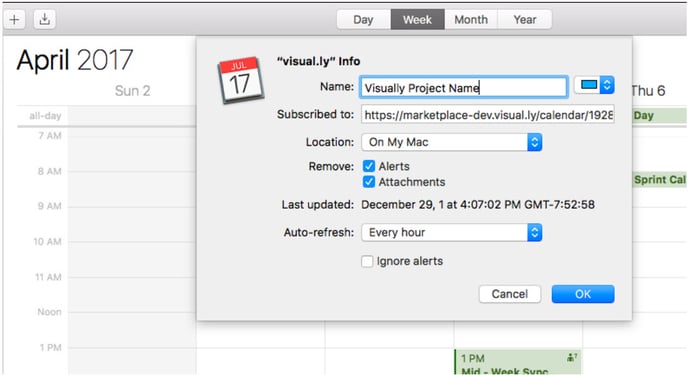
The project name will appear on your list of calendars, and the project milestones will appear on the actual calendar.

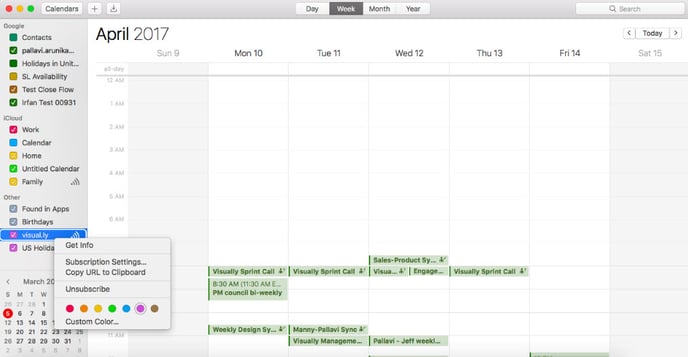
Once your project has closed, you can easily remove the calendar from your list by right-clicking and selecting Unsubscribe.
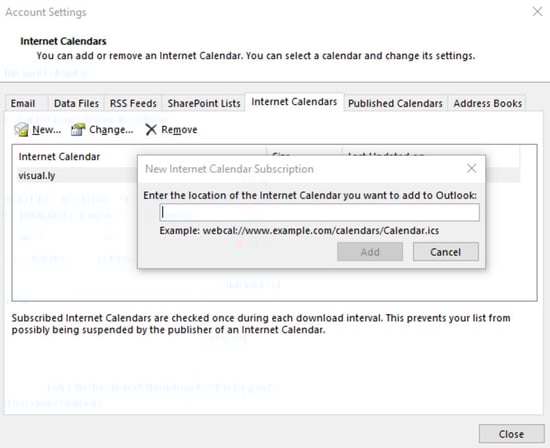
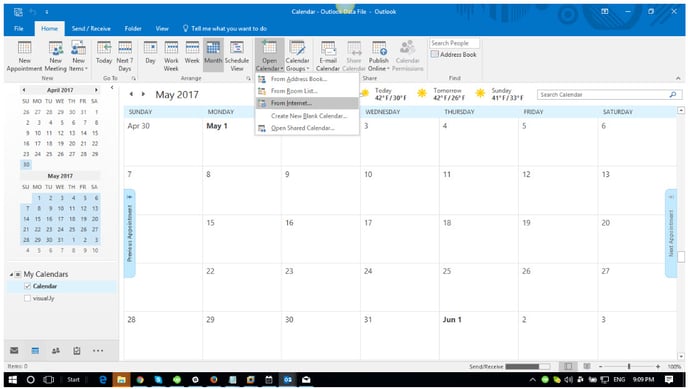
DESKTOP OUTLOOK CALENDAR
From within your calendar, click Open Calendar. Select From Internet from the file menu, then select New Calendar Subscription.
Paste the calendar URL into the URL field and click Add. In the Subscription Options dialog box, you will have the option to rename the calendar. Make sure the box is checked in the Update Limit section.