.png?height=120&name=rockcontent-branco%20(1).png)
Your Ion console has the Quick Start Cloud which gives you access to an ever-growing collection of flexible Quick Start creative experiences ready to prep and launch!
These creatives will give you a big head start when building your landing experiences, by giving you a designed layout based on best practices that can then be modified to meet your specific design needs, and quickly taken live.
This collection of high-performance creatives are organized into categories that group them together by experience type. For example, you have "Landing Pages,” “Quizzes,” and “eBooks” categories, to name a few.
We encourage you to experiment with your Quick Starts! A great way to get started is to use Quick Starts as a jumping-off point to build your own creatives. With a few updates, you should be ready to go live in no time!
You will also want to check back in the Quick Start Cloud regularly, as we are always adding new creatives and ideas for you to use as inspiration for your own campaign pages!
*If you have any questions around the Quick Start Cloud, feel free to reach out to your Account Manager for support.
Create a Campaign
You can add creatives to existing campaigns or create a new one. Simply click the campaign name to access an existing campaign, or click the green plus sign within your portfolio to add a new campaign. When adding a new campaign, you can follow these simple steps.
- Name the campaign
- Enter the fallback URL—this is where users will be directed if your campaign ever closes, usually your company’s home page.
- Add campaign-wide scripts (optional)—if you have a third-party code you want placed on every page in your campaign, you can add it to either the </head> or </body> tags using the available dropdown menus.
- Save
Add a Creative
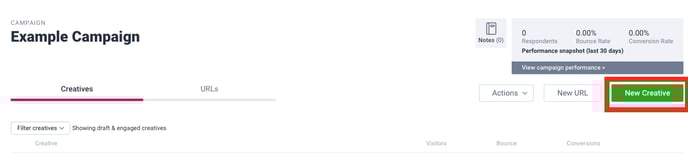
To get started using a Quick Start, navigate into a campaign and click the green "New Creative" button to add a new creative.
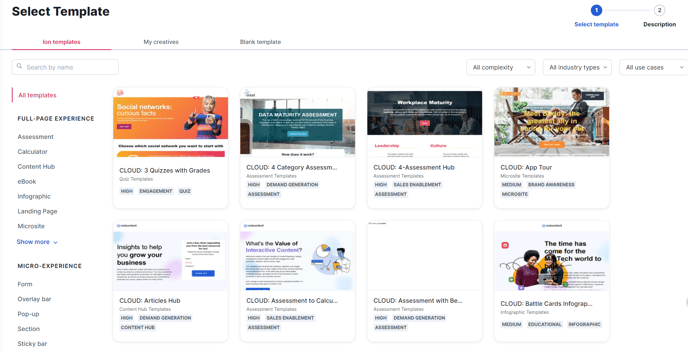
From here, select the category you would like to copy your Quick Start from, click the thumbnail of the creative you would like to copy.
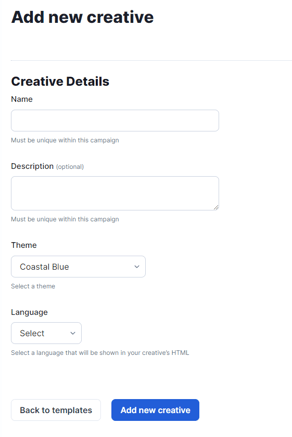
Next, scroll to the bottom of your screen to give your creative a label and hit save.
Apply Your Theme
Once you have copied your Quick Start creative into your campaign, you will want to apply a theme that reflects your brand-approved style guidelines.
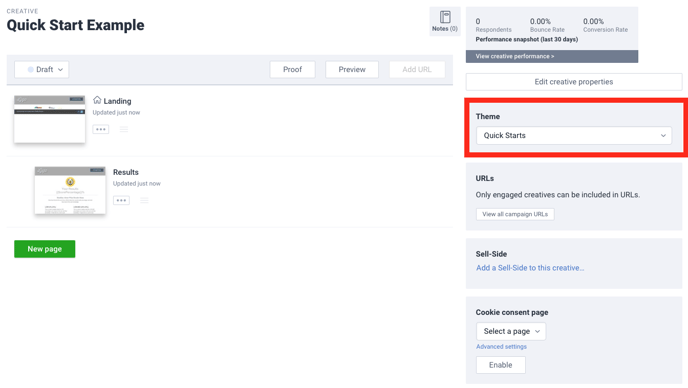
By default, Quick Start pages will utilize the Quick Start theme. To ensure your content is published with brand-approved style guidelines in mind, you will want to switch over to a brand-approved theme. You will find the theme dropdown on the right side of your Creative Management screen that you can use to switch over to your branded theme.
*NOTE: If you don’t have a theme that is compatible with the Quick Start Cloud, please reach out to your dedicated ion Account Manager to discuss next steps.
Editing
Once your theme has been set, you’ll be ready to start publishing content! To begin, simply click the thumbnail of the page you want to edit. This will take you to the page editor. From here, double-click the placeholders to update them with your content.
Containers & Grids
The content in your Quick Start pages are published into containers that give you the ultimate control over your content. Many containers include grids that give you control over the column structure of your page.
When hovering over a grid, you will see column borders that you can click and drag to change the width of your columns. You can also add more rows and columns to your grids by pulling the row and column icons from your Palette tab into your grids. These adjustments will allow you to quickly customize the look and feel of your Quick Start pages before finalizing content.
For more information on containers and grids, click here.
Go Live
After finalizing the content published on your page and adding any necessary tracking scripts, you will be ready to go live! To learn how to set up a URL, click here.
If you have any questions, please contact us on help@rockcontent.com. 😀