.png?height=120&name=rockcontent-branco%20(1).png)
To set your integration with Salesforce Marketcloud, you must create two integrations: one for authentication and the other for data capture.
Follow this step-by-step for authentication:
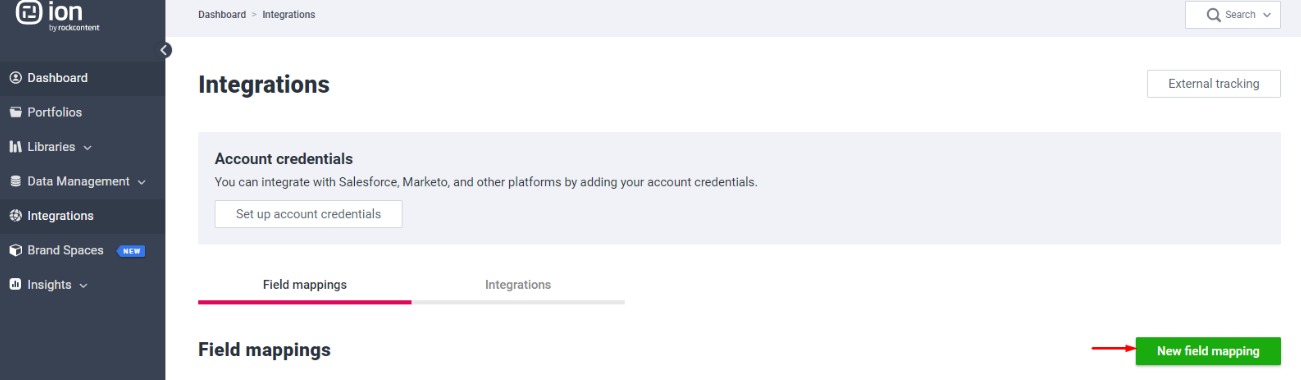
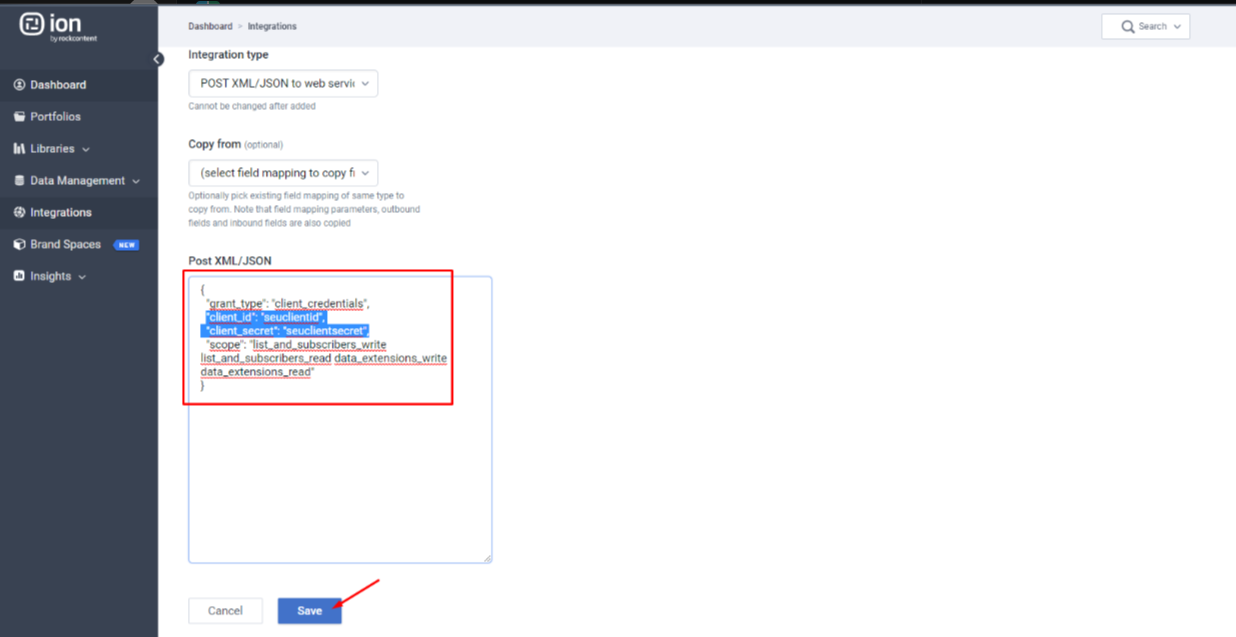
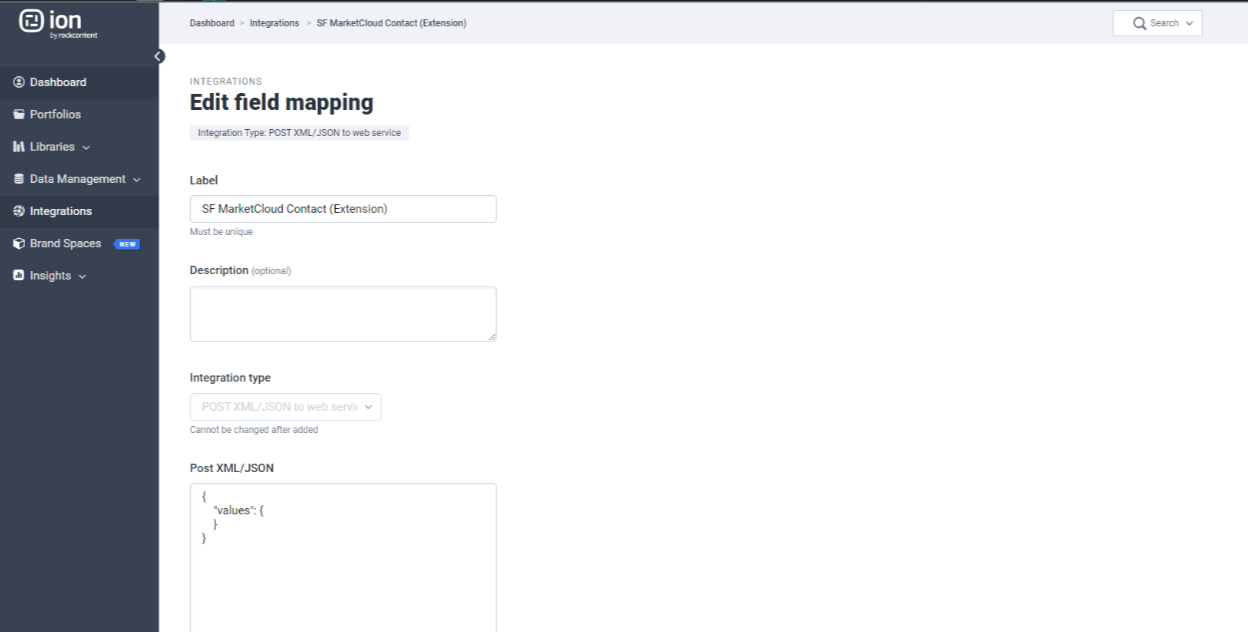
- Create a new Field Mapping (on the Integrations tab): choose an easily identifiable name. The integration must be of type "POST XML/JSON to a web service":
- In the "Post XML/JSON" field, include the authentication data, which is passed by SFMC. Check the example below:
{
"grant_type": "client_credentials",
"client_id": "yourclientid",
"client_secret": "yourclientsecret",
"scope": "list_and_subscribers_write list_and_subscribers_read data_extensions_write data_extensions_read"
}
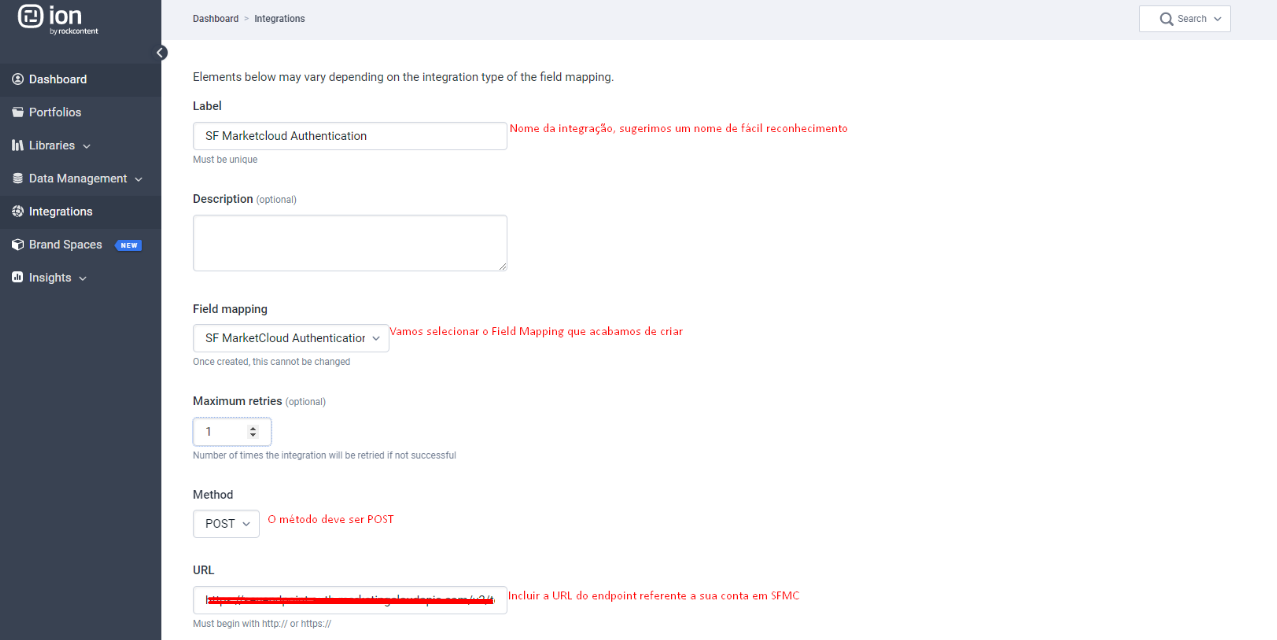
- Now create a new Integration: choose an easily identifiable name, the Field Mapping that was just created, the method, and enter the endpoint URL referring to the SFMC:
- Include "OAuthJSON" as a response. This information comes from the vendor's REST API documentation:
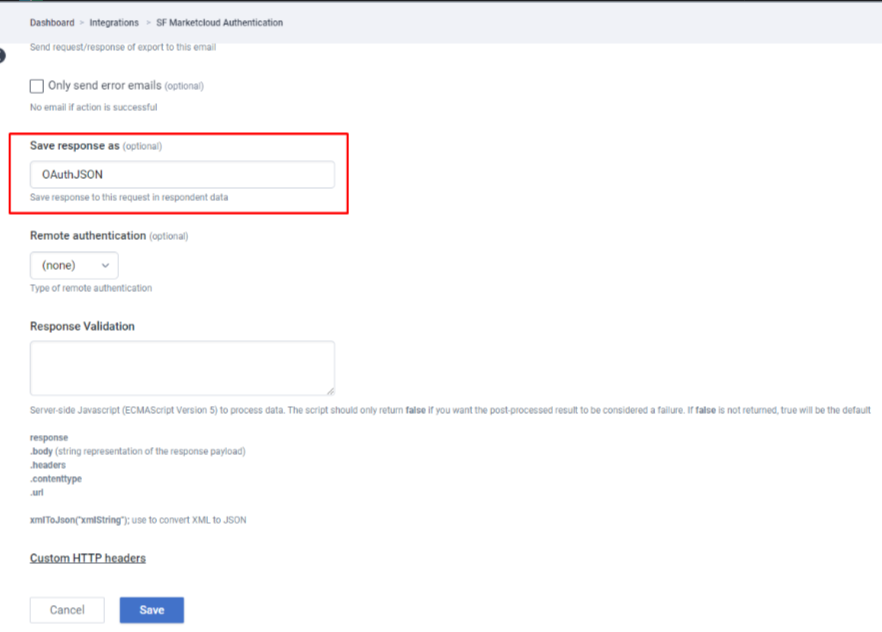
All ready! The integration to perform the authentication was created.
Below is the step-by-step process to create the integration responsible for capturing the data:
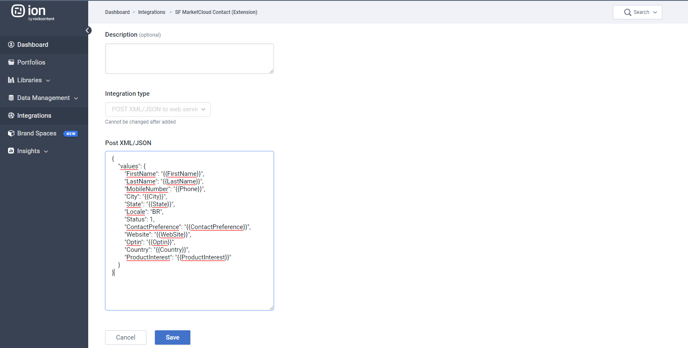
Create a new Field Mapping. In the "Post XML/JSON" field, add the code below (only to enable the save button - you will edit this field again in the future):
{
"values": {
}
}
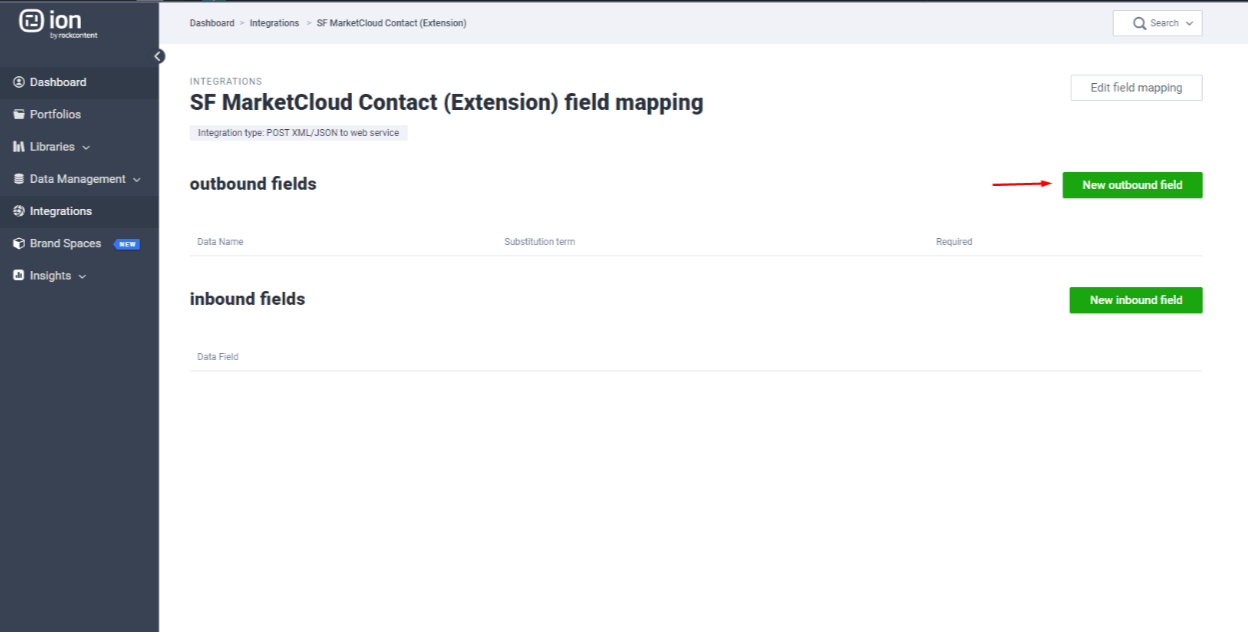
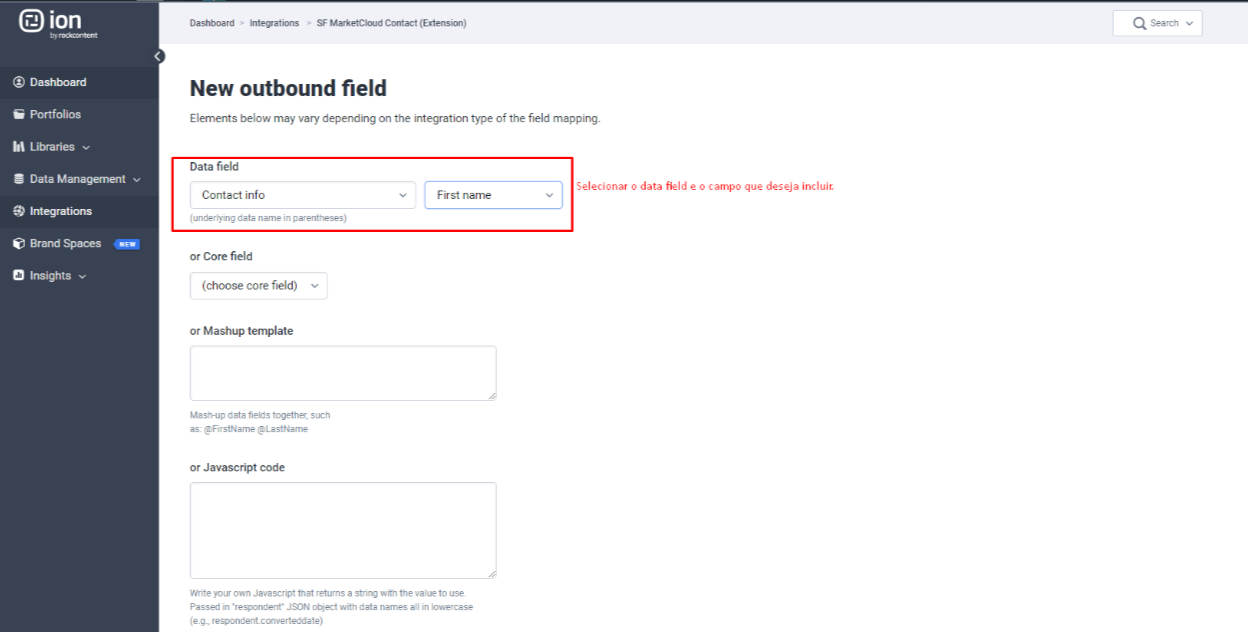
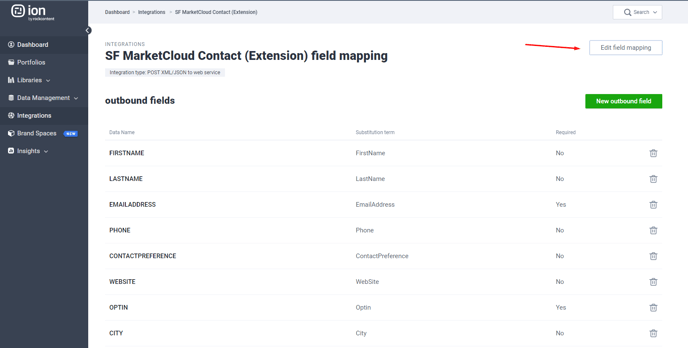
- Create an Outbound Field and choose the field you want to include:
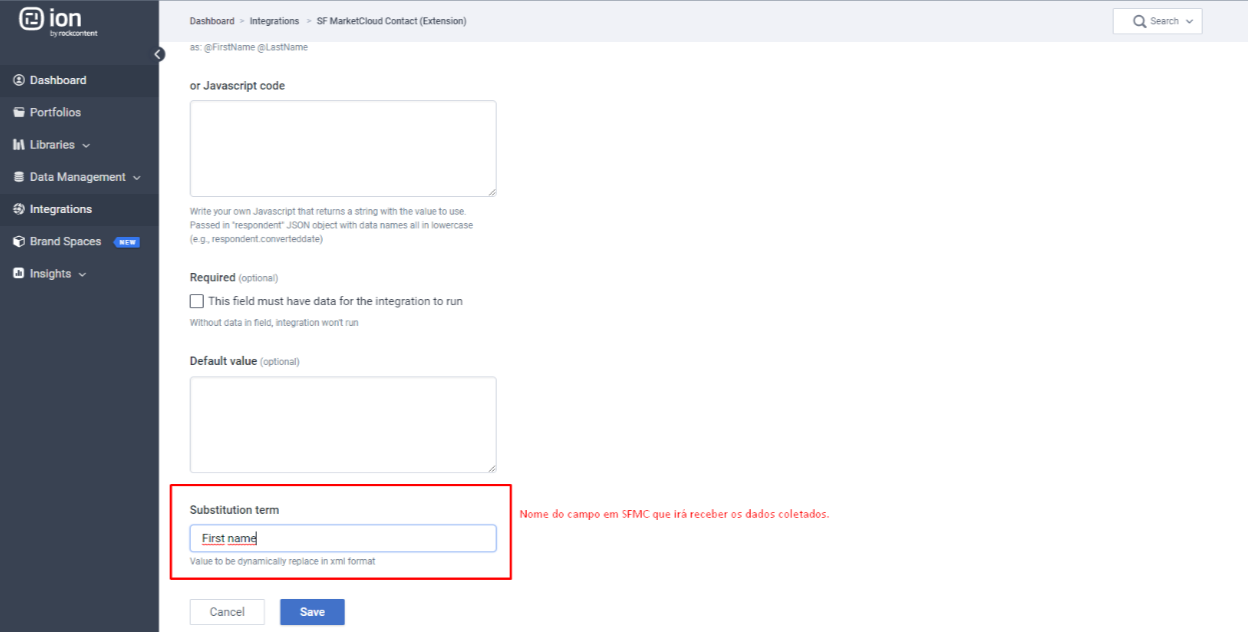
- We suggest that the "Substitution term" be identical to the name of the field in Ion, to facilitate the identification and functioning of the integration:
- After creating the fields, you will include the Outbound fields in the Field Mapping's "Post XML/JSON" field. The pattern is as follows: "Substitution Term": " ",
- If you want to add a new field later, just repeat the process and remember to include the new field in the Post XML/JSON.
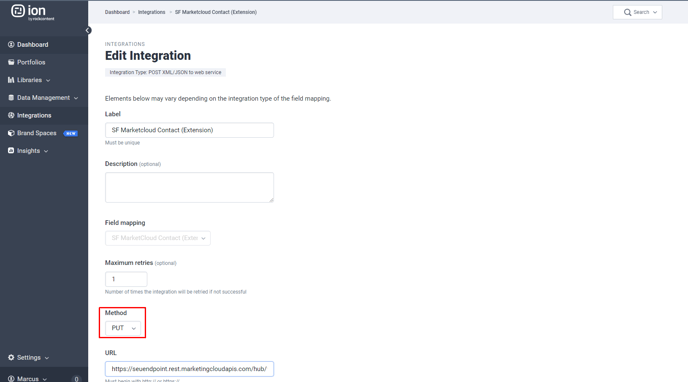
- Now create a new Integration. The method will be "PUT":
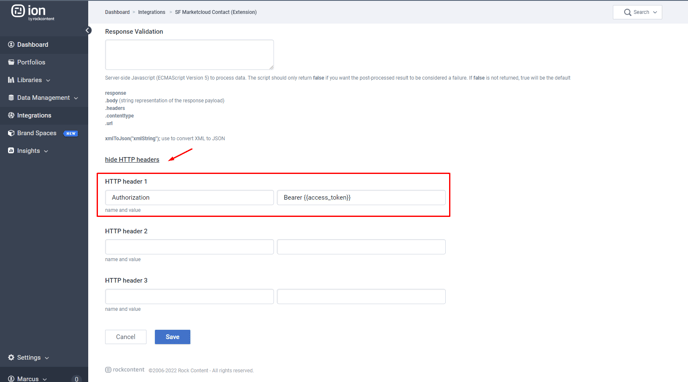
- At the bottom, add the HTTP header: Authorization / Bearer . An authorization Bearer is a piece of information also passed in the supplier's documentation.
Now that both integrations are set up, add the following rules to your creative for testing purposes:
Rule 1 - To run the authentication integration, and mark it to run again (in case a respondent comes back to the experience).
Rule 2 - Put a condition for the integration to run only if the OAuthJSON data exists. Include the action to save OAuthJSON.access_token in access_token and then run the integration.
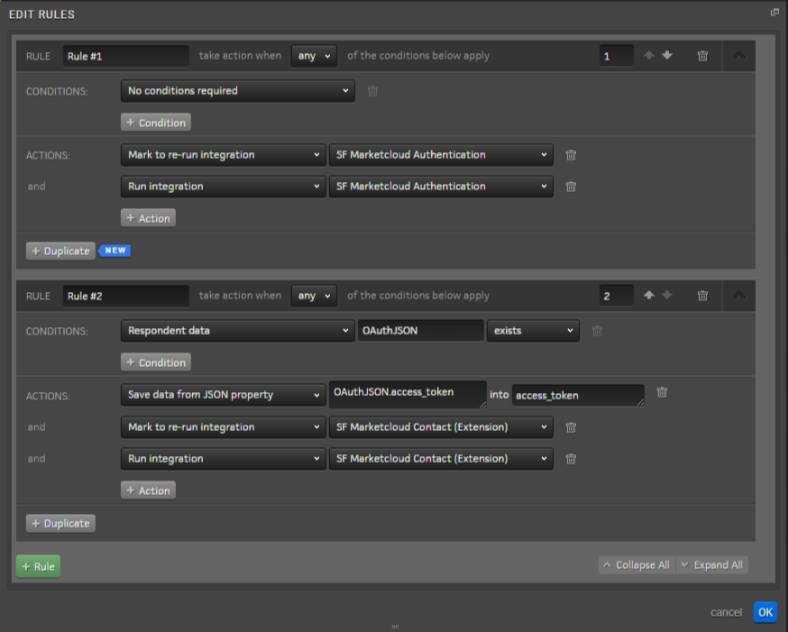
These rules must be present in all experiences where you want to run the integration. If more rules are used, such as calculating a respondent's score, the integration rules must be included after the calculation rules. Rules in Ion work in chronological order, and therefore all necessary data must be worked on before activating the integration.