.png?height=120&name=rockcontent-branco%20(1).png)
In this article, we will see, in a few minutes, how the demands reach the team's schedule.
The project's arrival on the team's agenda is the start of several other services within your Studio. That's why we've created a material to help you make the most of all the benefits of this important process.
1) The first step starts with client services
We have previously shown you how the project and task status are important for the workflow. If you haven't seen it yet, click here and stay on top of that information.
After filling in the project's initial information, such as brief, tasks, and description, it's time to forward the demands to the team.
2) How are the tasks distributed by client services or traffic/project manager?
There are two ways to carry out the distribution of tasks:
- When opening a project; or
- Through the tasks management dashboard.
How to distribute tasks when opening a project?
If the client services manager is the one responsible for delegating tasks in your company, they will do so when opening a new project:
On the tasks tab, click on the desired task, and fill in the deadline, as well as the start and end date and the owner of each workflow step.
When choosing a start and end date and an owner, the task will automatically be forwarded to their My tasks dashboard.
How to distribute a task using Tasks Management?
Through the tasks management dashboard, it is possible to view the employees' schedules and delegate tasks according to their availability.
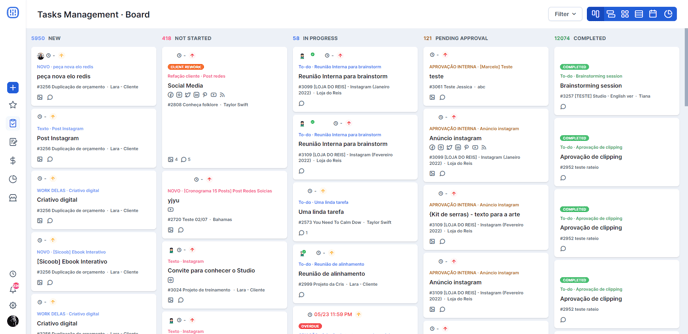
The board view allows you to check the status of the activities within Studio, giving you a greater visualization of your company's current workflow situation:
Another viewing display is the timeline, which brings a full view of the employees' schedules - this is the only place where we can this full view. You can readjust some information by clicking on the activity.
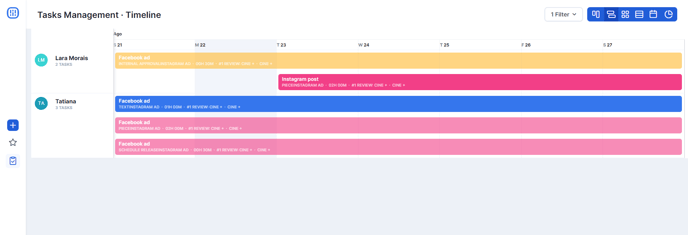
After checking which employee the task will be sent to, it's necessary to allocate this demand. For this, you can use the planner, by dragging the activity onto the person's schedule.
We can also distribute tasks through the group view. You can check the unassigned tasks as well as the ones without a due date:
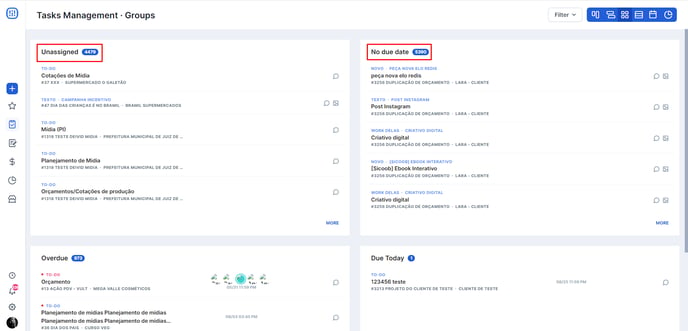
And finally, the list view also allows you to check the unassigned tasks as well as the ones with no due date. To update these tasks, click on them and a pop-up page will show.
My tasks
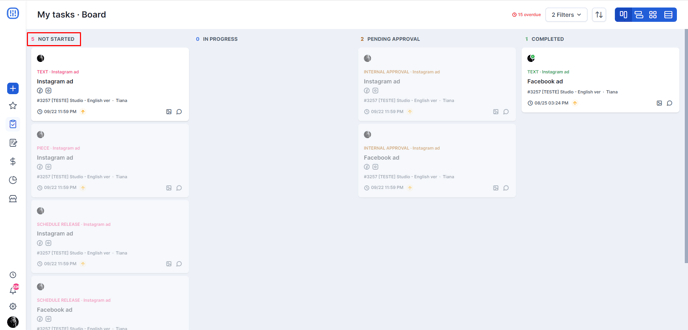
After distribution, the owner of the tasks will be able to view them on the "not started" column on the My tasks dashboard.
Still need help? Simply reach us at help@rockcontent.com or through the platform chat and we will help you!