.png?height=120&name=rockcontent-branco%20(1).png)
Ion enables you to split test (A/B test) any number of Creatives on any of your Ion URLs.This article covers the step-by-step to launch an A/B test.
When two or more Creatives are assigned to the same URL, the Ion platform will run a split test (A/B test) on that URL by distributing the incoming traffic across the Creatives in your test group.
Before We Begin
- You should be familiar with (1) creating experiences in Ion and (2) how to create a URL. We lightly touch on these concepts below but if you aren't already familiar with publishing Ion experiences and creating URLs, check out the Create & Edit and Launch sections in our support site to learn more about those concepts.
- It's a best practice to start with a test plan — know what you want to test and why. If you are new to testing, you can download a copy of ion’s “Guide to Online Testing” for more information on formulating your test strategy.
Let’s Get Started!
1. Engage Your Creatives
To begin A/B testing, you will need to have two or more engaged Creatives within a single Campaign. Once you have your Creatives ready, setting up the actual A/B test only takes about one minute! It’s that easy - just follow these instructions for opening a URL and splitting your traffic across your Creative variations:
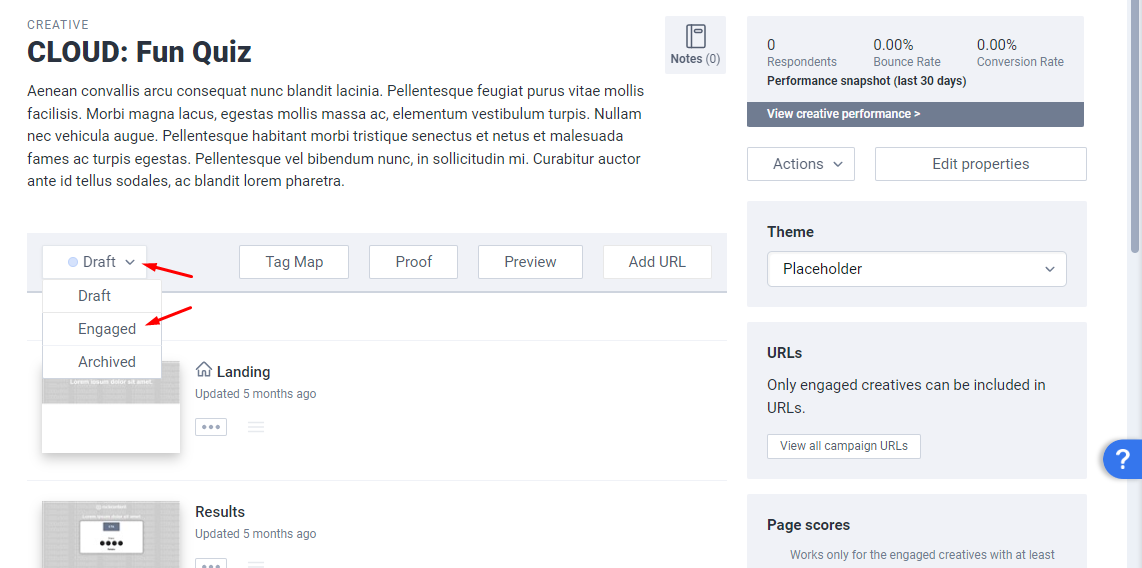
- Navigate to the Creative Management Screen for one of the Creatives you want to test
- Change the mode Dropdown from Draft to Engaged
- Repeat for additional Creatives you would like to include in your test
2. Create A URL
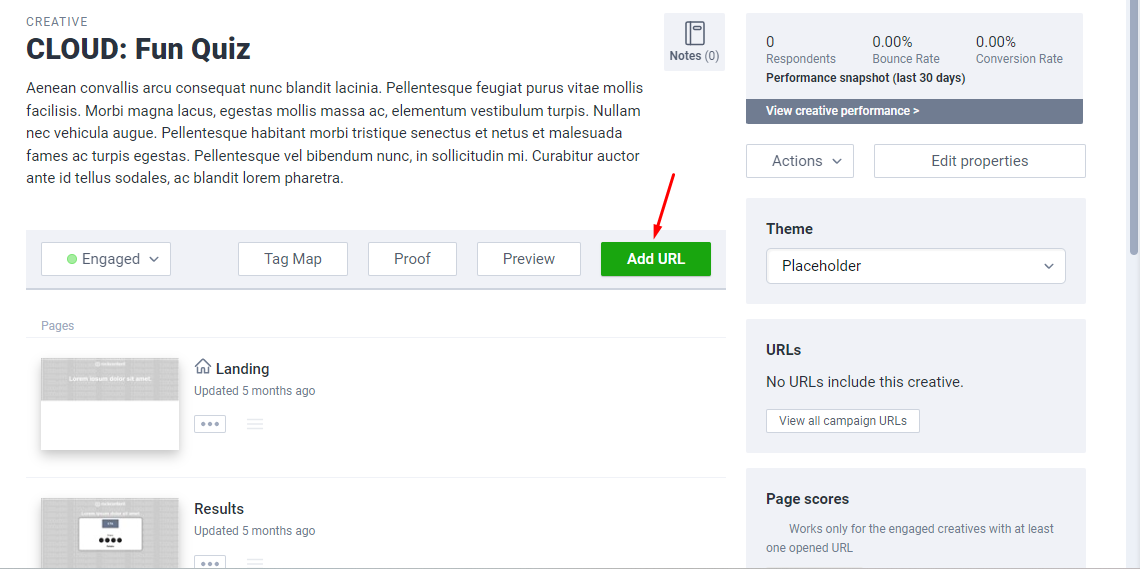
Once your Creatives are engaged, you can now open a URL that will split traffic among your engaged Creatives. Creating a URL both takes your Creative live and gives you the opportunity to split traffic across two or more Creatives in an A/B test.
- Navigate to the Campaign Management Screen
- Click the “New URL” button
-
- Select the subdomain you would like to use with the URL you are creating
- Add a unique path extension for this URL in the Textbox immediately to the right of the subdomain Dropdown menu
- Choose how you would like to track visitors
- This will show in reporting how traffic is driven into this URL
- Choose a category and a sub-category
- If there is not a sub-category that you would like to use, you can add a custom sub-category by clicking the link immediately below the Dropdown menu
- Select one of the Creatives you would like to receive traffic from this URL
- Once selected, the thumbnail of the creative you chose will be highlighted with a red border
- Click Save
* Please check our Create a URL for your Creative to go Live post for more information.
3. Split Your Traffic
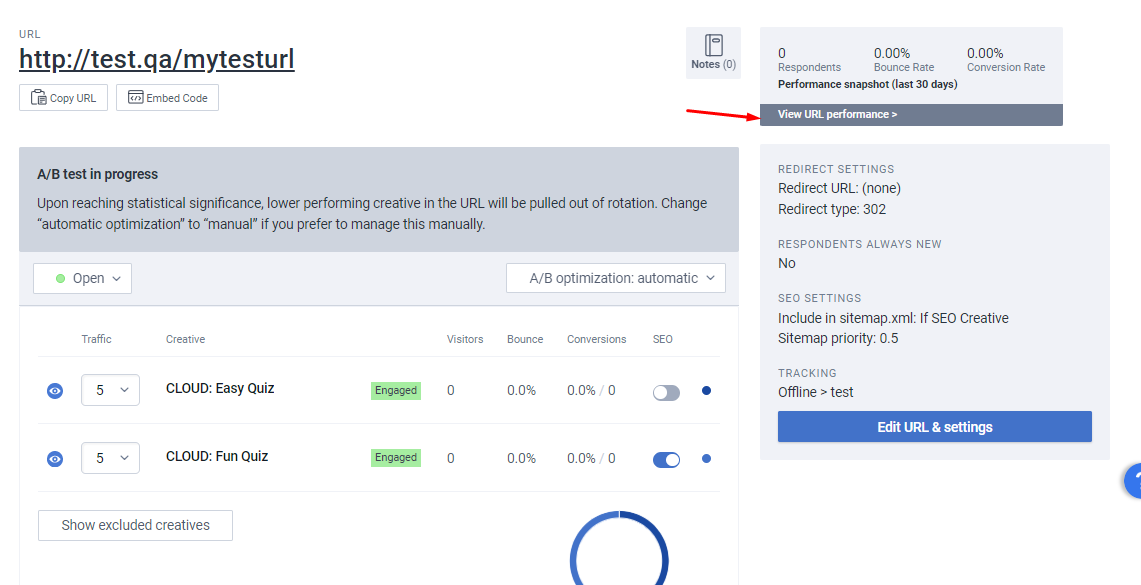
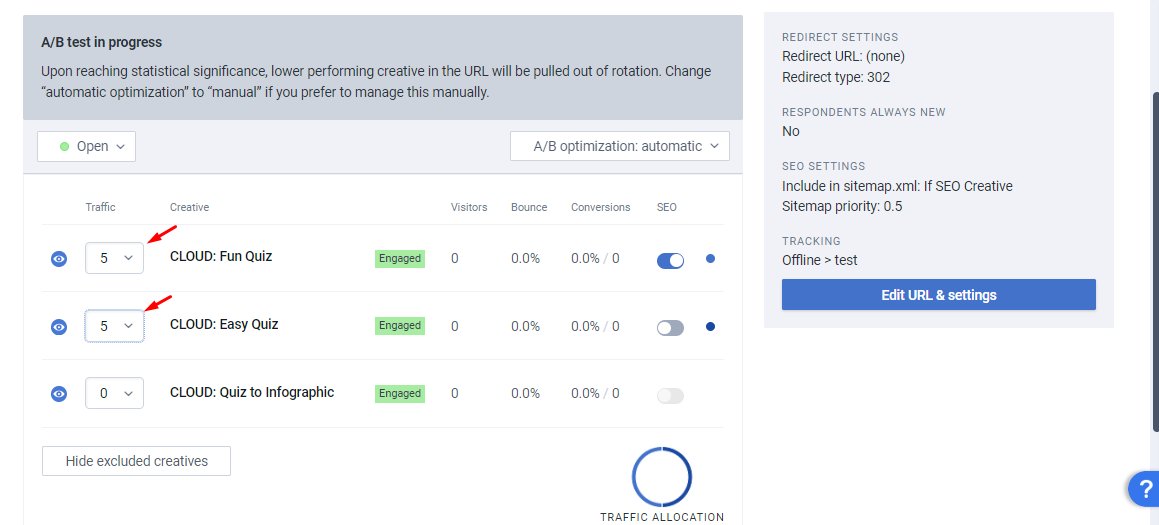
After creating your URL, you will be taken to the URL Management Screen. From here, you will be able to set up your newly created URL to split traffic between multiple engaged Creatives.
- To the left of each Creative in the URL Management Screen, you will notice Dropdown menus for each Creative where you can select a numeric value
- The numeric values represent the amount of traffic to allocate to a given Creative
- Use the "Show excluded creatives" button to display other creatives that are engaged:

- To split traffic, select a non-zero value for a Creative that is not set to receive traffic from your URL
- If your Dropdowns have the same numeric value assigned, traffic will split evenly across the green creatives
- You can have your traffic split in any way you would like
- The percentage of traffic for each Creative is represented in a pie graph labeled “Traffic allocation” below the list of Creatives
- Once your Dropdown menus have been set as you would like, any traffic that lands on this URL will be split as specified by your sliders
- You can route the traffic across as many Creative variations as you wish
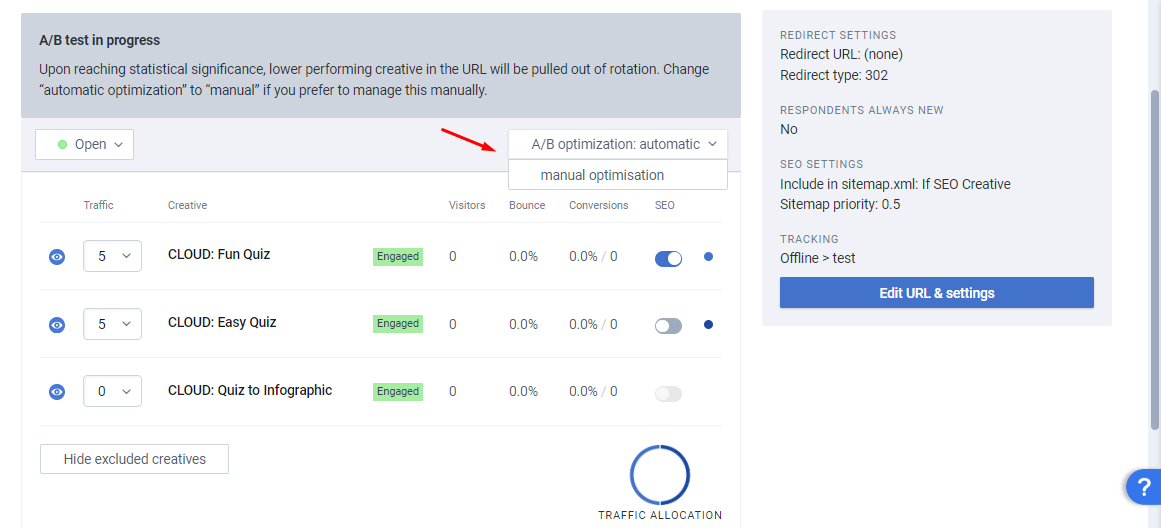
4. Auto-optimization
Ion allows you to automatically optimize, by sending traffic to your winning Creative once statistical significance is reached, or you can manually monitor your test results without auto-optimization.
- Toward the top of the URL Management Screen, you will see an A/B Optimization Dropdown menu
- By default, Ion will automatically find the better-performing Creative and remove the lesser-performing Creative from the traffic split
- Ion determines which Creative is performing better based on a statistical confidence interval that is set in the “Configure Site” screen
- You can find more information on statistical confidence in the "Statistical Confidence" section below.
- If you would like to manually control when a Creative is removed from the test, simply click the Dropdown menu and select “manual optimization”
Statistical Confidence
The Ion platform can compare the conversion results of different Creatives and determine which one will be more successful based on a predetermined confidence level. Within your Ion console, you can define this level between 80% and 99% confidence at your preference.
How to
To set your preferred confidence level, click the “Settings” tab at the bottom of your Ion console’s side nav, and select “Configure site.” Toward the middle of this page, you will see a Dropdown menu labeled “Confidence.” This is where you can select the level of confidence you would like to achieve before declaring a winner of a given test between Creatives.
*TIPS:
- Selecting a higher confidence level may require more traffic to achieve confidence and therefore takes longer to achieve than lower confidence levels. And a higher confidence level will provide more accurate test results (a higher level of confidence means the margin of error is smaller on the results).
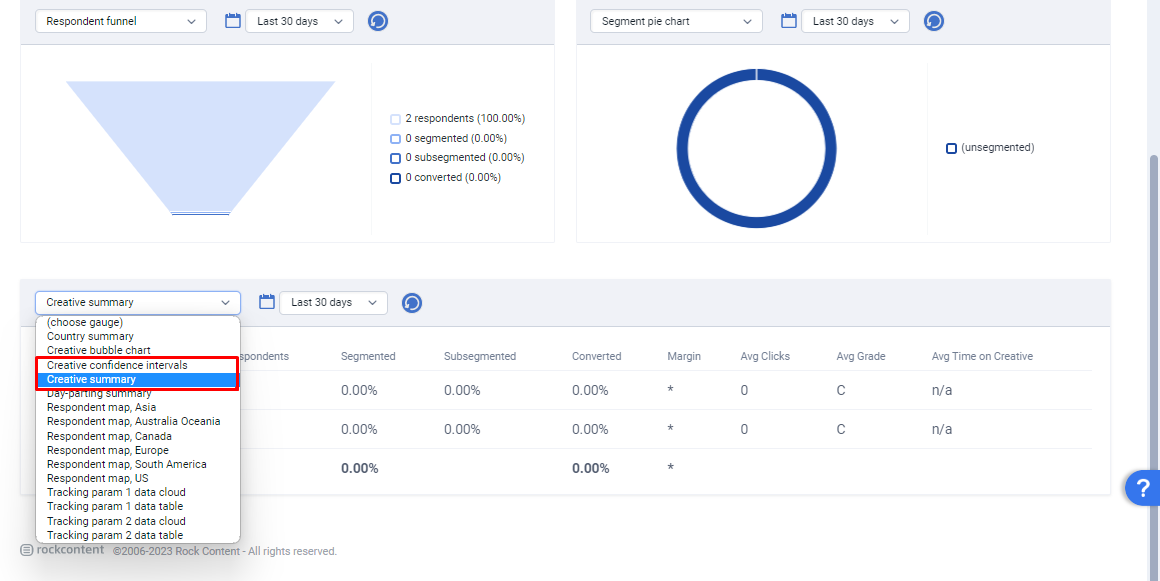
- You can view your test confidence in the "URL Performance" tab for any of your URLs — check out the "Creative Summary" gauge for the margin of error, and check out the "Creative Confidence Interval" to view the test results at both 80% & 95% confidence.